Facilitating businesses in efficiently organizing products across multiple warehouses, the Multistore feature revolutionizes the way Qiscus Shop operates. Unlike its previous design tailored for a single store and warehouse, Multistore empowers businesses to seamlessly manage products and warehouses across different stores within a single platform. With this enhancement, businesses can effortlessly handle orders originating from various stores, streamlining their operations and optimizing efficiency.
Set up Store
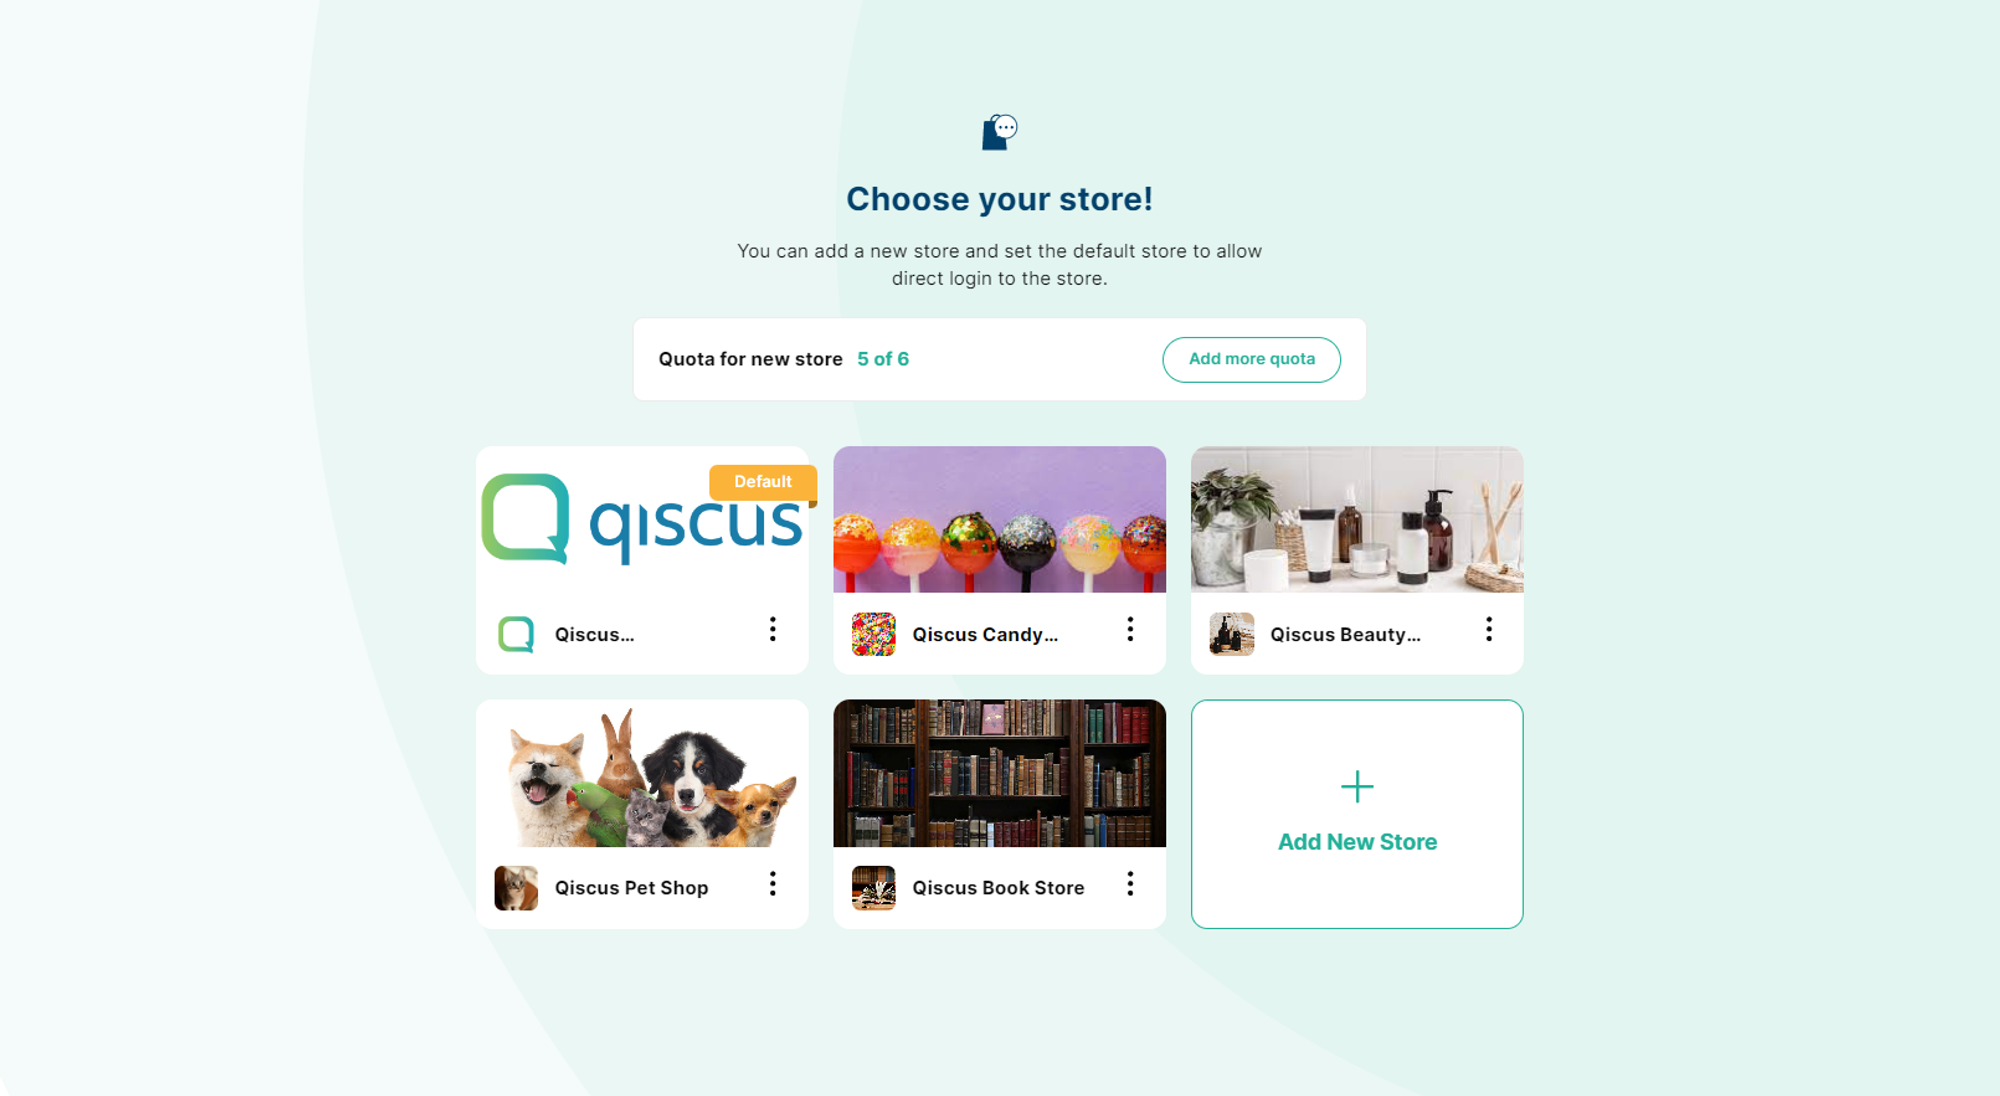
Here's how to enable Multistore for your shop:
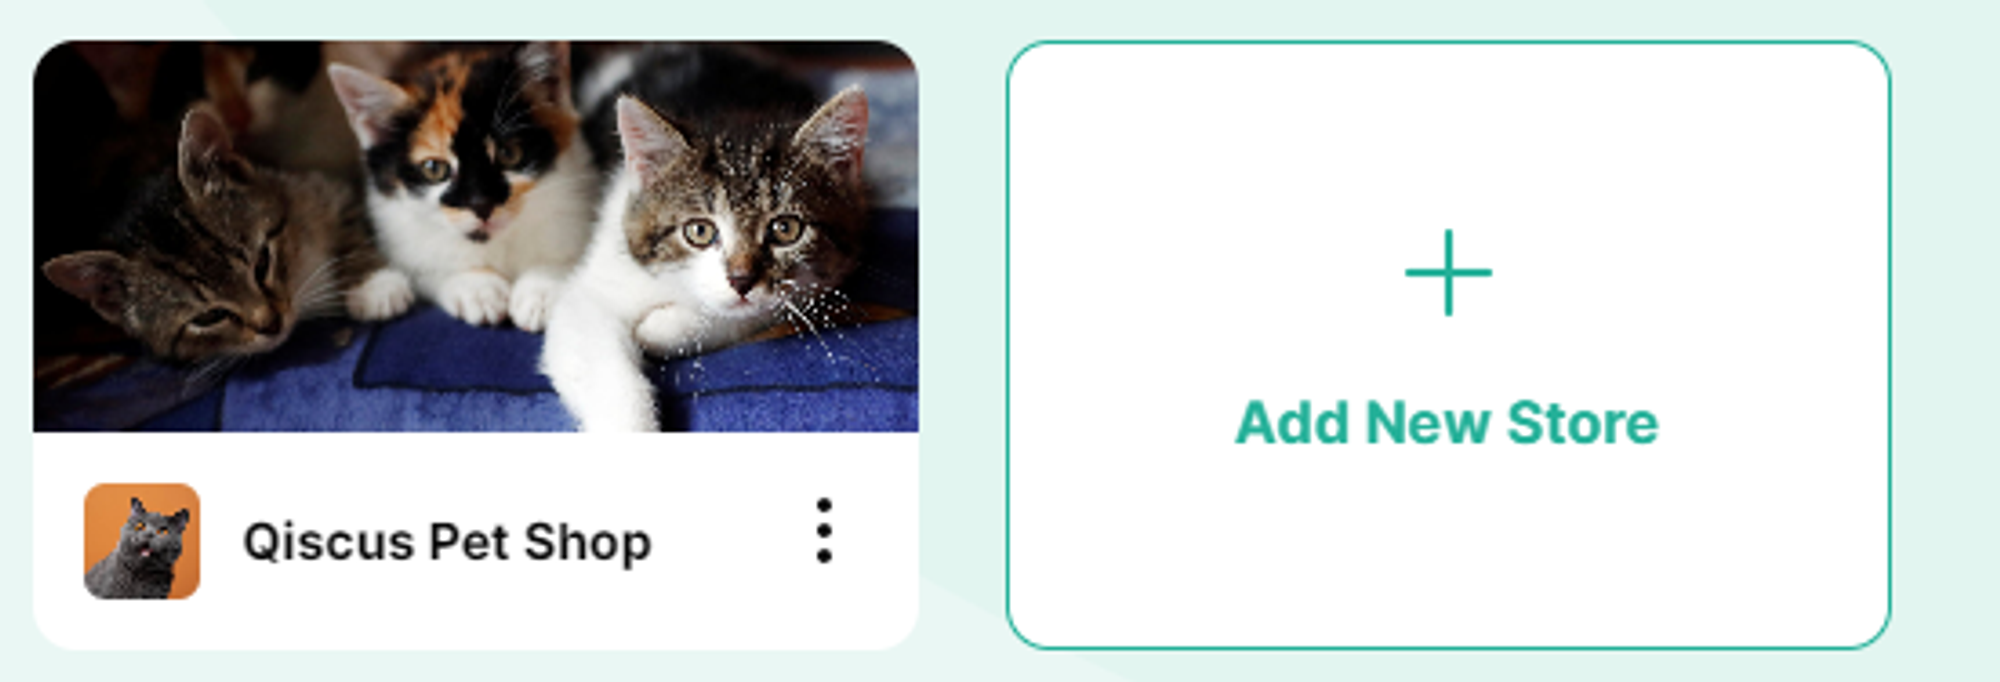
- Select the "Add New Store" option to initiate the registration of a new store.
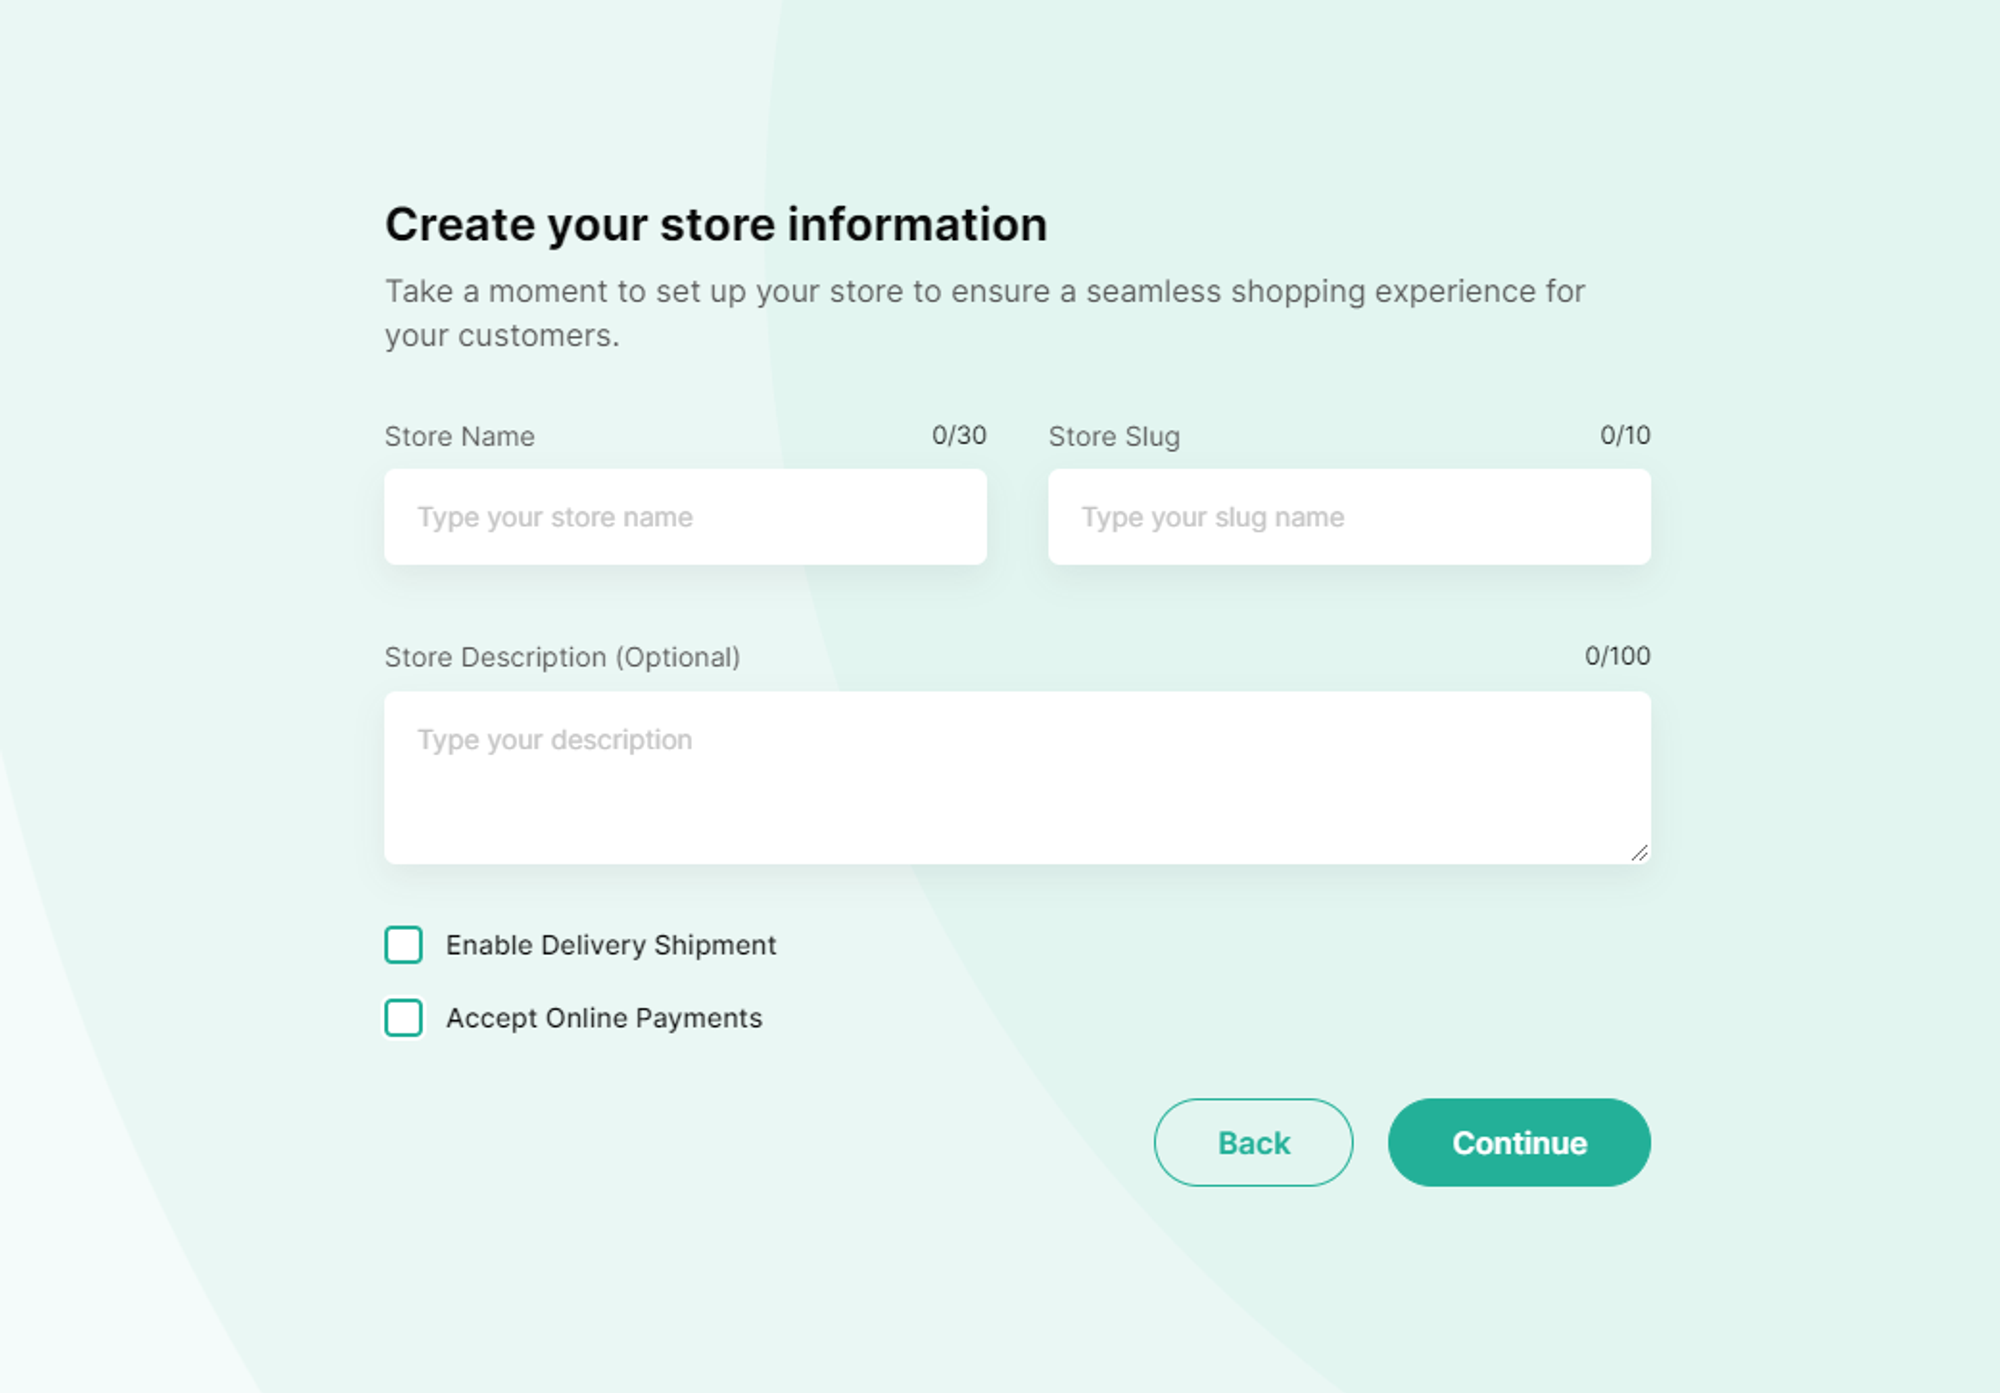
Complete the form to provide your store's details, which includes:
Store Name
Store Slug
Store Description
Options to select:
- Activate delivery shipping
- Allow online payments
Press the "Continue" button to move to the next section, where you'll upload your store's icon and banner. After the upload, click the "Continue" button to proceed.
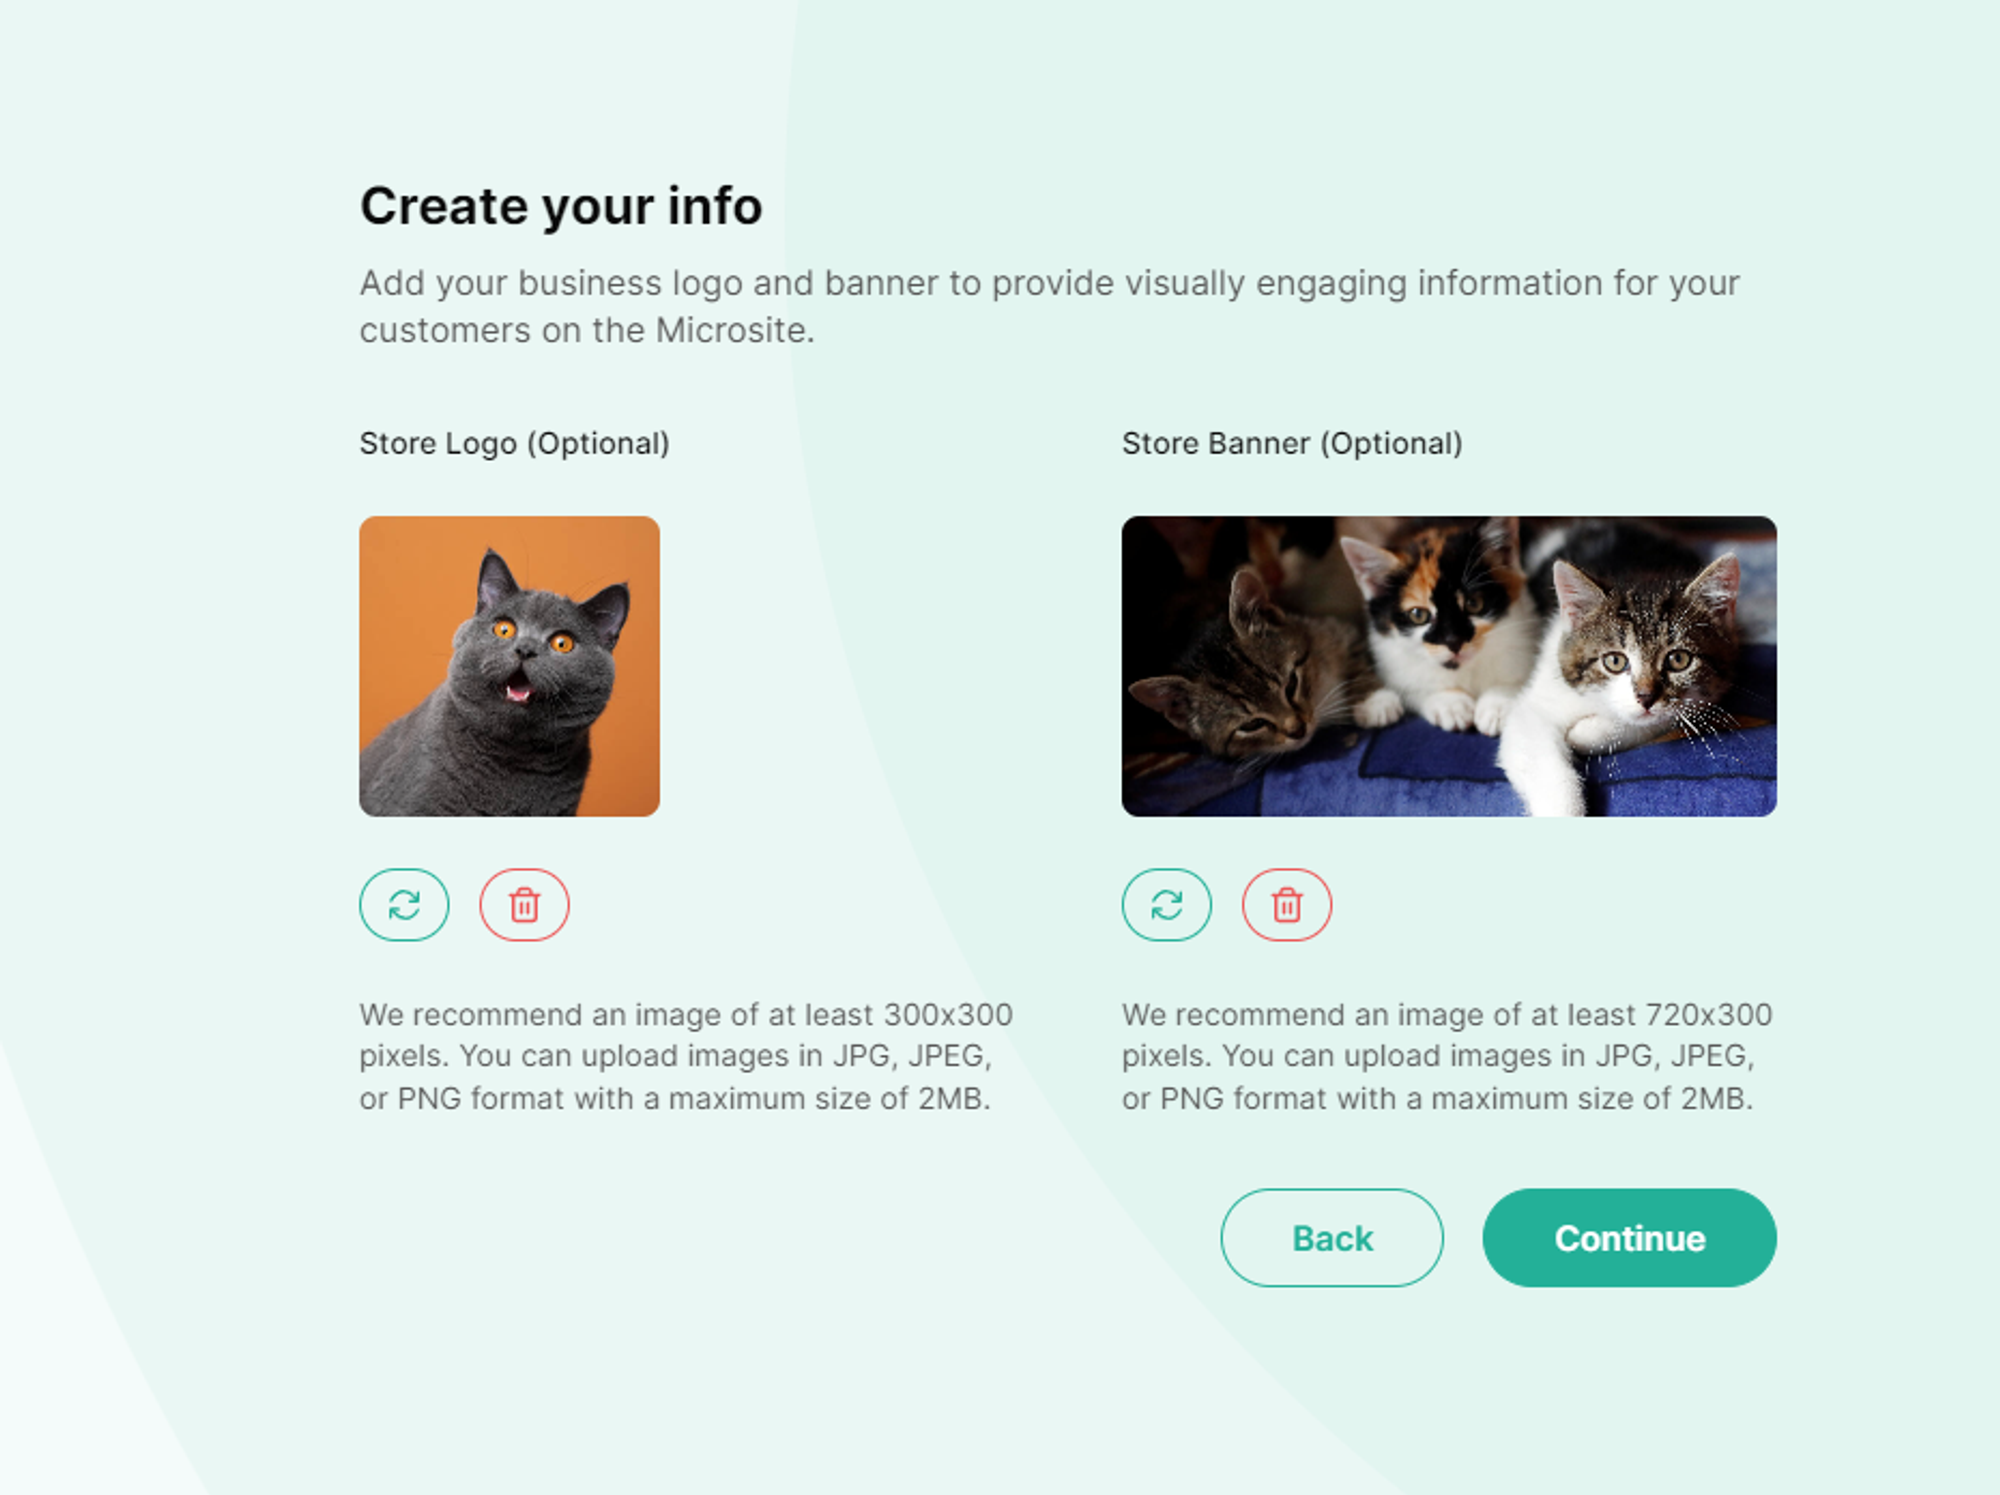
Create your info, Add your business logo and banner to provide visually engaging information your customers on the microsite.
- Upload Banner: Upload an image or graphic to be displayed at the top of the microsite.
- Upload logo: Upload a small image representing the store, often used as a logo or favicon.
- Change logo: Replace the current logo with a new one.
- Delete Logo: Remove the current logo from the microsite.
- Change Banner: Replace the current banner with a new on
- Delete Baner: Remove the current banner from the microsite
- Press the "Continue" button to move to the next section
- Enter additional details about your store's location, which involves:
- Location Name
- Province
- City/District
- Subdistrict
- Postal Code
- Phone Number, with the option to select the country code for your store's contact number
- Address
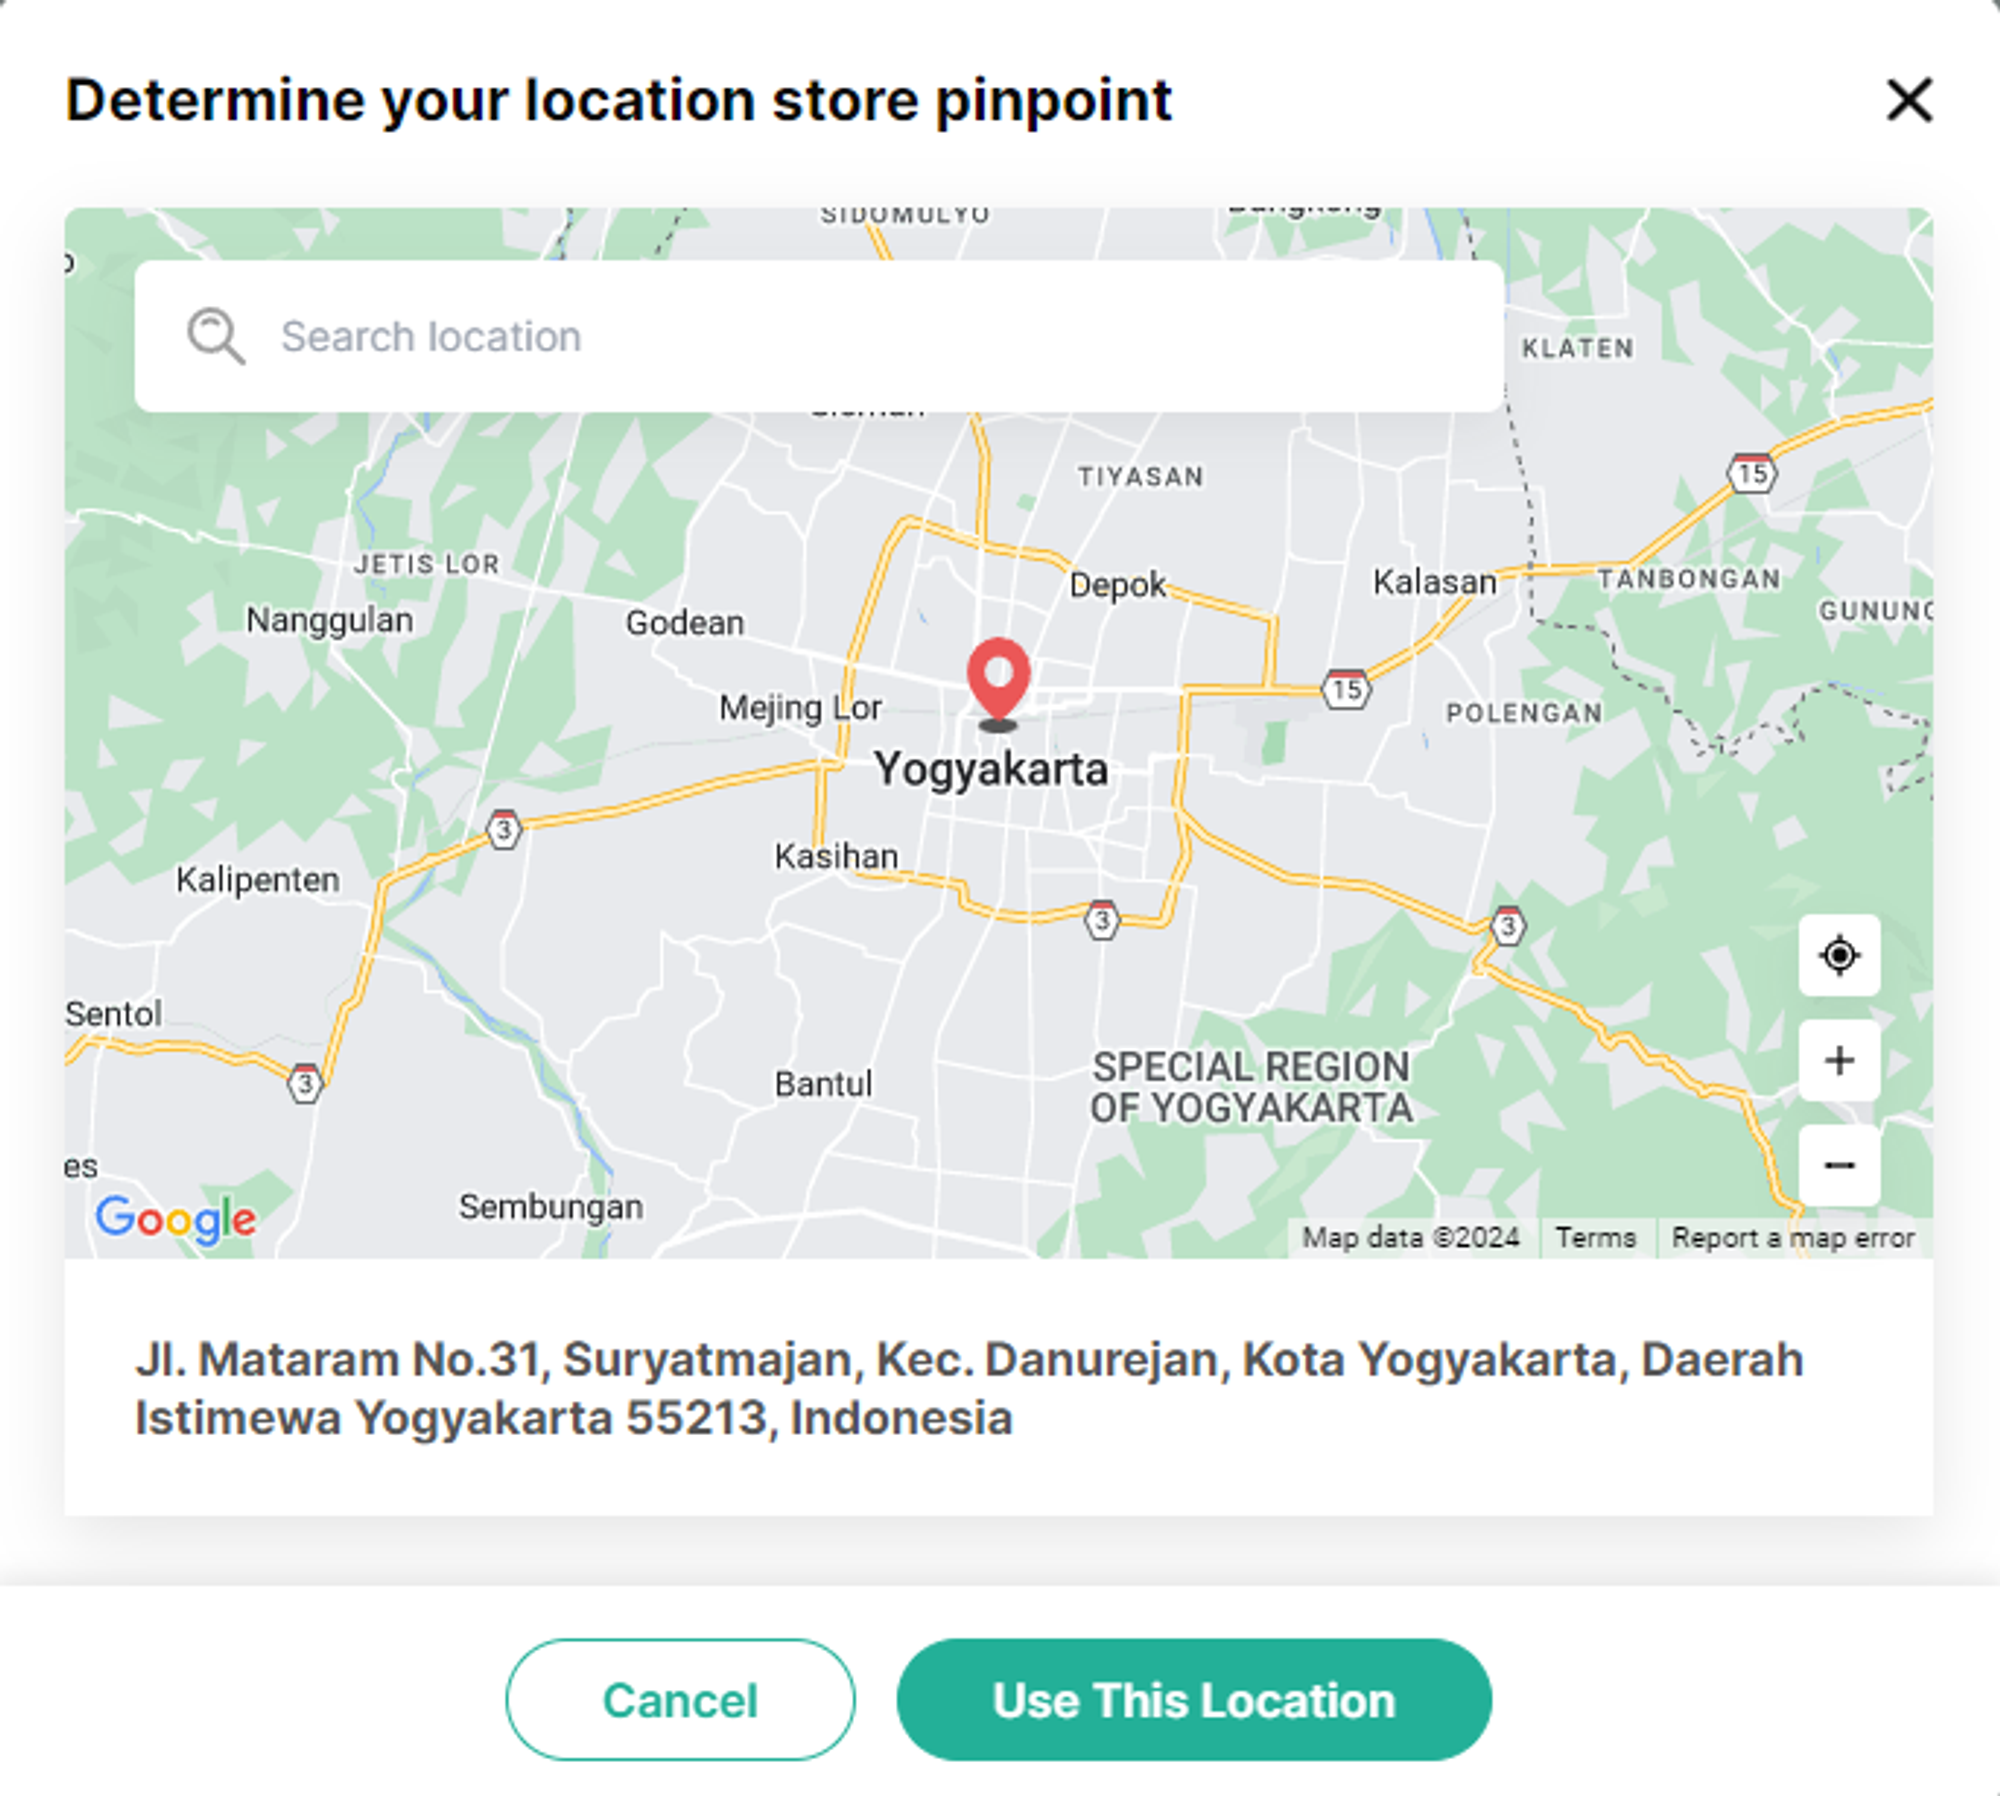
- After filling in the information, click on the “Add Location” button to establish the precise location of your store.
- After confirming the accuracy of your location, click the “Use This Location” button to finalize the pinpointing of your store's location
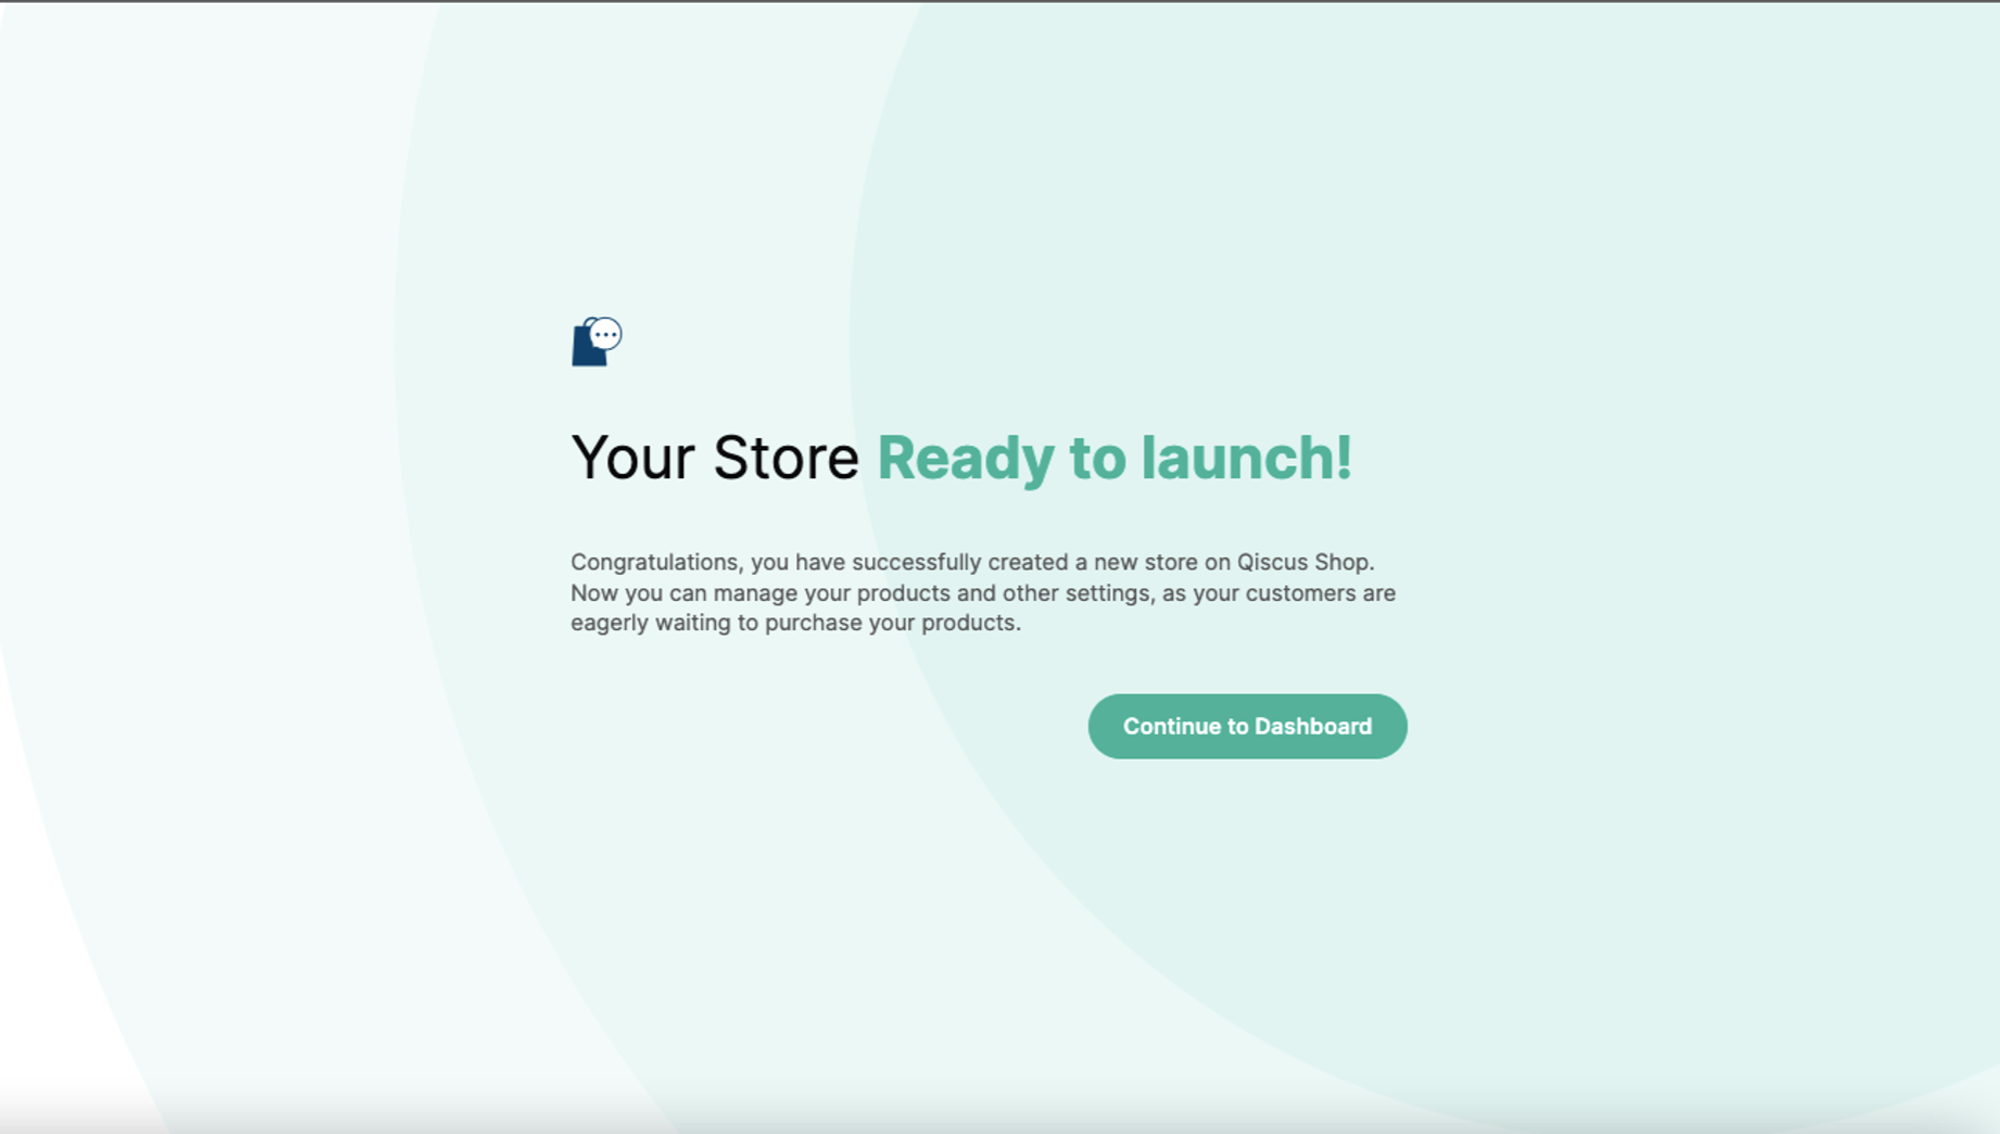
- Upon completing the address details, click the "Finish" button to complete the setup of your new store. Your store is now ready to be launched!
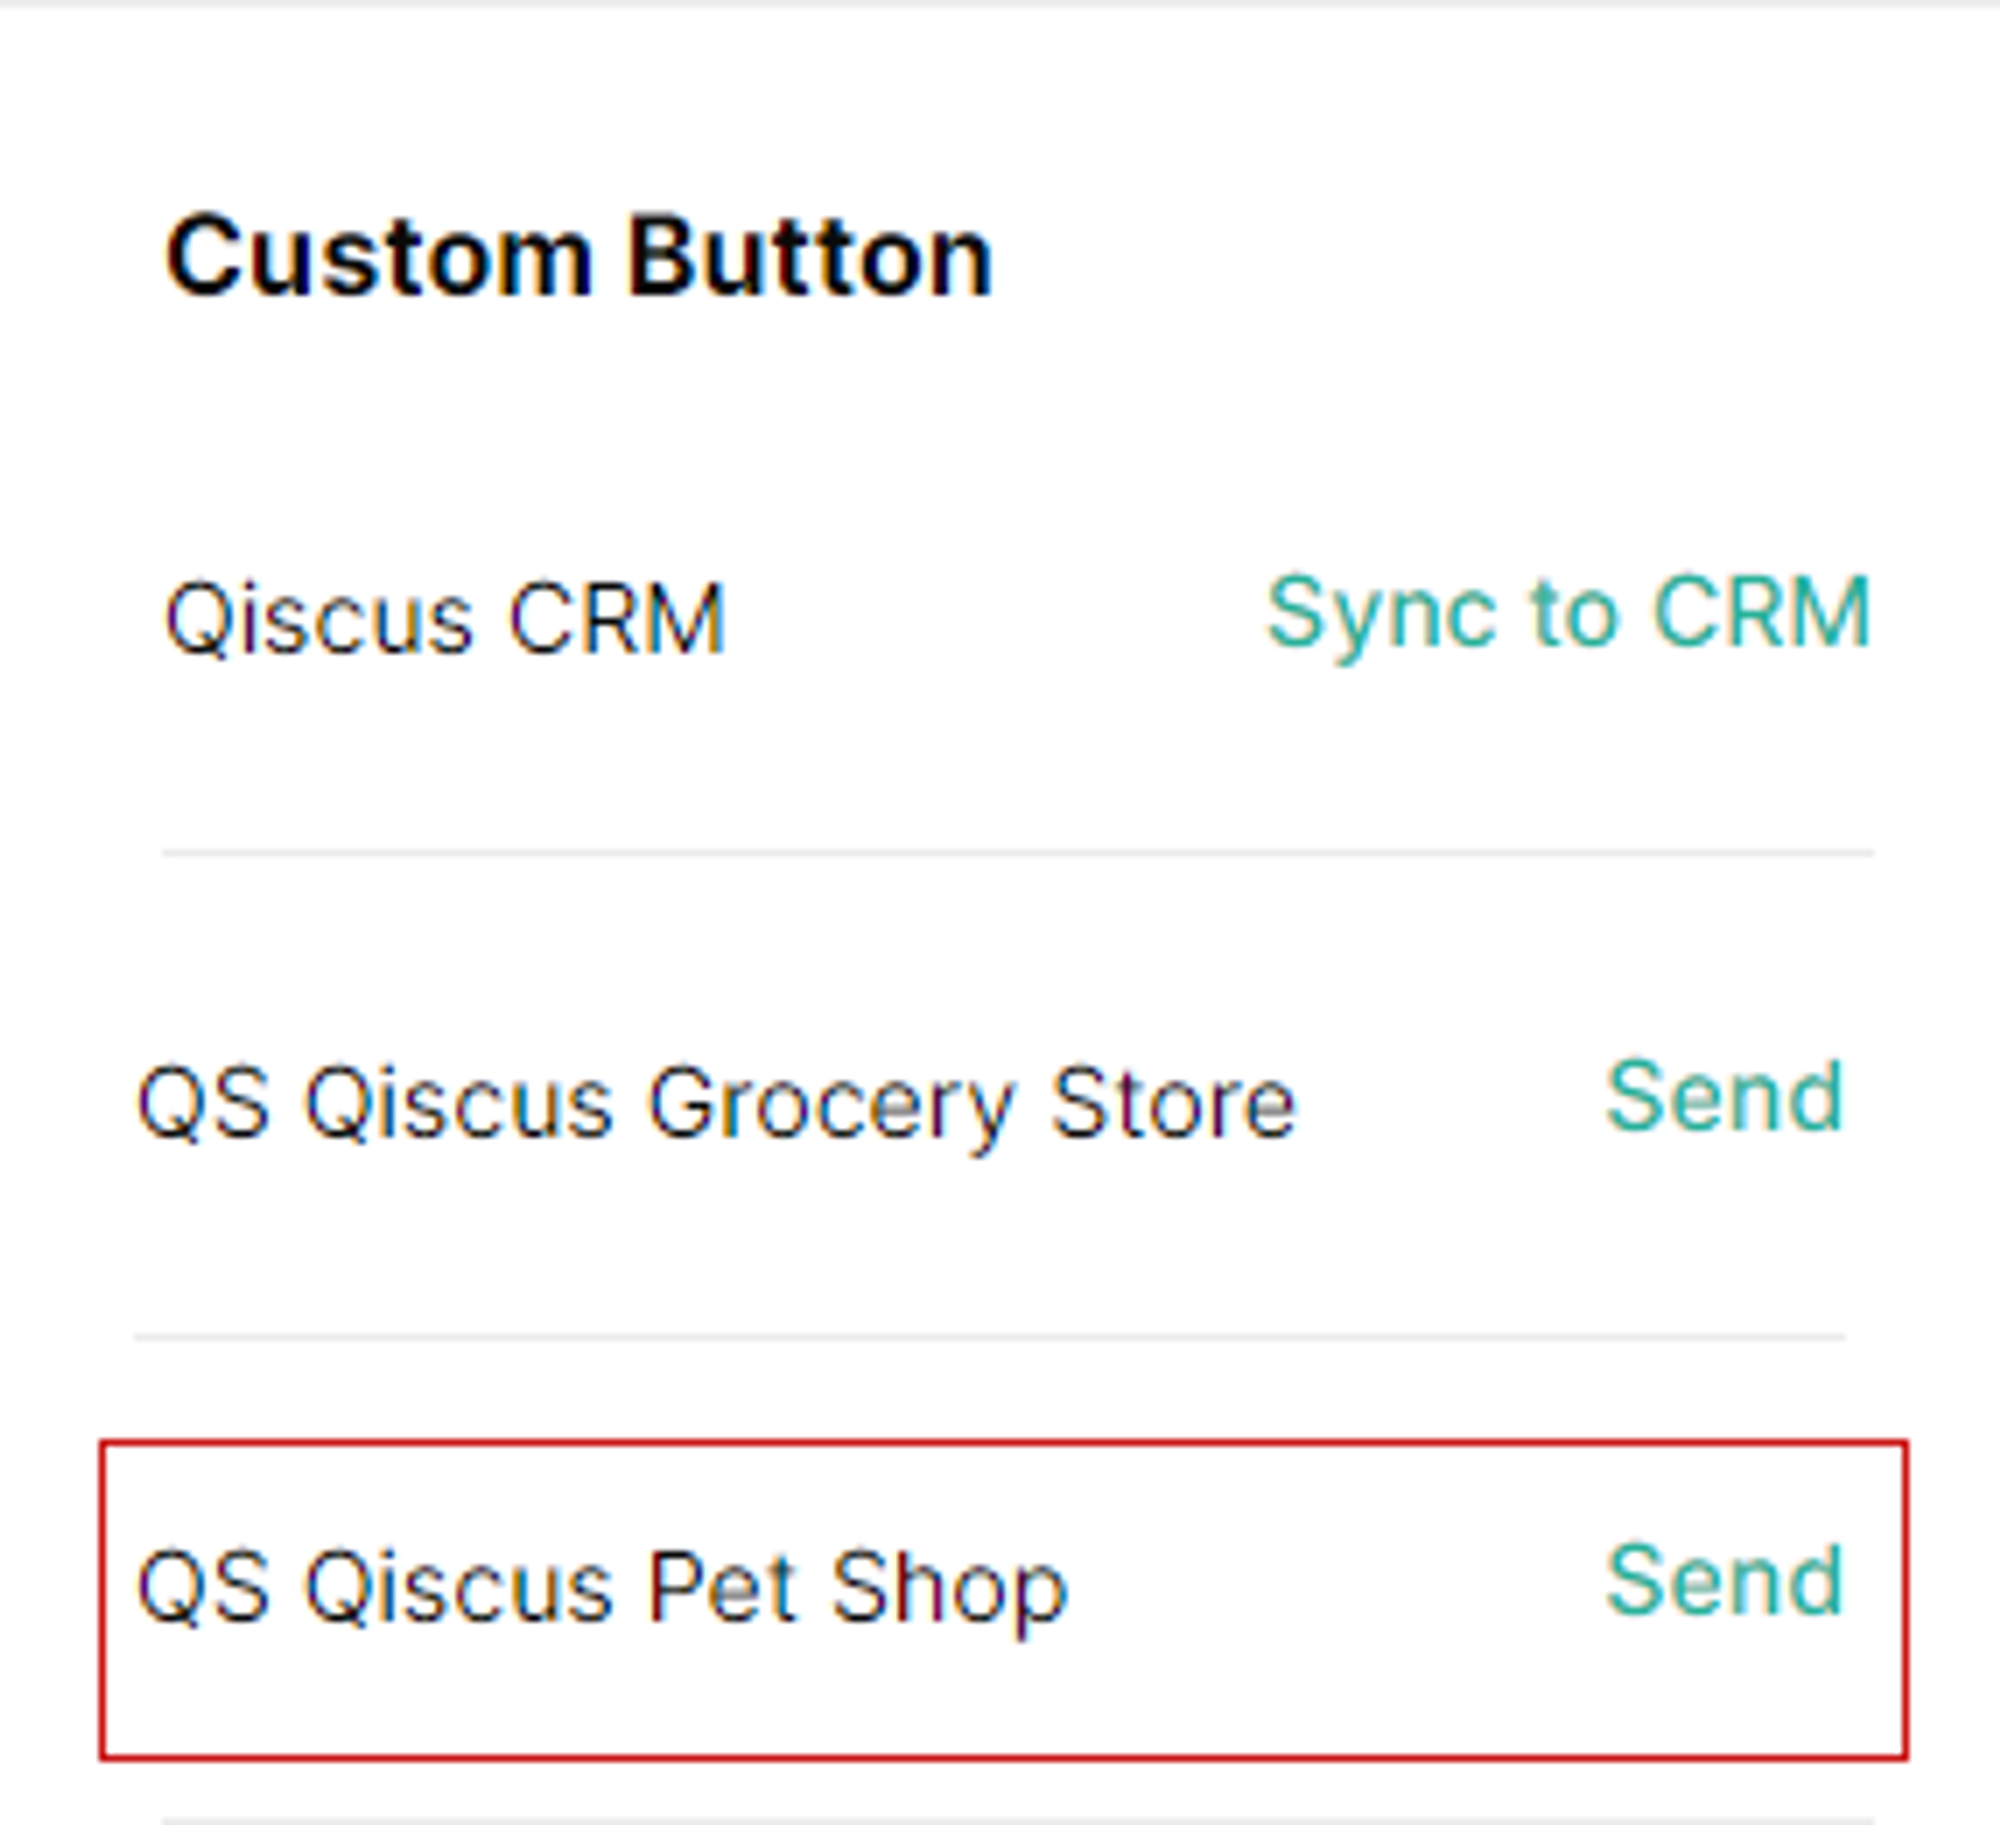
- After creating your Store, a new button will appear in the chat room with the customer, positioned within the “Custom Button” section. You can now effortlessly share your store link with the customer.
Multistore Settings
You have all the capabilities to run your shop and its store, here’s some settings of Multistore you need to know:
How to activate or deactivate store
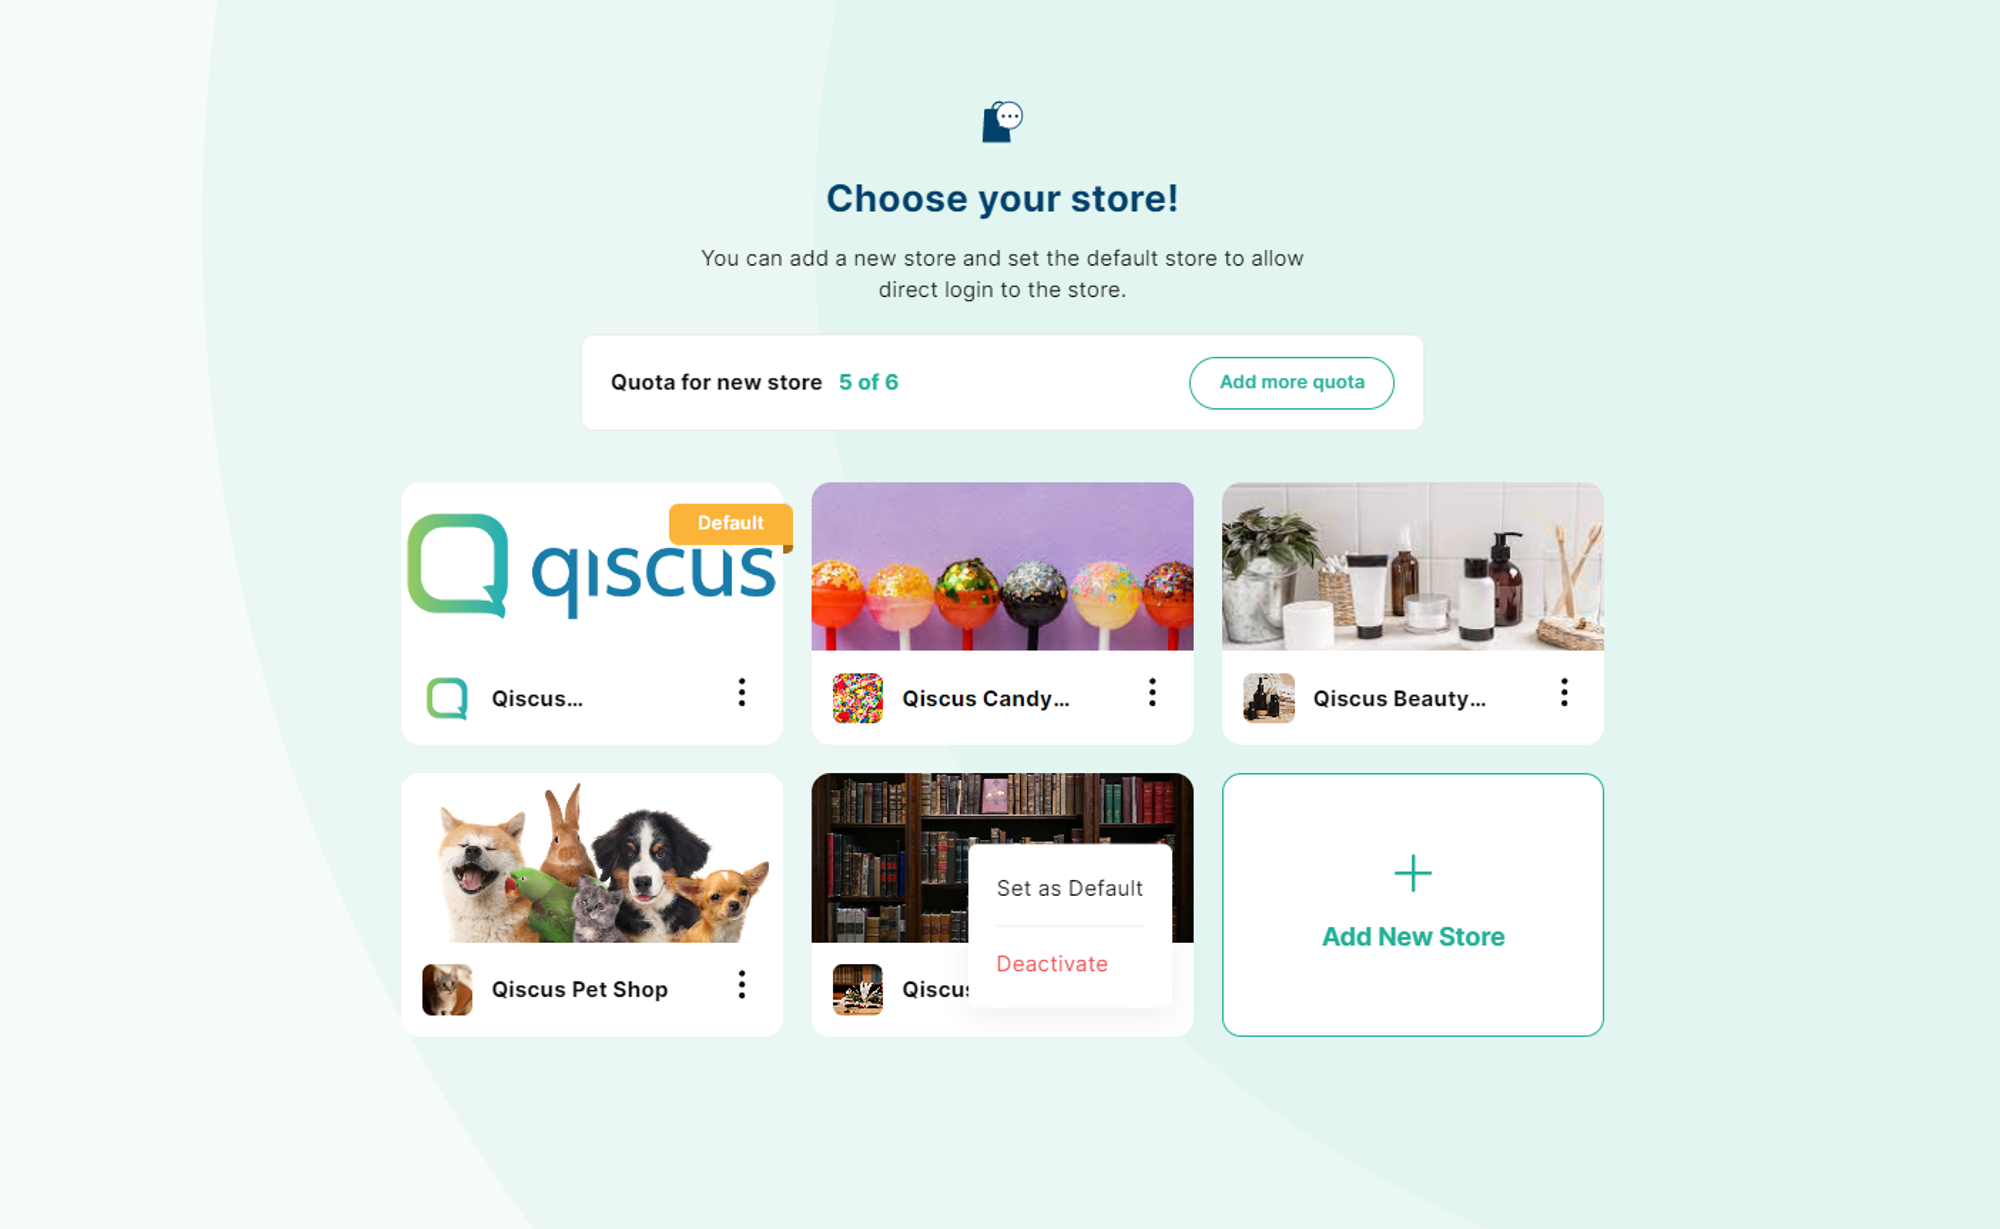
On the store card, locate the three dots positioned next to your store's name
Click on the three dots to reveal a dropdown menu with options.
- Set as Default
- Deactivated
Select the "Deactivate" option to deactivate your store.
Upon clicking "Deactivate", the store will visually switch to gray and display the status "Inactive".

How to remove/delete store
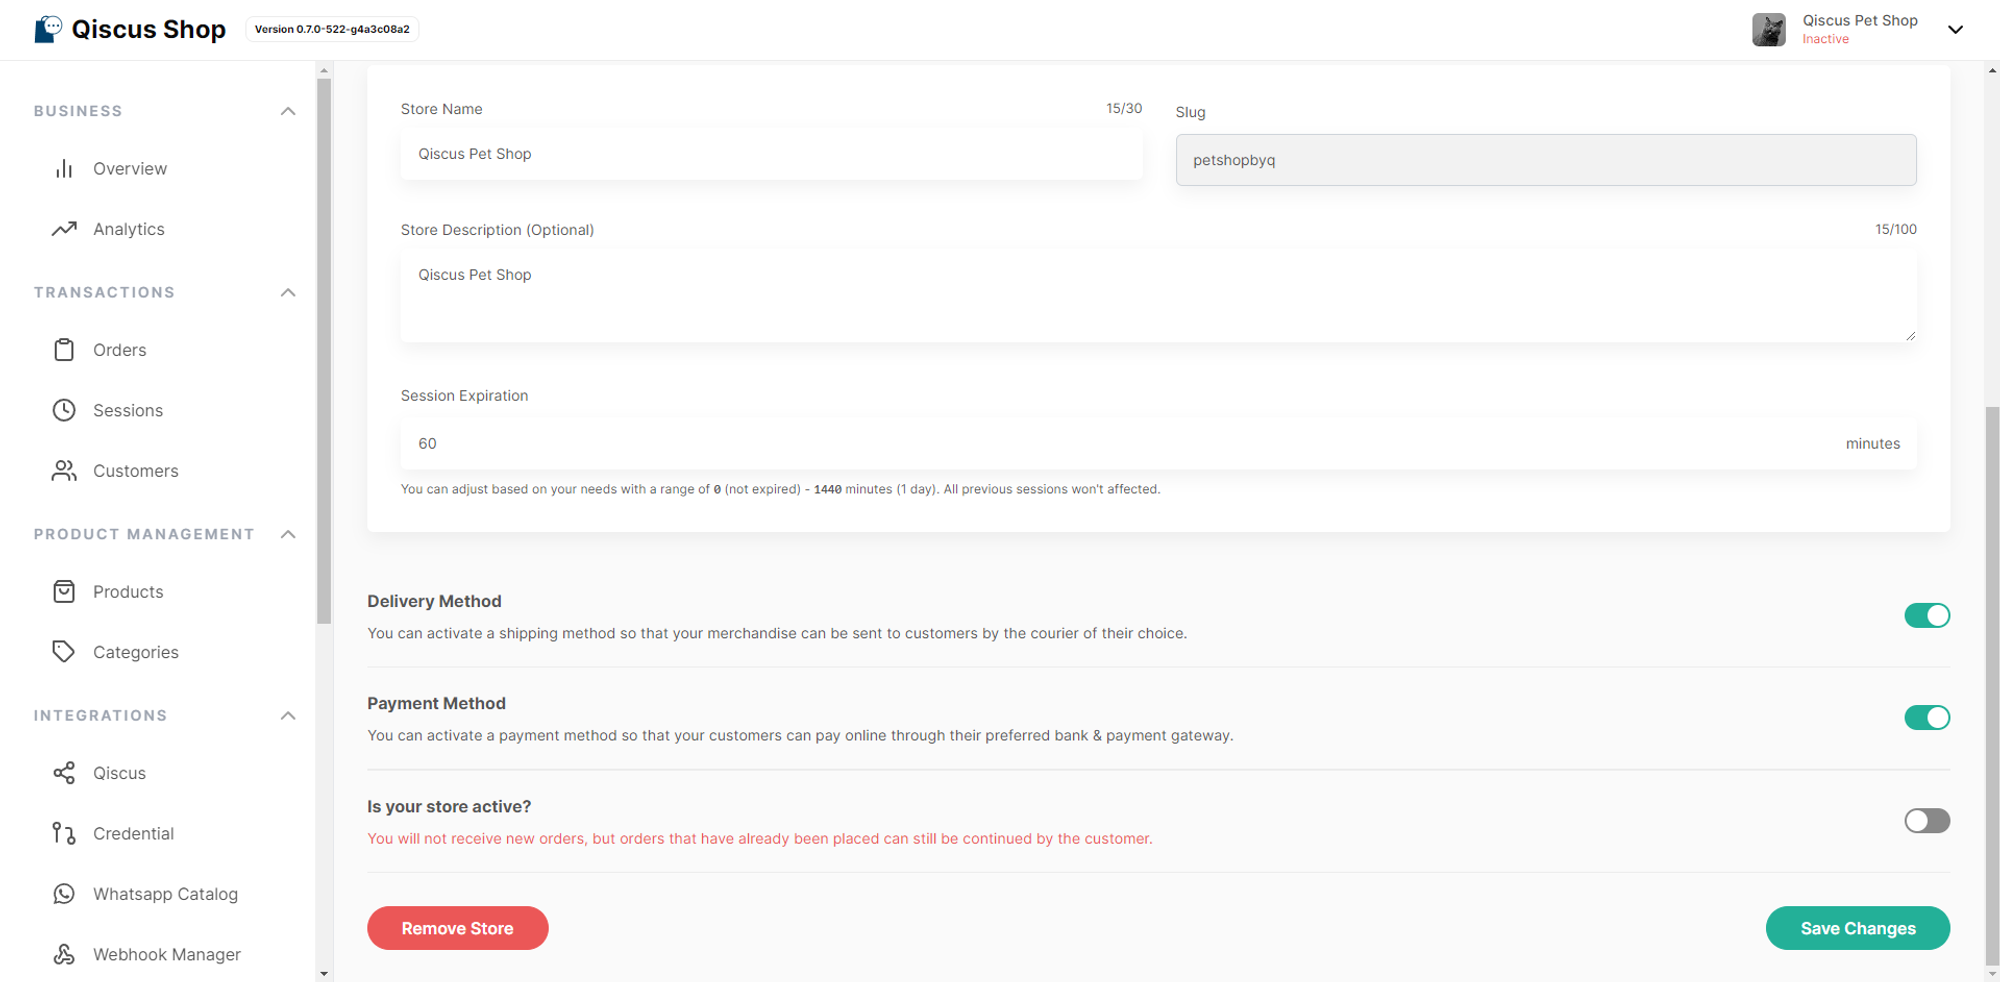
- Navigate to the "Settings" menu and find the "Store" submenu. Scroll down to the bottom.
- Before you can remove the store, it's necessary to disable your account store to stop any ongoing transaction activities. Do this by turning off the "Is your store active?" toggle, then hit the "Save Changes" button.
- Disabling your store means you won't receive new orders, but existing orders can still be fulfilled by customers.
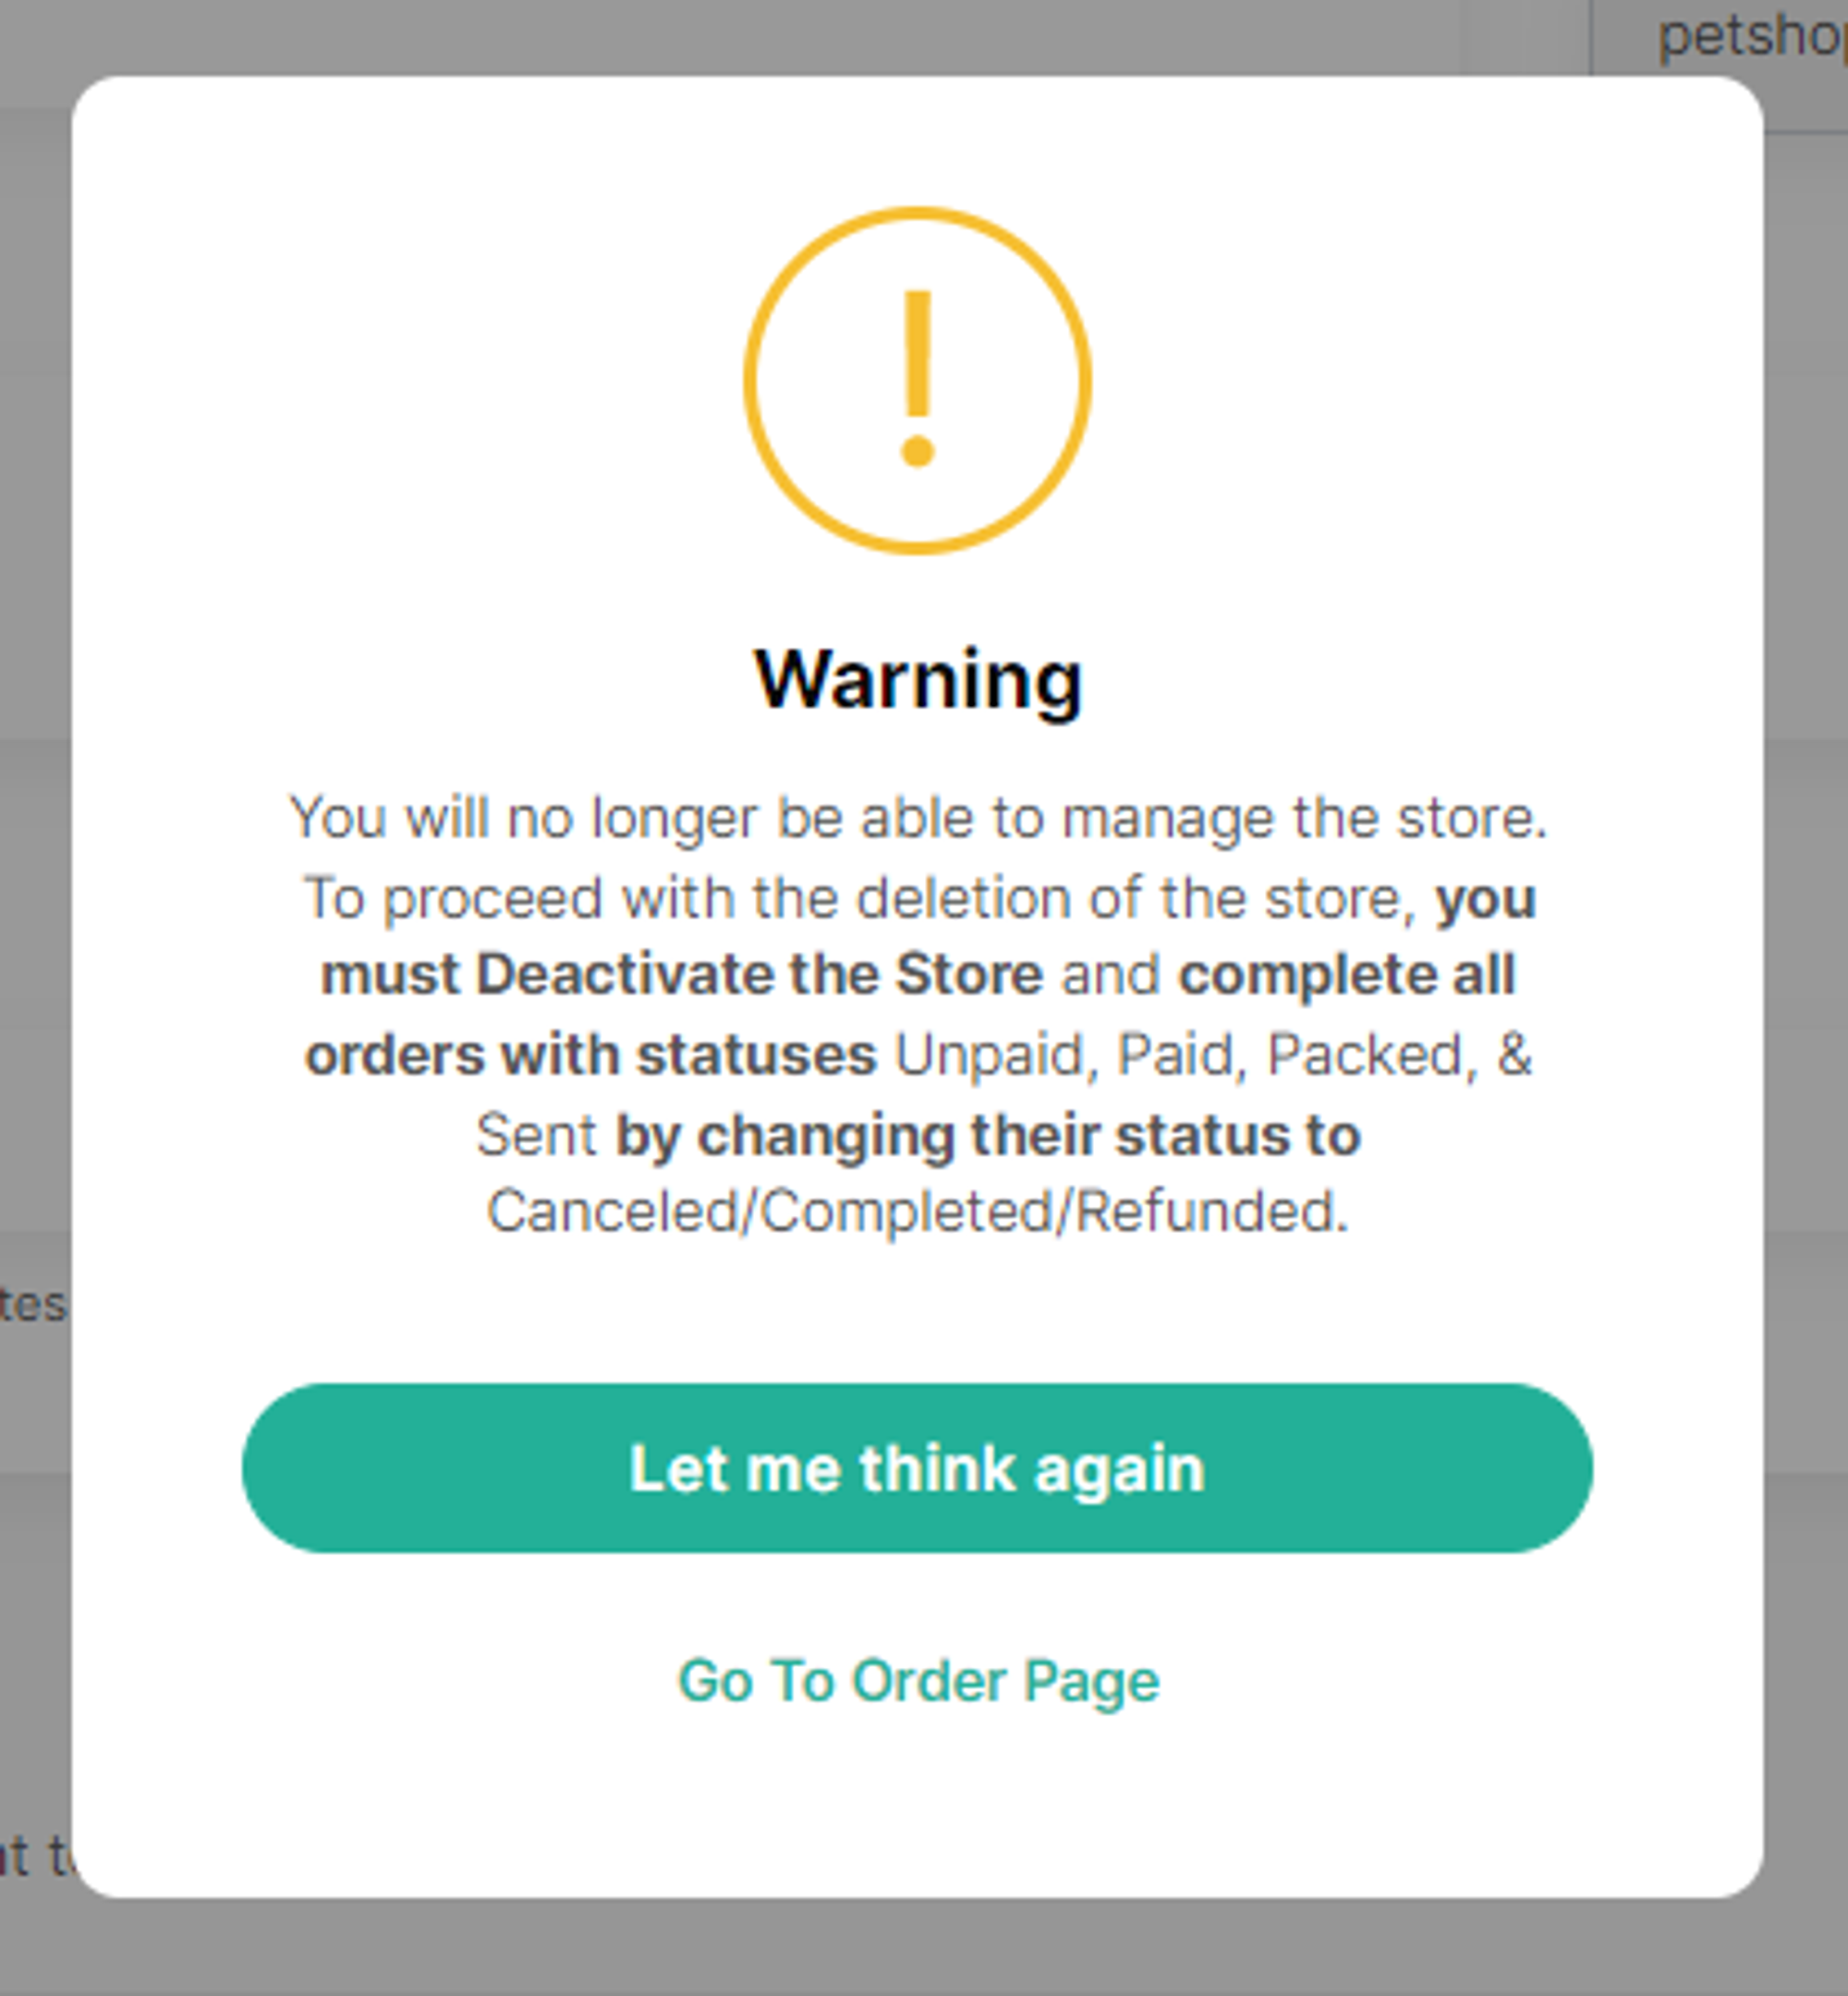
- Click on the "Remove Store" button. If you have any ongoing transactions, you'll be directed to the order page by clicking the "Go To Order Page" button. Make sure all transactions are completed, as removing the store is a permanent action.
- If all activities are completed, a pop-up notification will appear, warning that removing the store will prevent you from managing it further. To proceed with the removal, tick the box labeled "I understand and accept the consequences that occur after my store is deleted as stated above.".
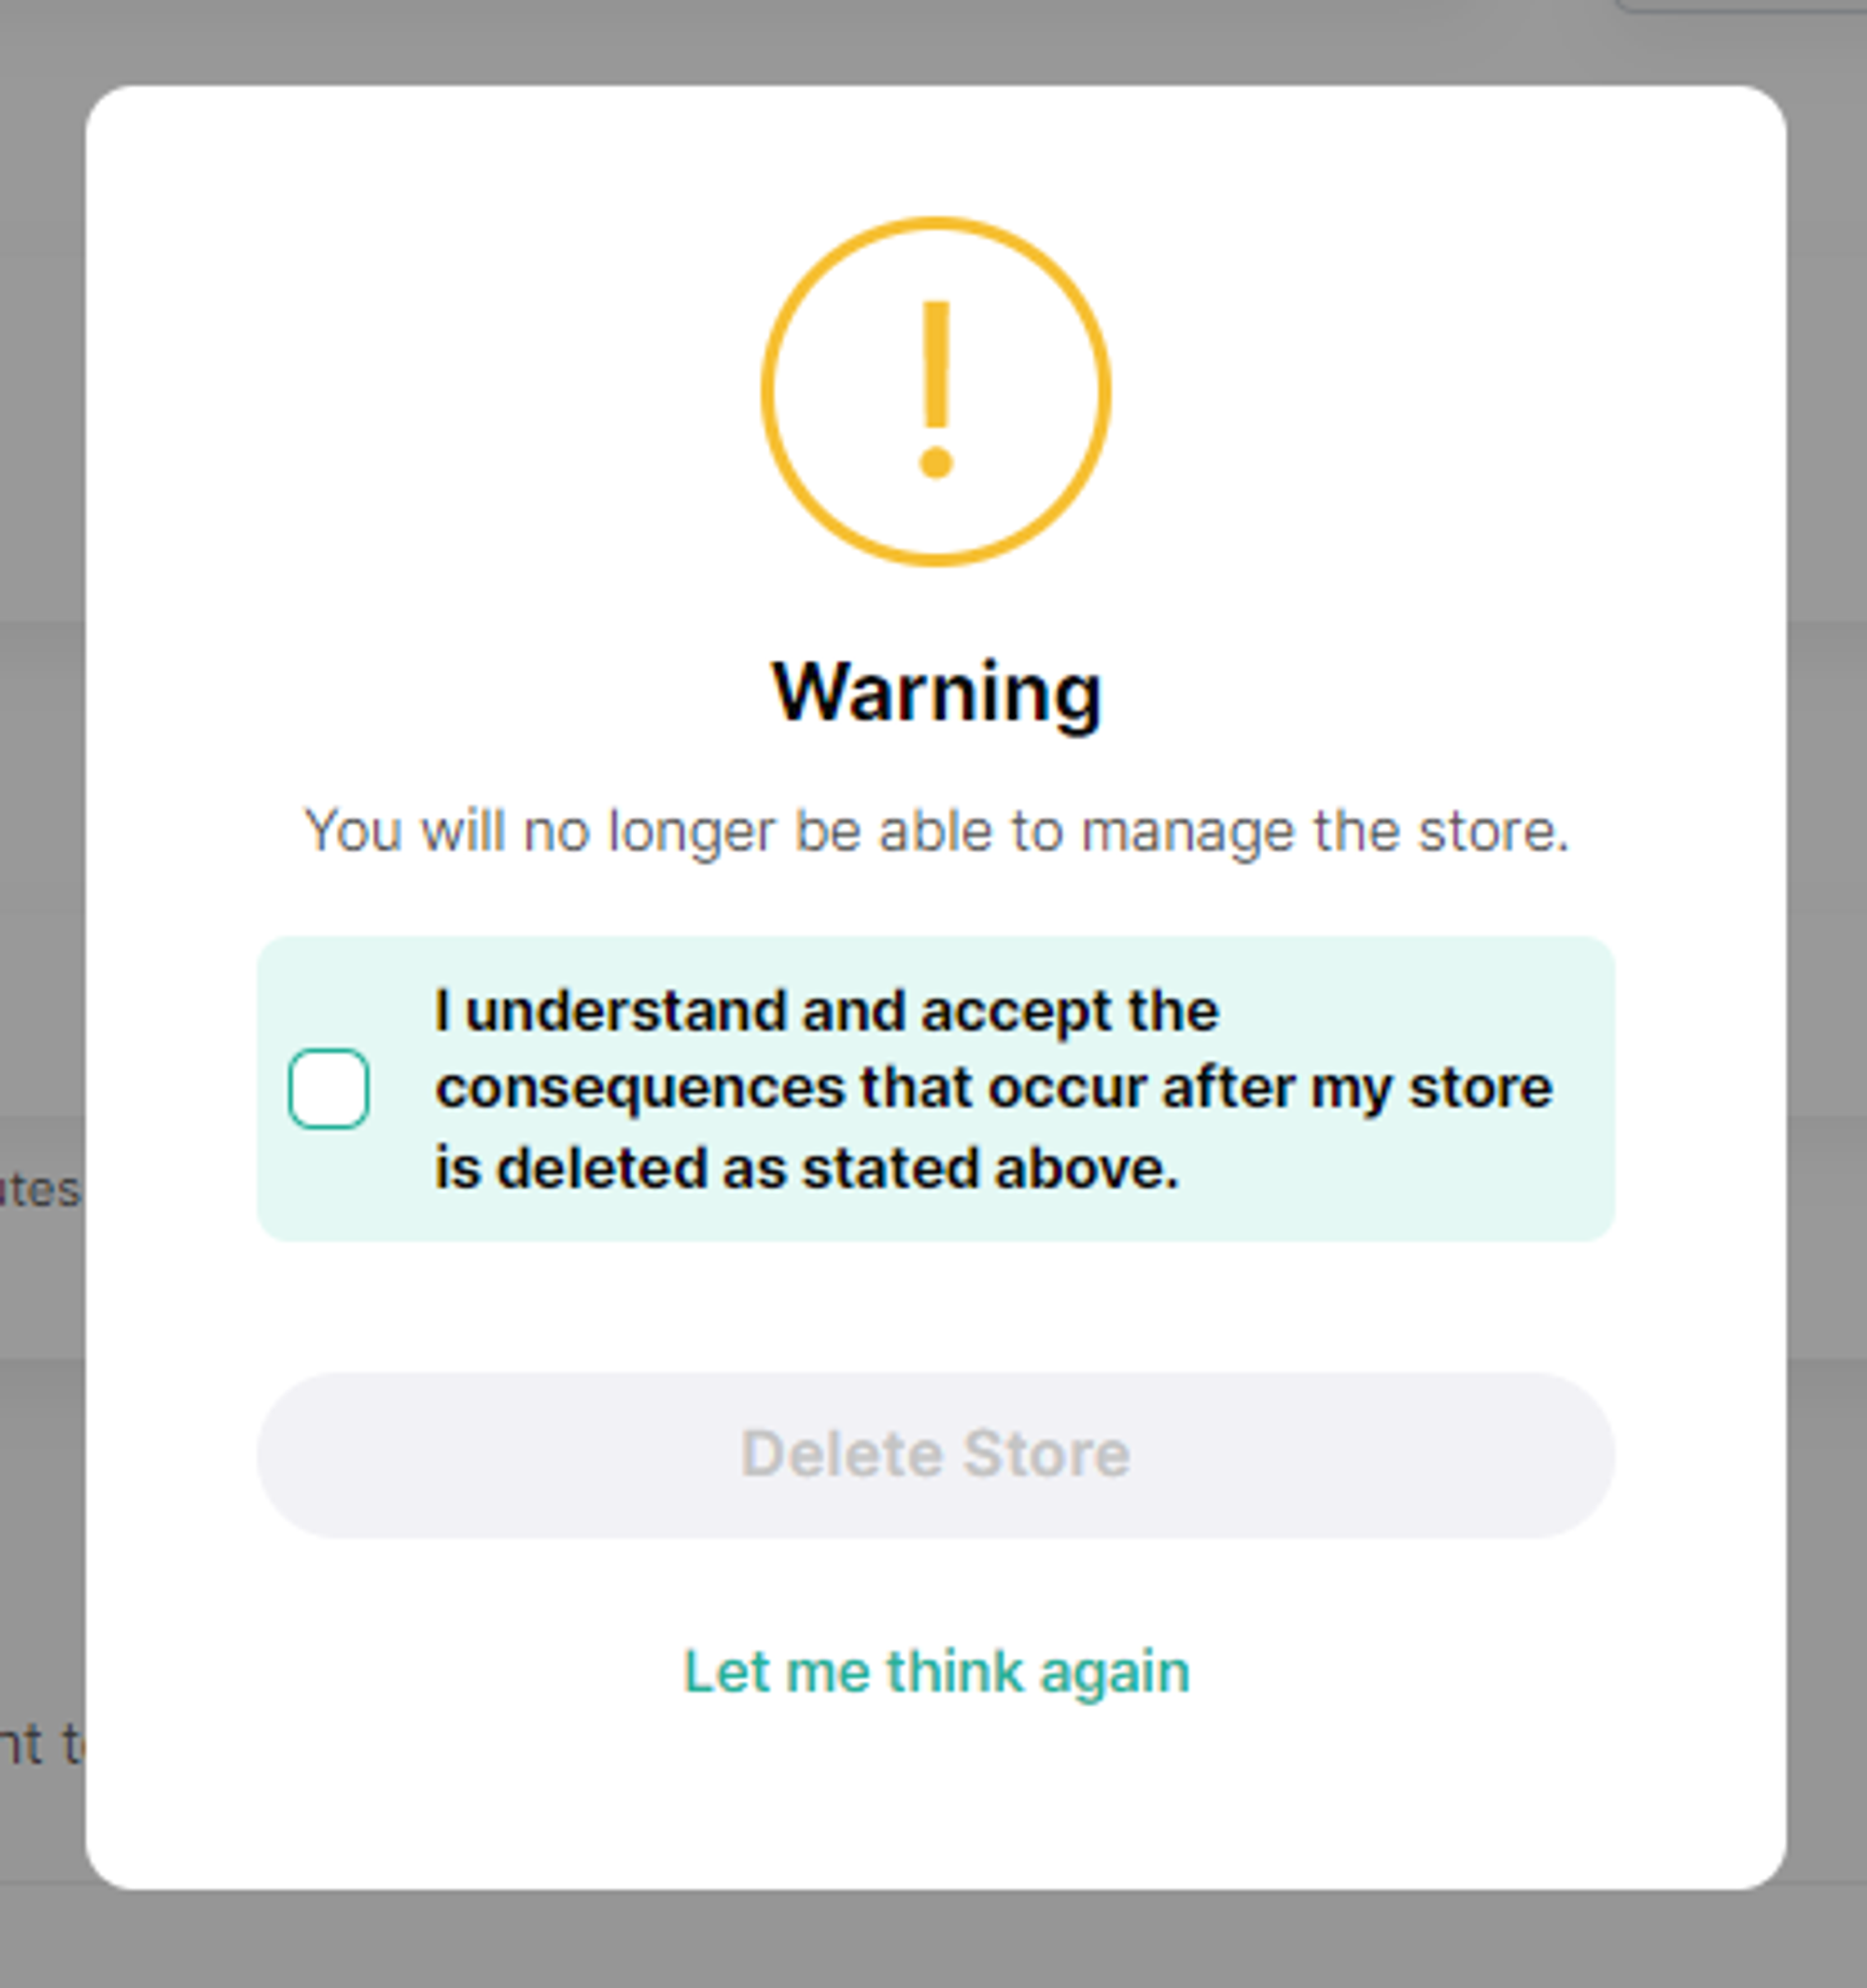
- To finalize the process, click the "Delete Store" button.
- Once the store removal process is finished, you will be redirected to the list of stores.
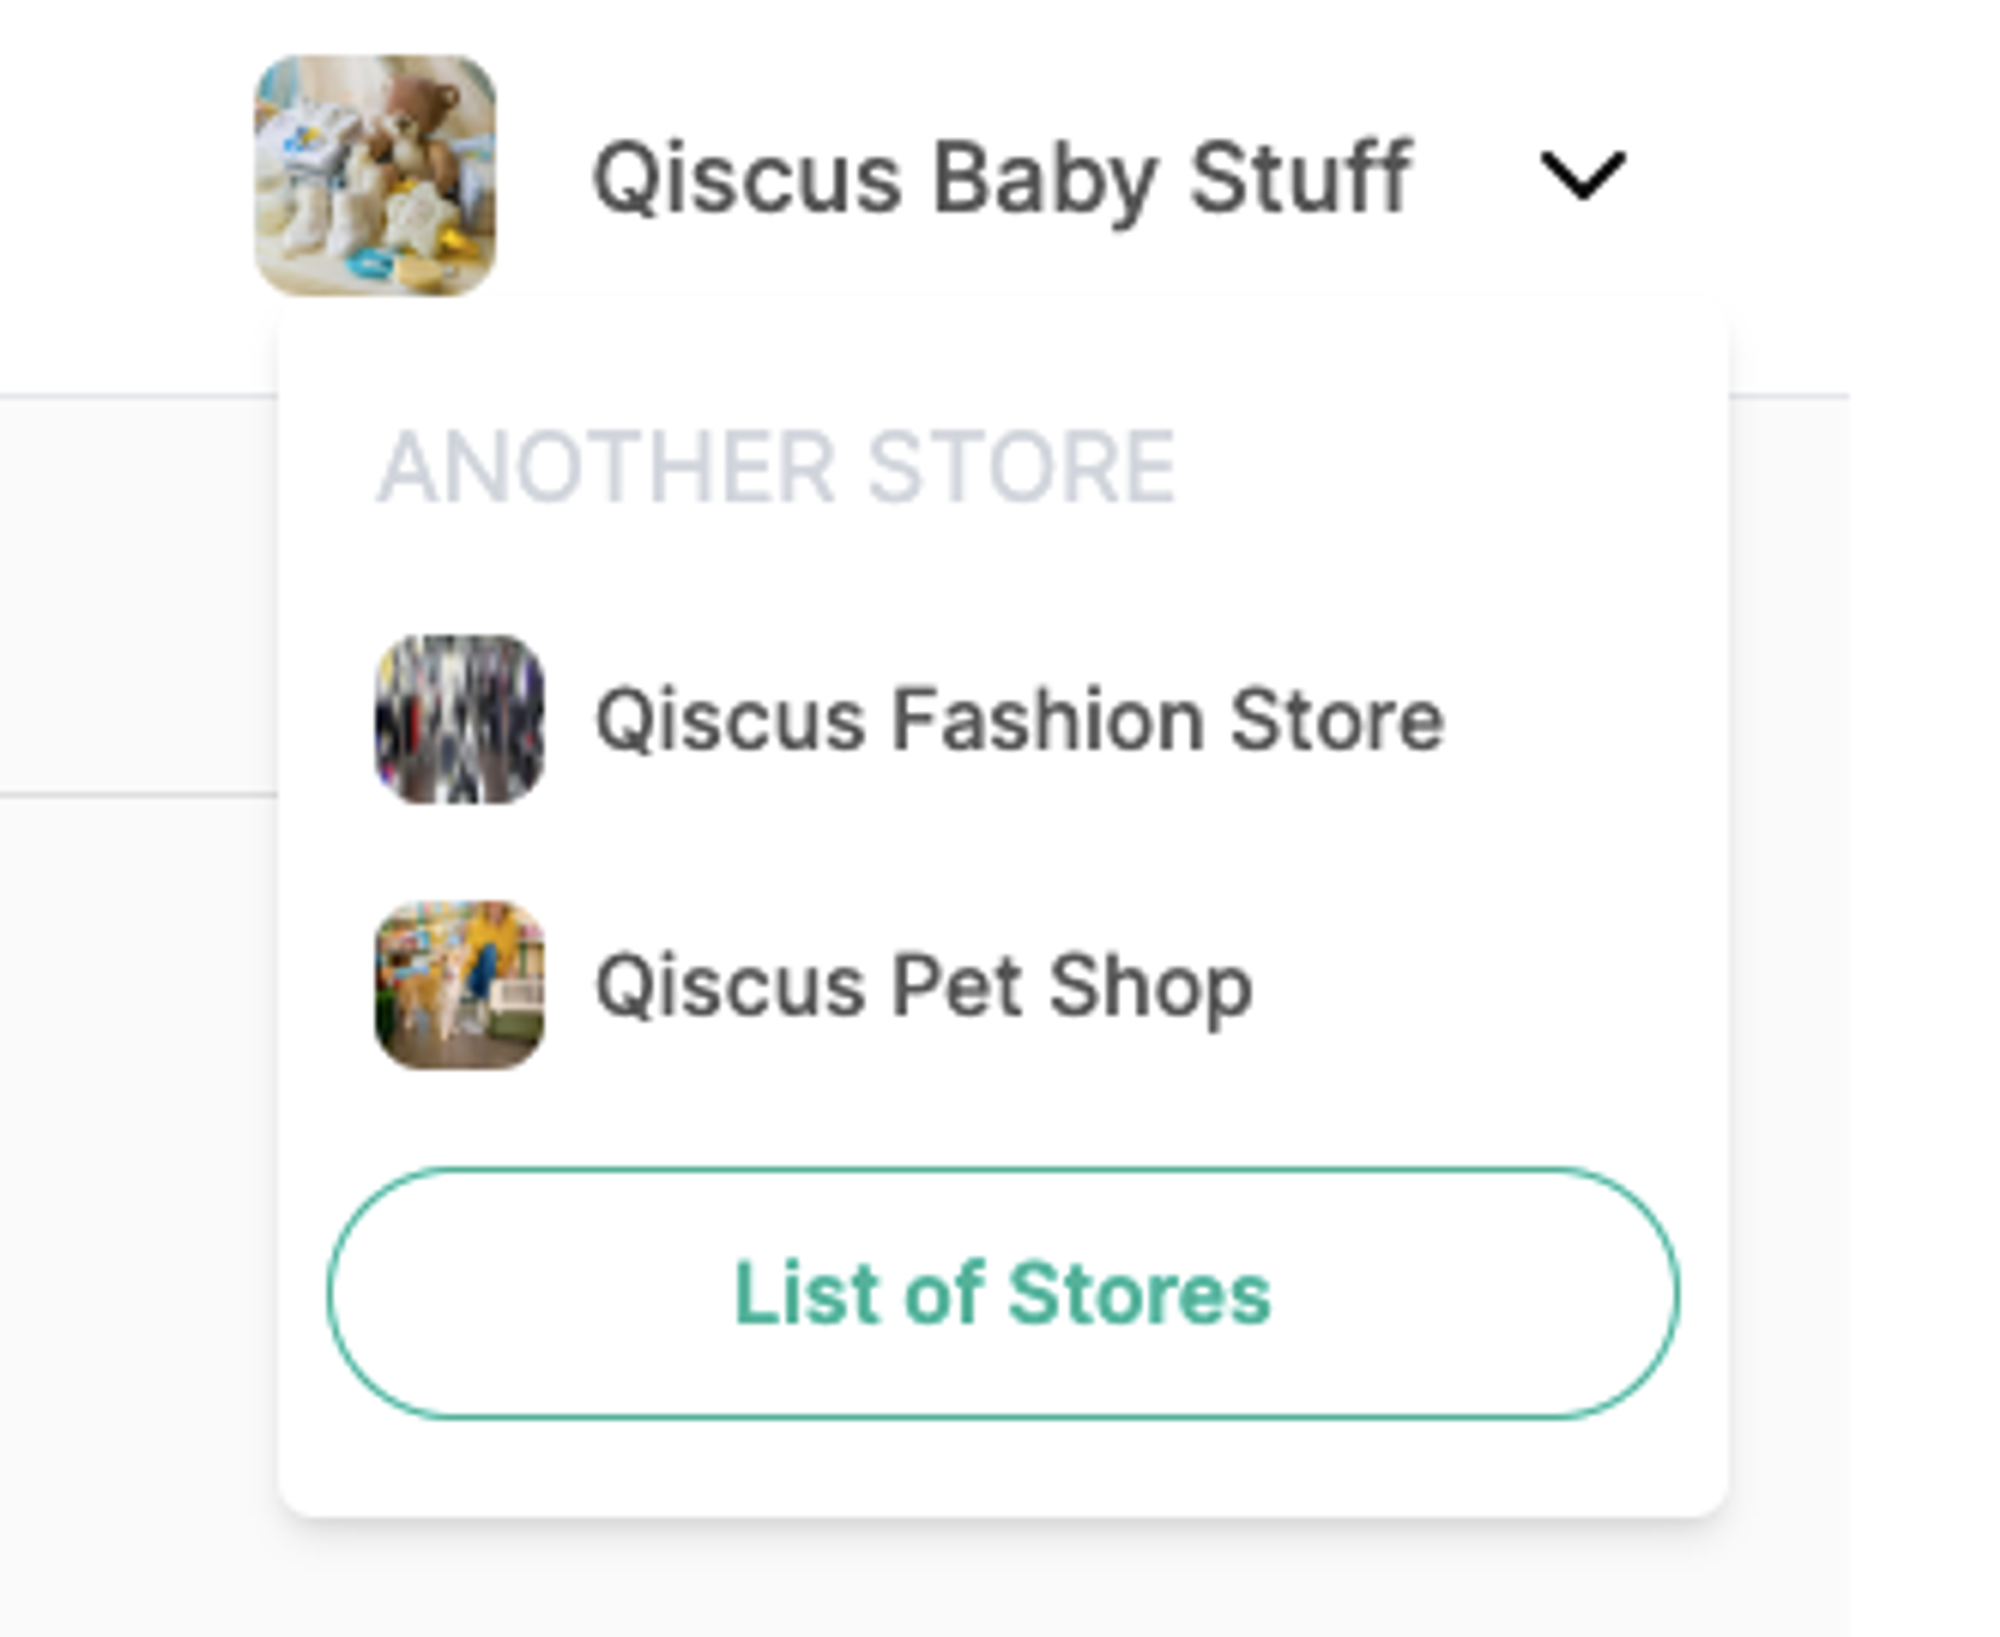
Easily Switch Stores
Switching stores is straightforward and doesn't require navigating back to the store list page. Here's the simplified process:
- Click on the store name located in the upper right corner.
- A dropdown will display all your stores.
- Simply click on the store you wish to switch to, and you'll be redirected immediately.