
If you're managing a large catalog, importing products via CSV or Excel is much faster than adding them one by one. This guide walks you through preparing your file and uploading it to Qiscus Shop.
Preparing Your Product File
Step 1: Open the Import Page
Go to Product Management > Products, then switch to the Export & Import Data tab. You'll see two options — Export Data and Import Data.
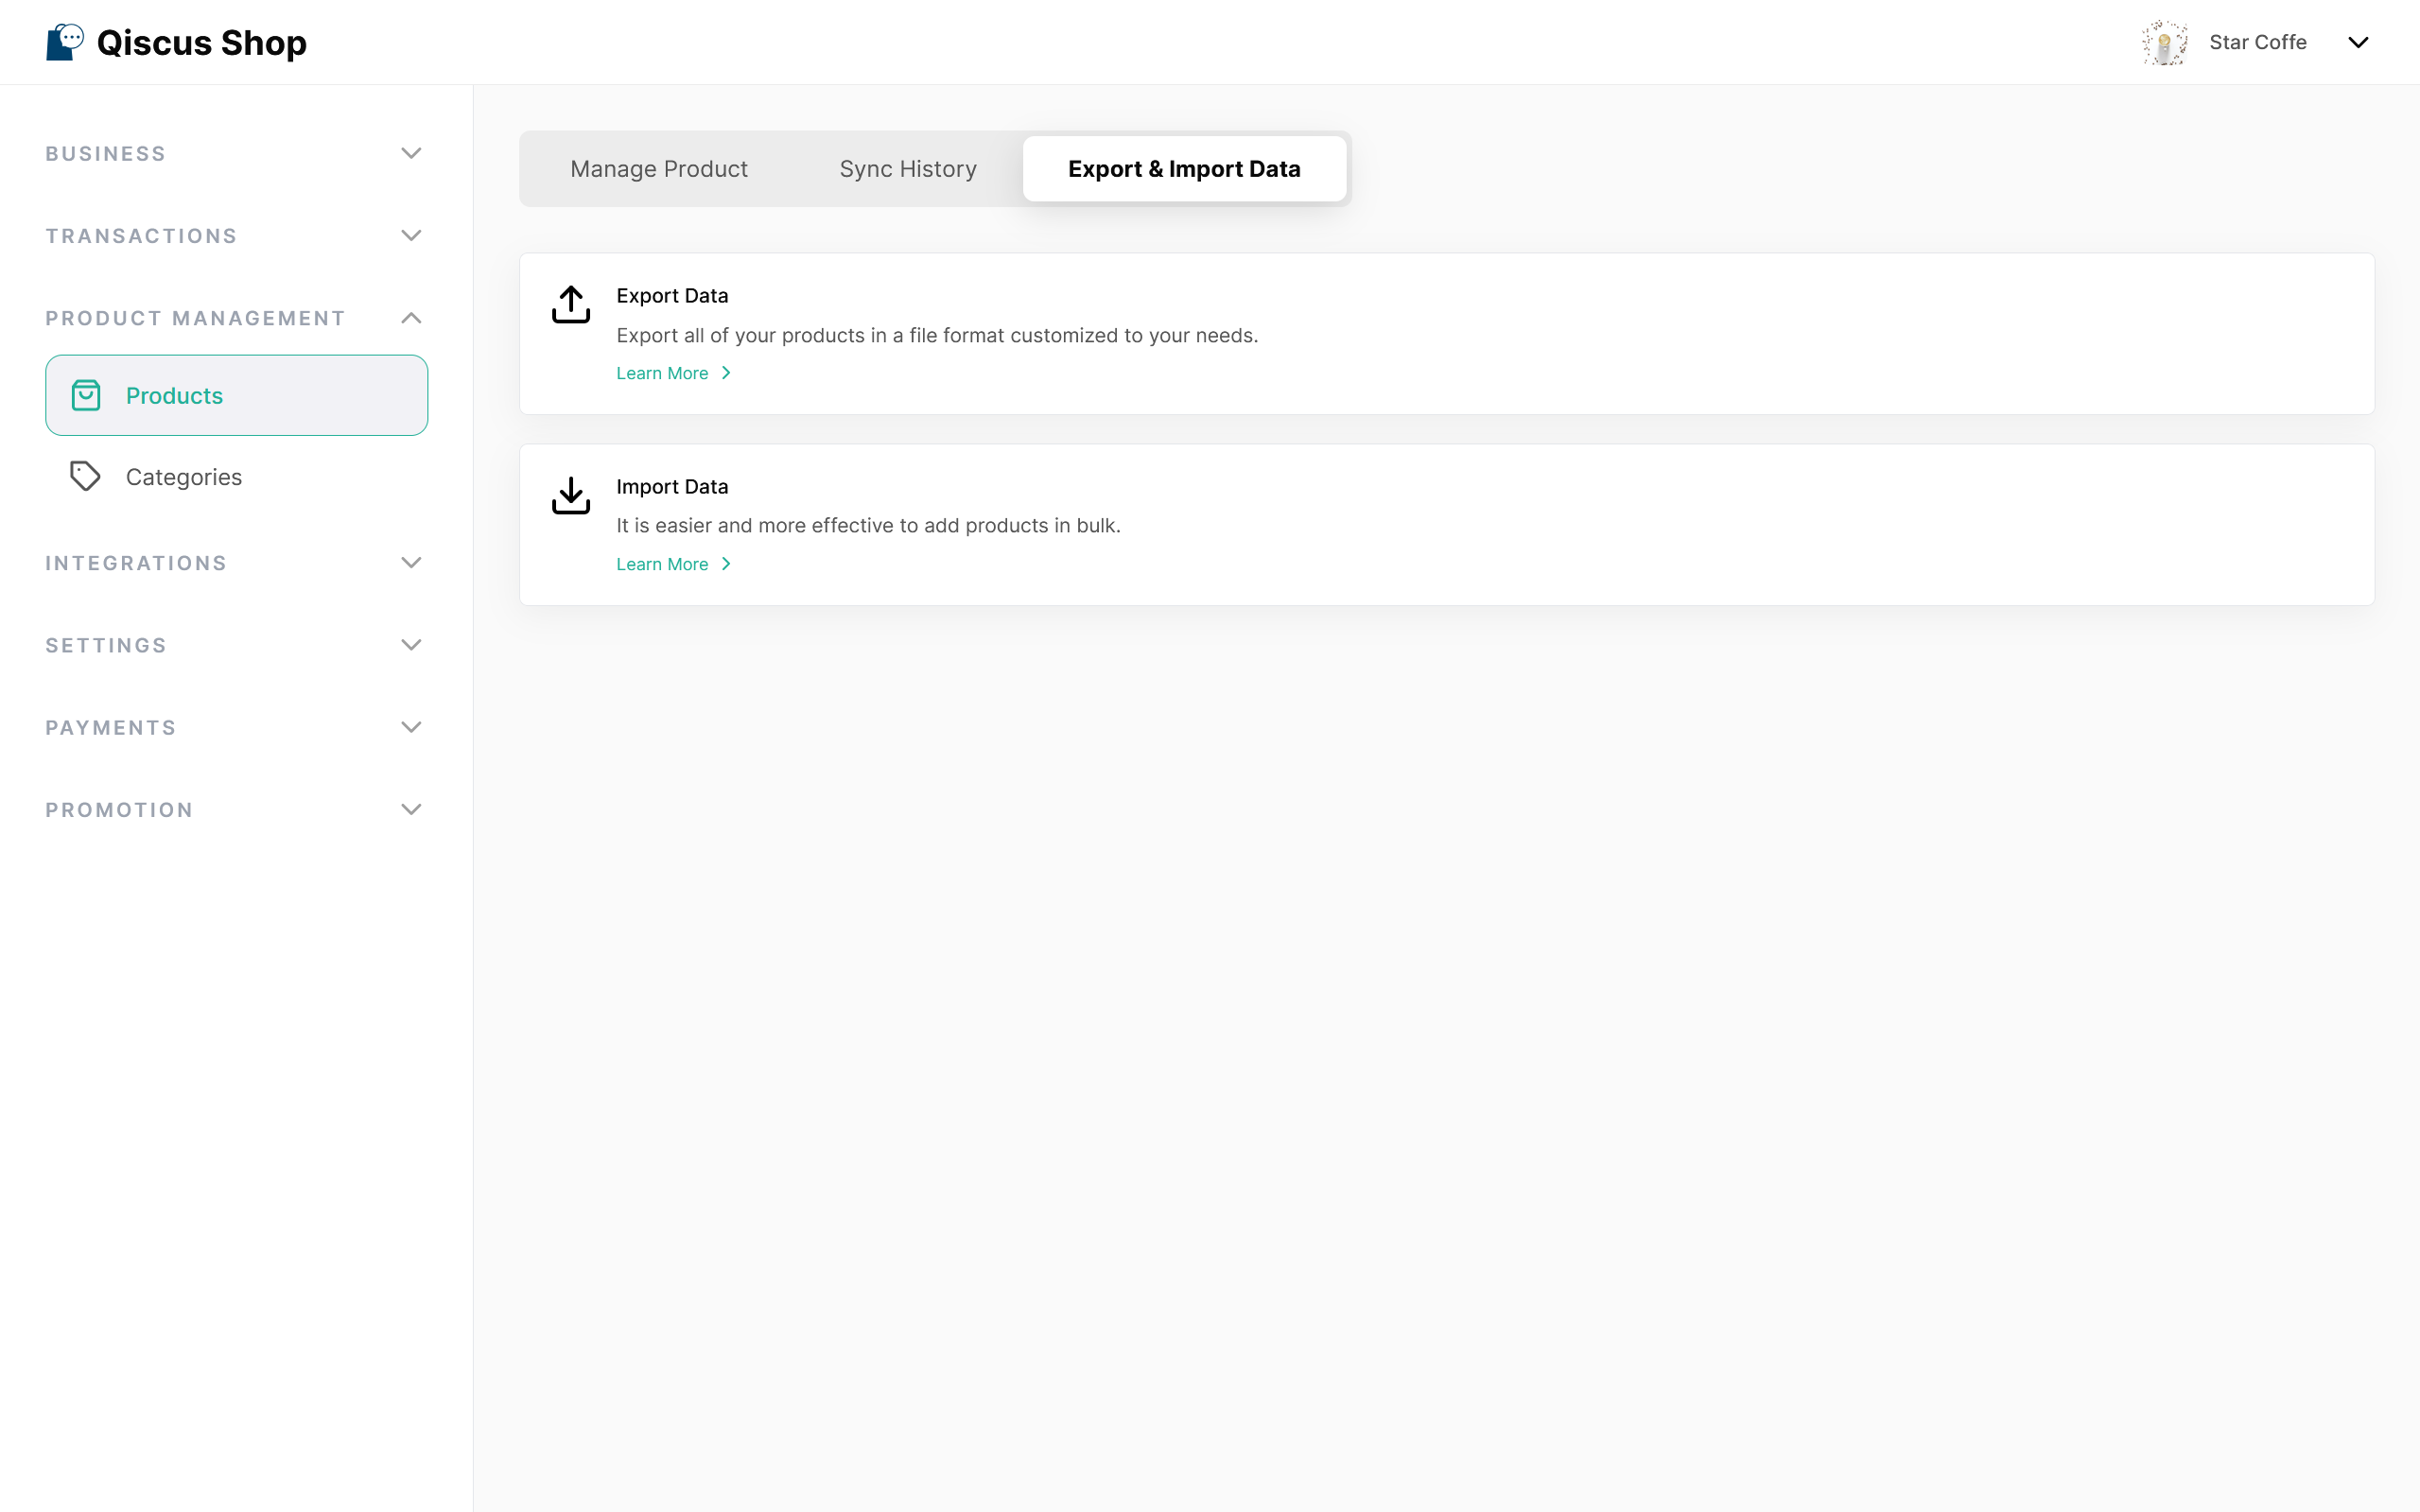
To re-import a file exported via Export Data, make sure it was exported in the Qiscus Shop format — these files follow the Import template structure and can be edited and re-imported directly. Files exported in other platforms' formats (such as Meta Catalog) cannot be imported into Qiscus Shop; for those, prepare your data using the dedicated Import template format instead (see Step 2).
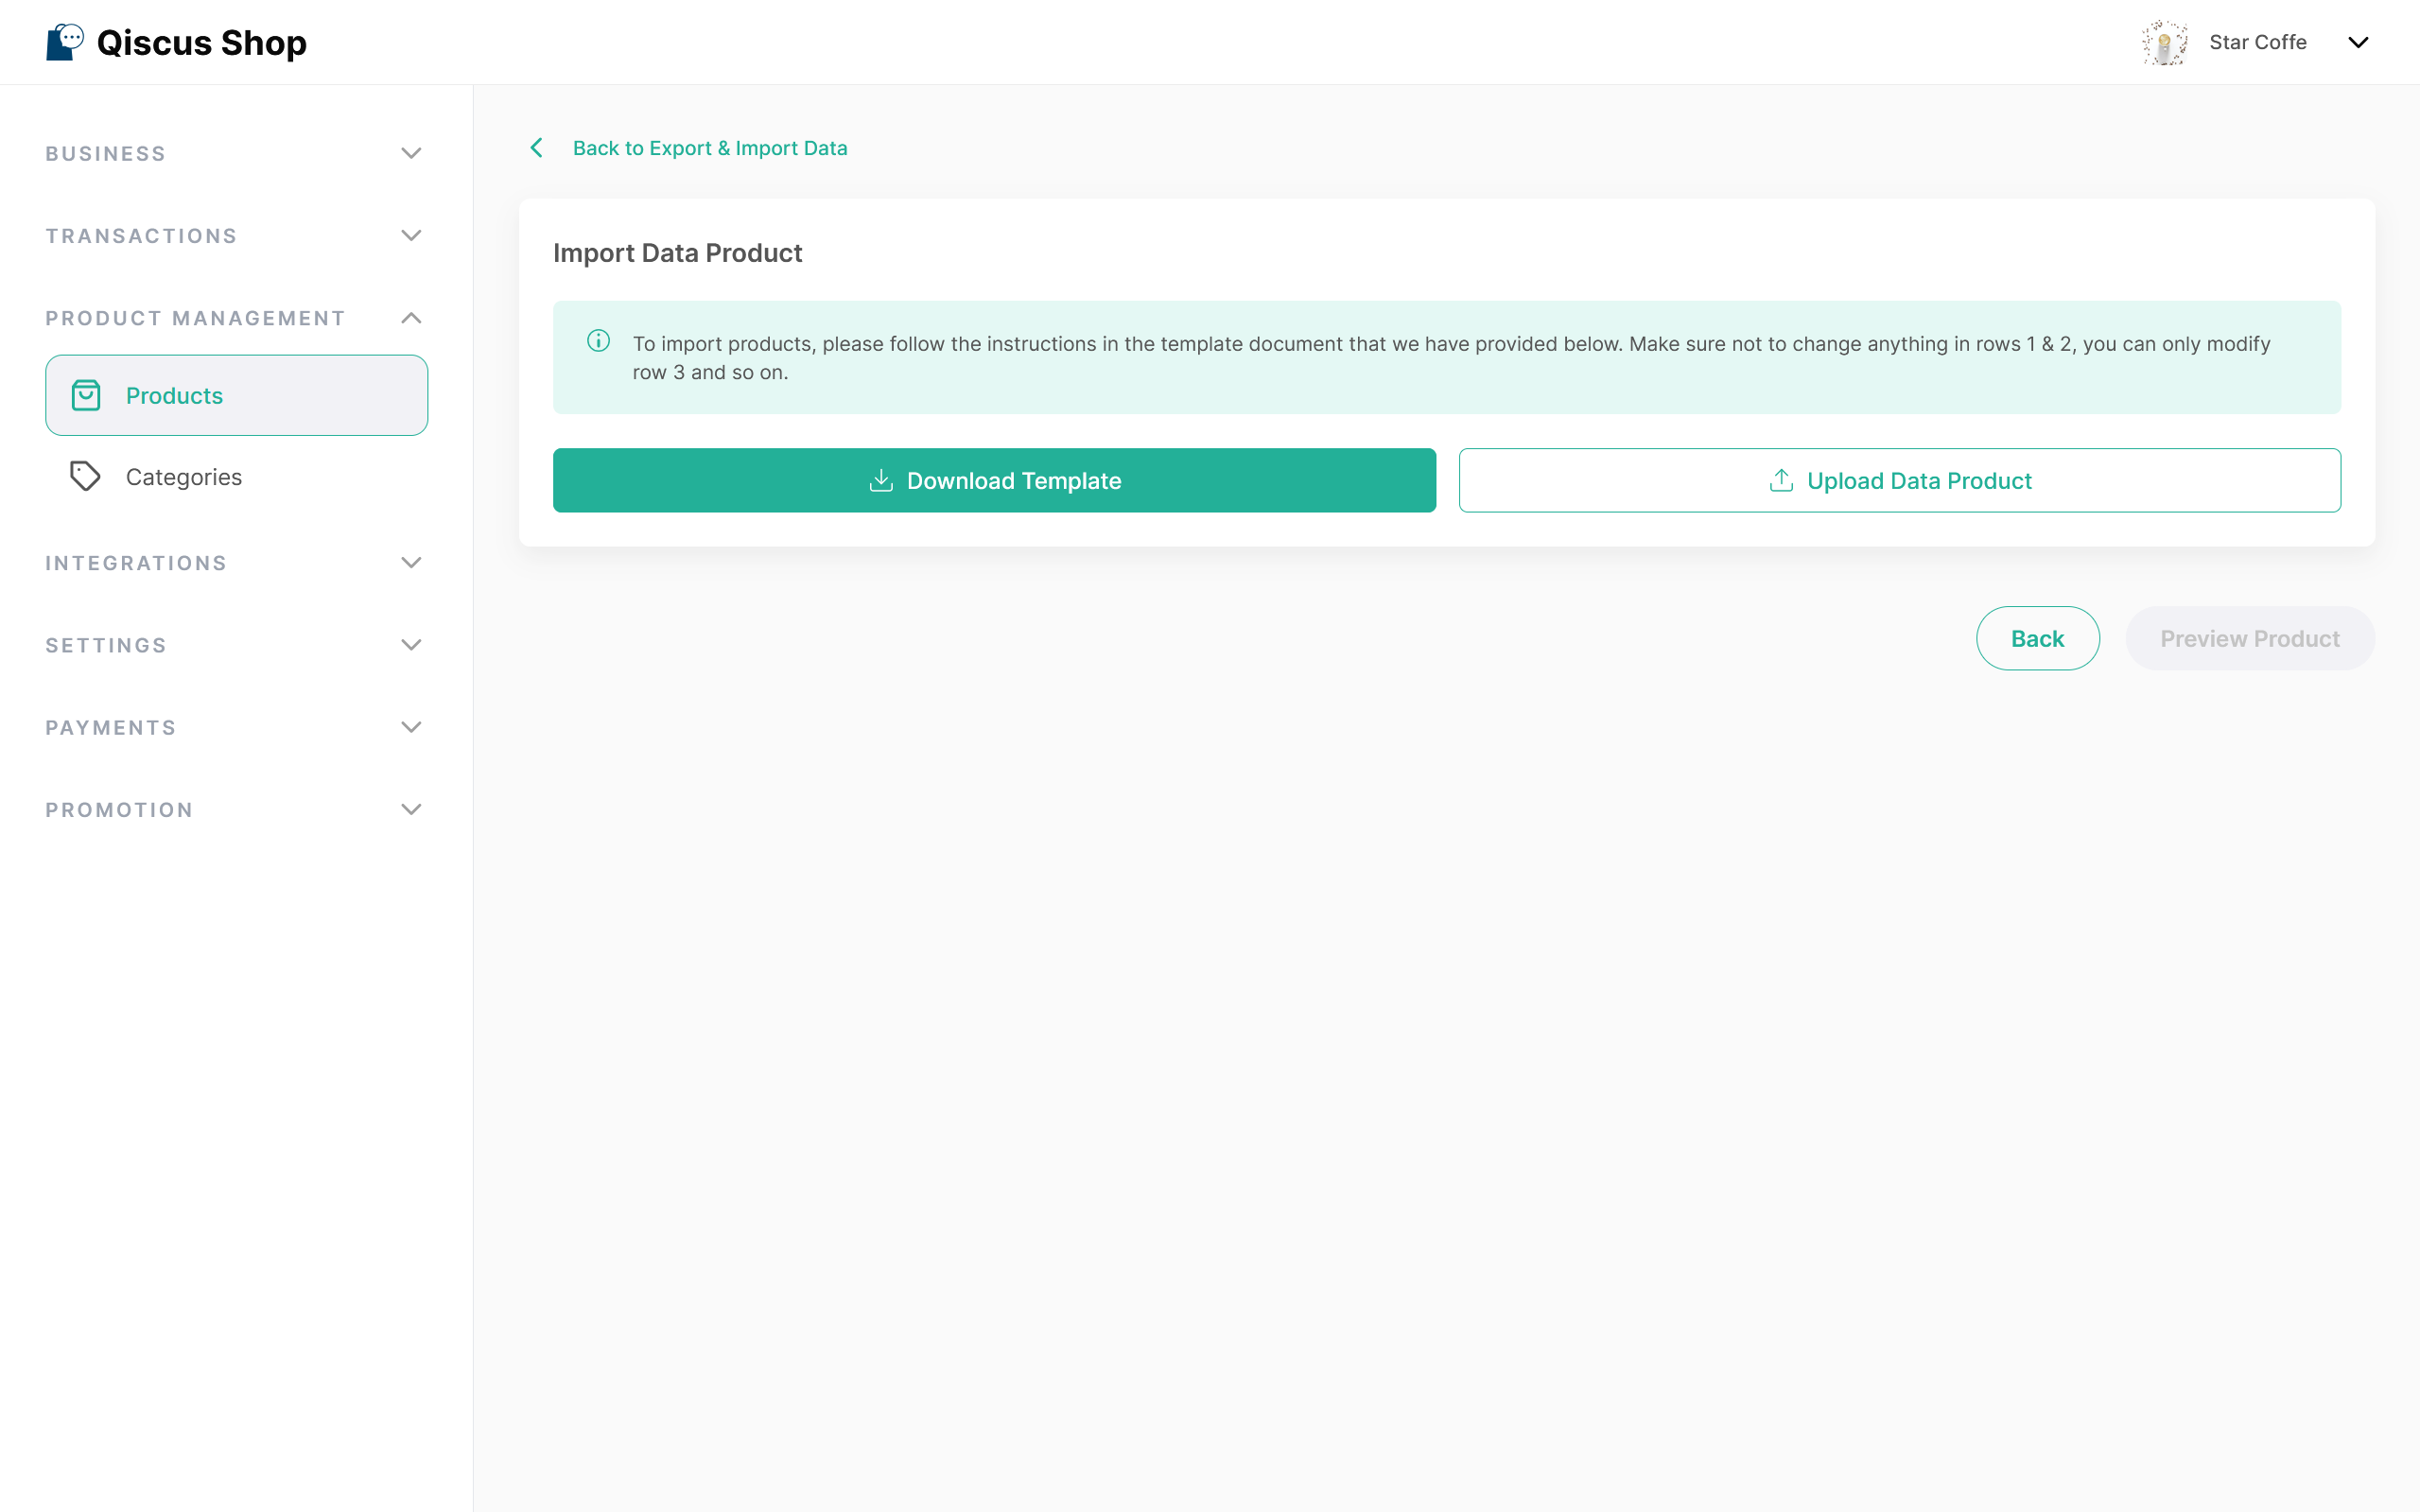
Click Learn More under Import Data to continue. This opens the Import Data Product page, where you'll find both the Download Template and Upload Data Product buttons.
Step 2: Download the Template
Click Download Template to get the CSV file you'll use to prepare your product data.
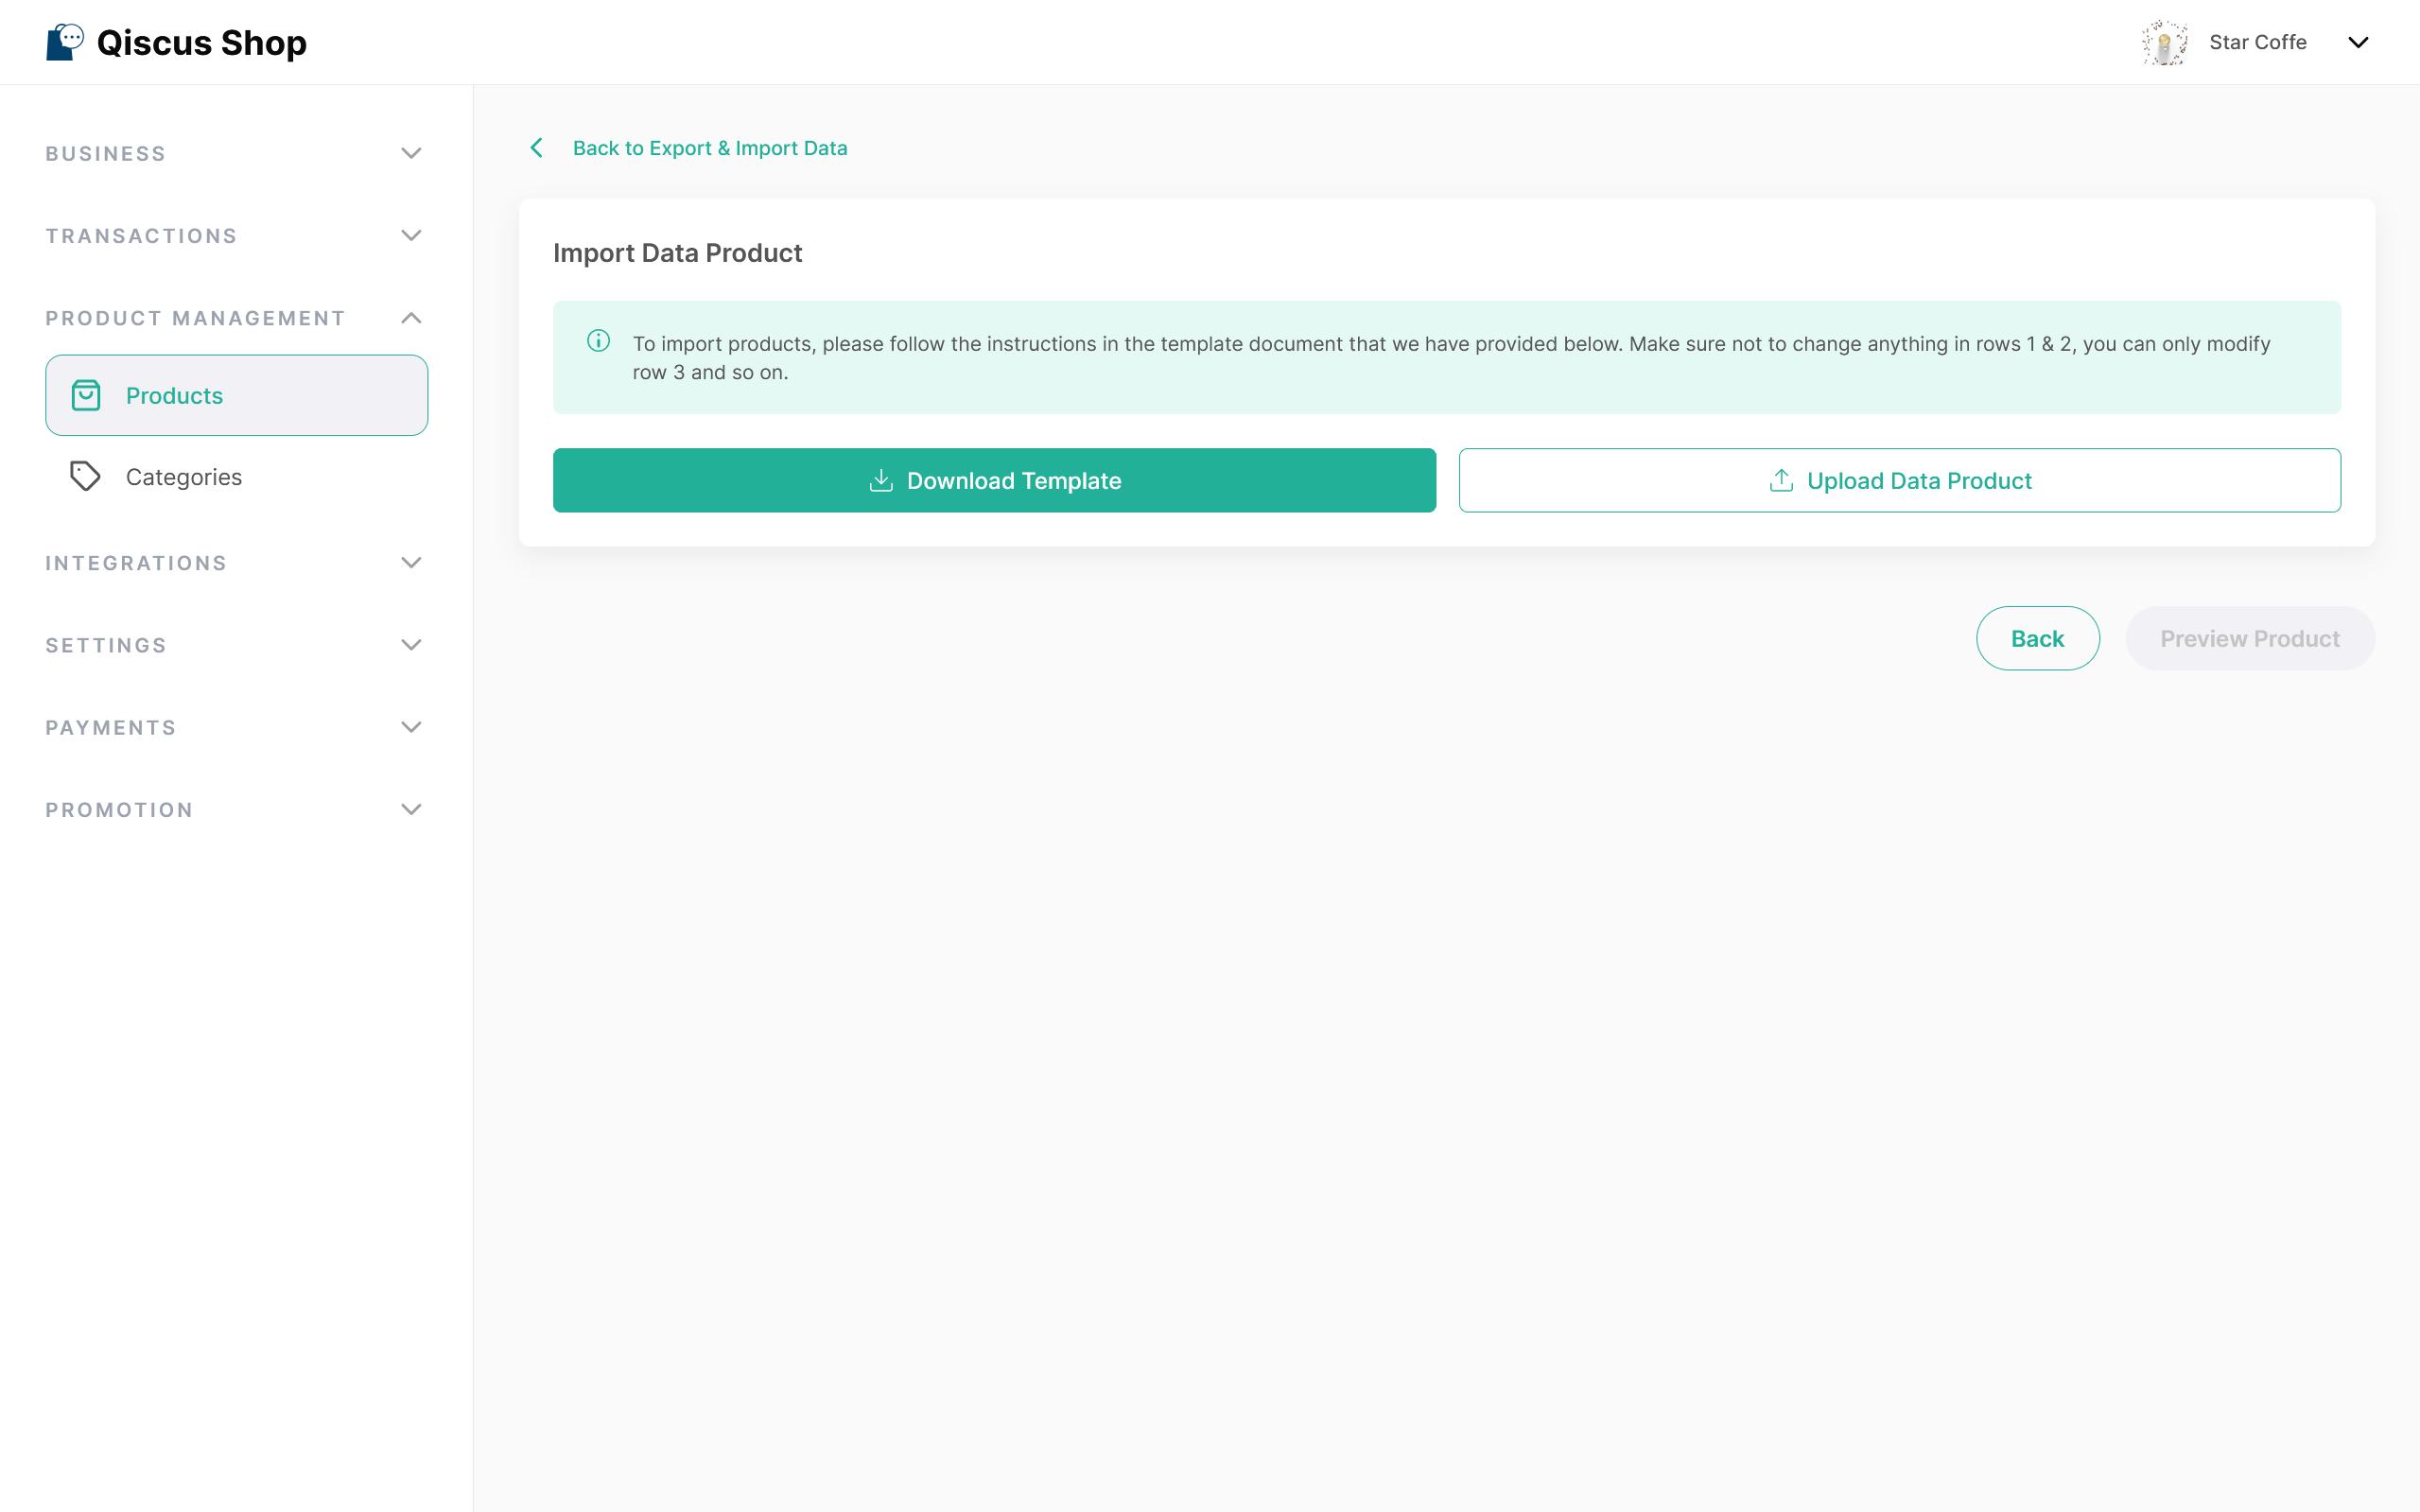
Rows 1 and 2 of the template are fixed instructions — please don't modify them. You'll only need to fill in row 3 onward with your product data.
Step 3: Fill in the Template
The template includes instructions in its second row — here's what each field means:
Product Name: for products with variants, use the same product name across all of that product's rows.
Description (max 255 characters): a clear, complete description of the product.
Product Photo: a publicly accessible photo URL. You can get one by either uploading the photo to an image hosting service, or by right-clicking the image in your browser and selecting "Copy image address".
Product SKU (2–5 characters): use the same SKU for all variants of the same product.
Product Weight: the item's weight in grams, numbers only (no commas or periods). Leave empty to default to 1000 grams.
Category: the product's category. If it doesn't exist yet, it will be created automatically; leave empty and it defaults to "Uncategorized".
Variant Name: the specific variation being described (make sure it matches the product it belongs to).
Variant Photo: a publicly accessible photo URL representing this specific variant.
Price: the product's price in rupiah, numbers only.
Variant SKU (2–5 characters): should correspond to the product's SKU.
Stock: the available quantity, numbers only.
Website URL (optional): a website URL for the variant, if applicable.
Variant Pre Order Days (optional): Enter the number of days needed before shipping (3-30) to mark this variant as Pre-Order. When empty, the variant stays Regular (default). See Pre-Order for details.

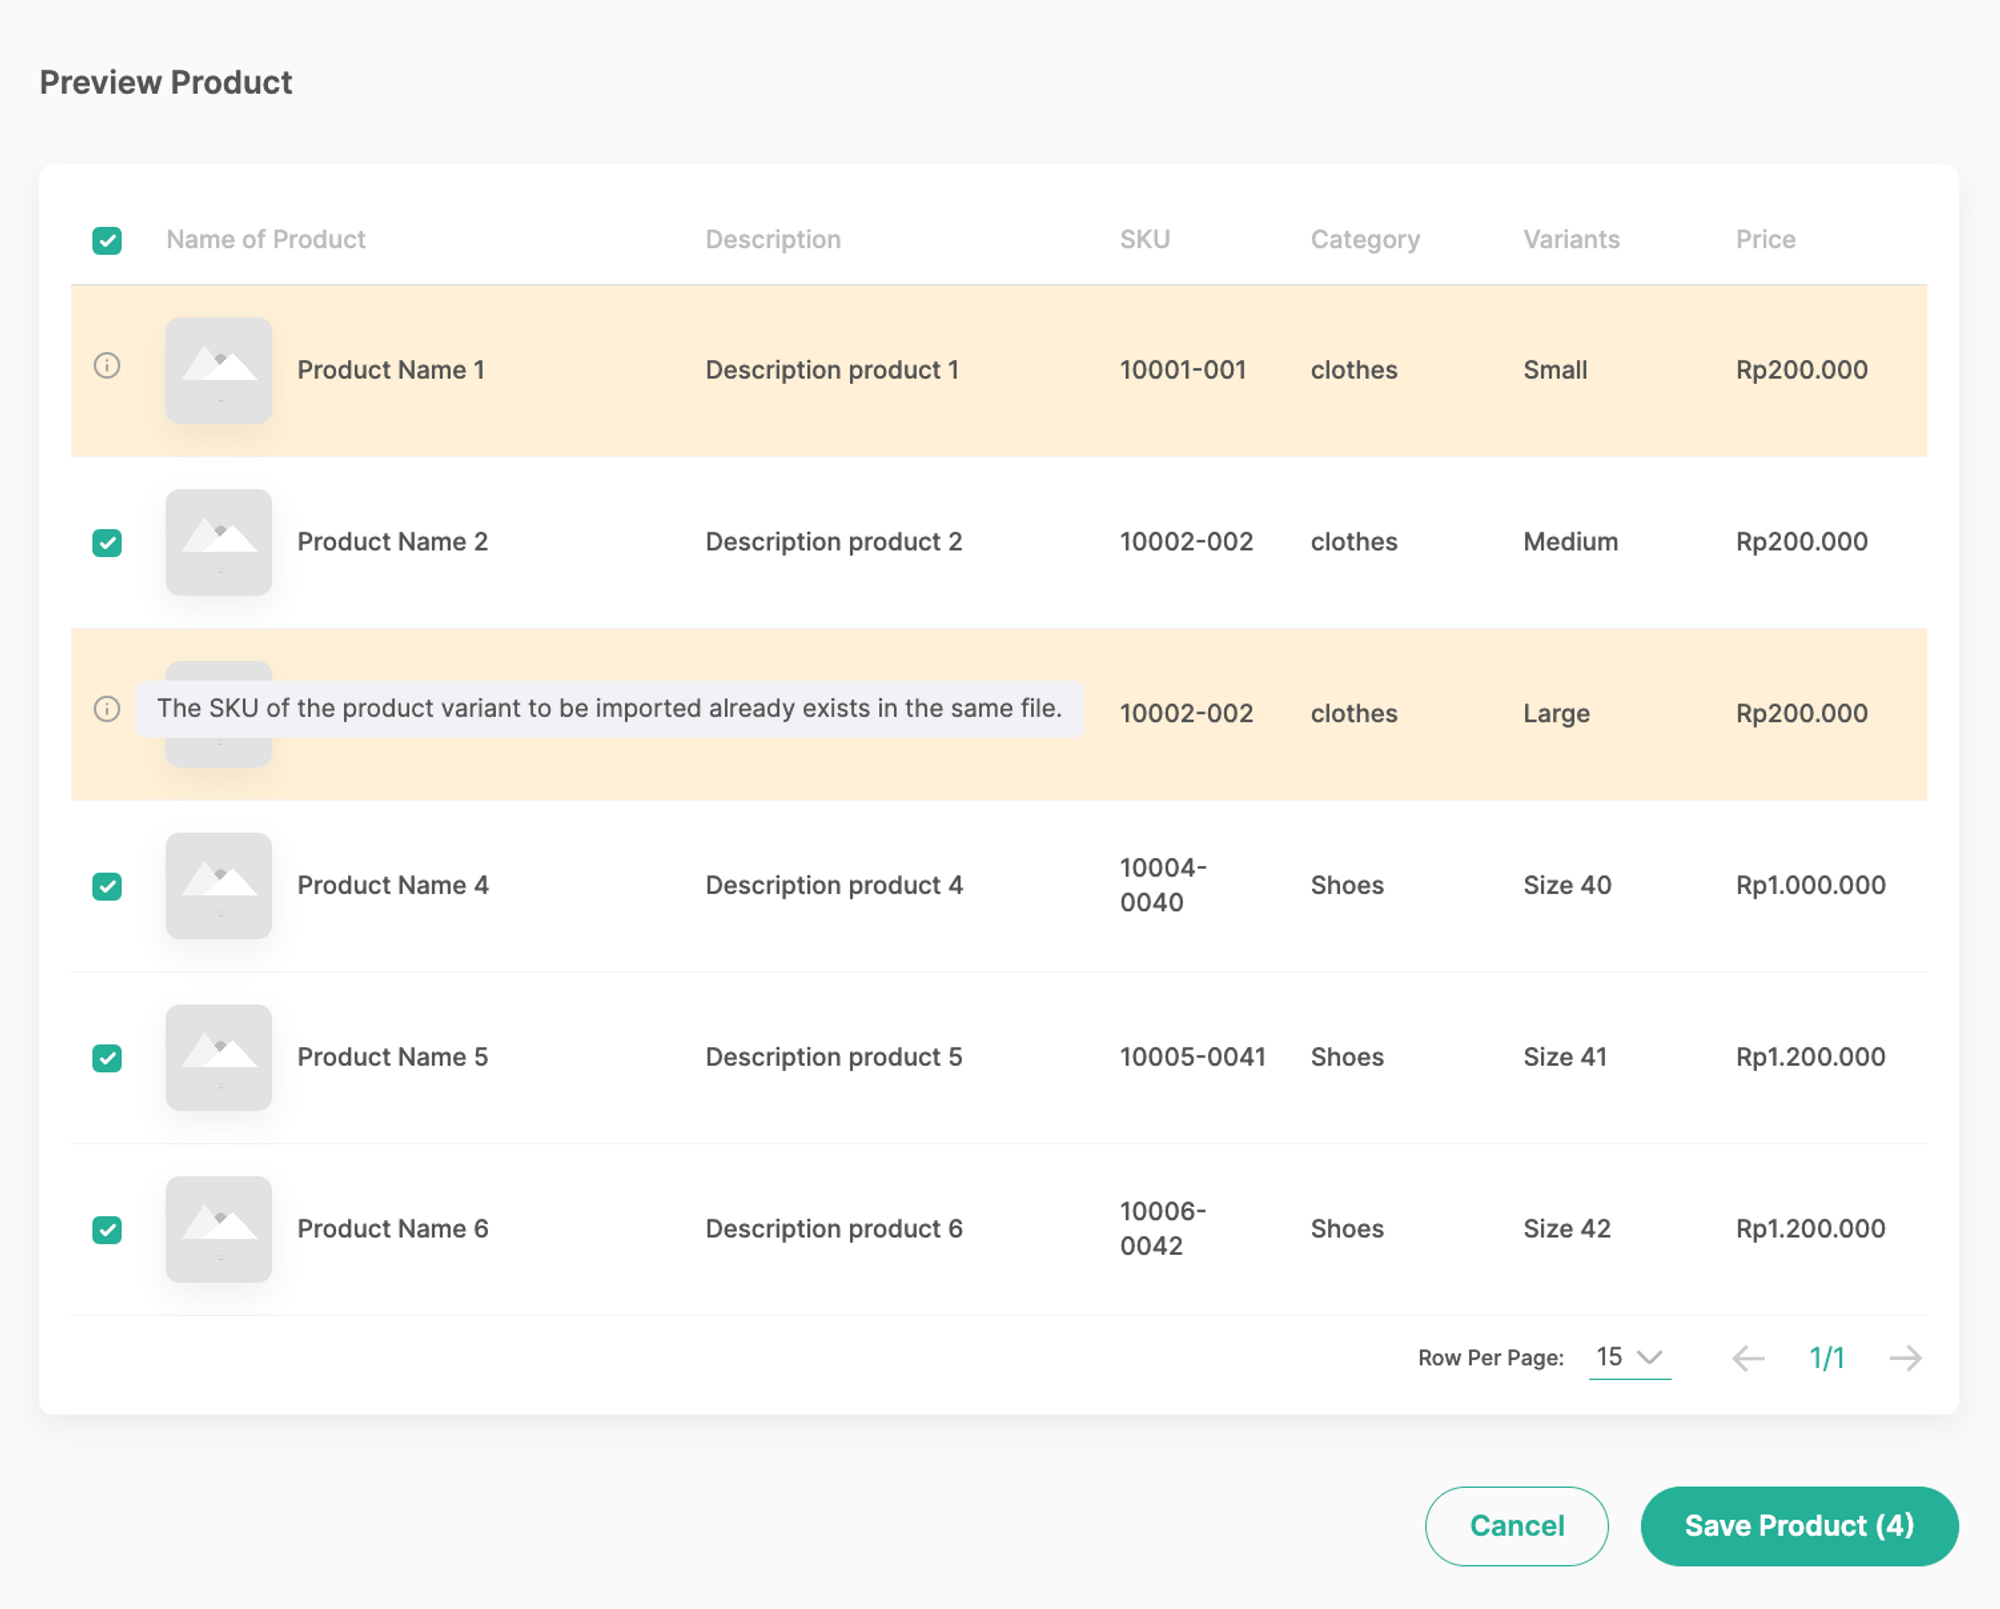
The combination of Product SKU and Variant SKU must be unique. If a duplicate SKU is found — either within the same file or already in the system — you'll see an error alert when previewing the product after import.
Uploading and Saving Your Products
Step 4: Upload the File
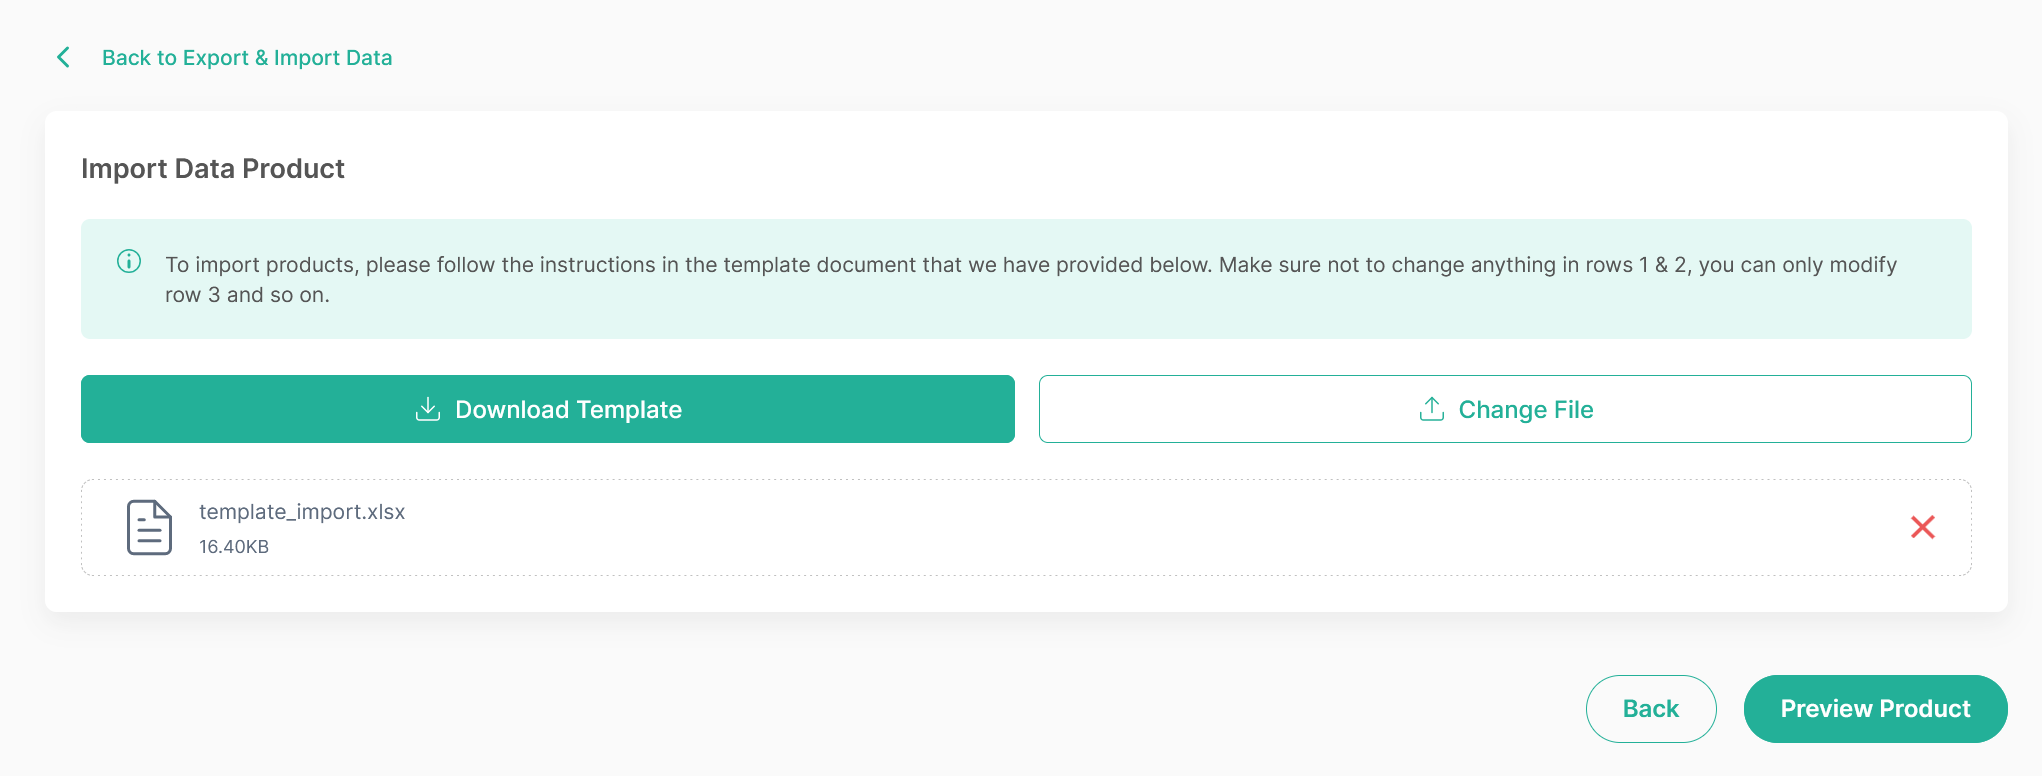
Once your template is complete and saved, go back to the Import Data Product page and click Upload Data Product. Before anything is saved, you'll get a chance to preview the data or swap in a different file.
Step 5: Review and Resolve Warnings
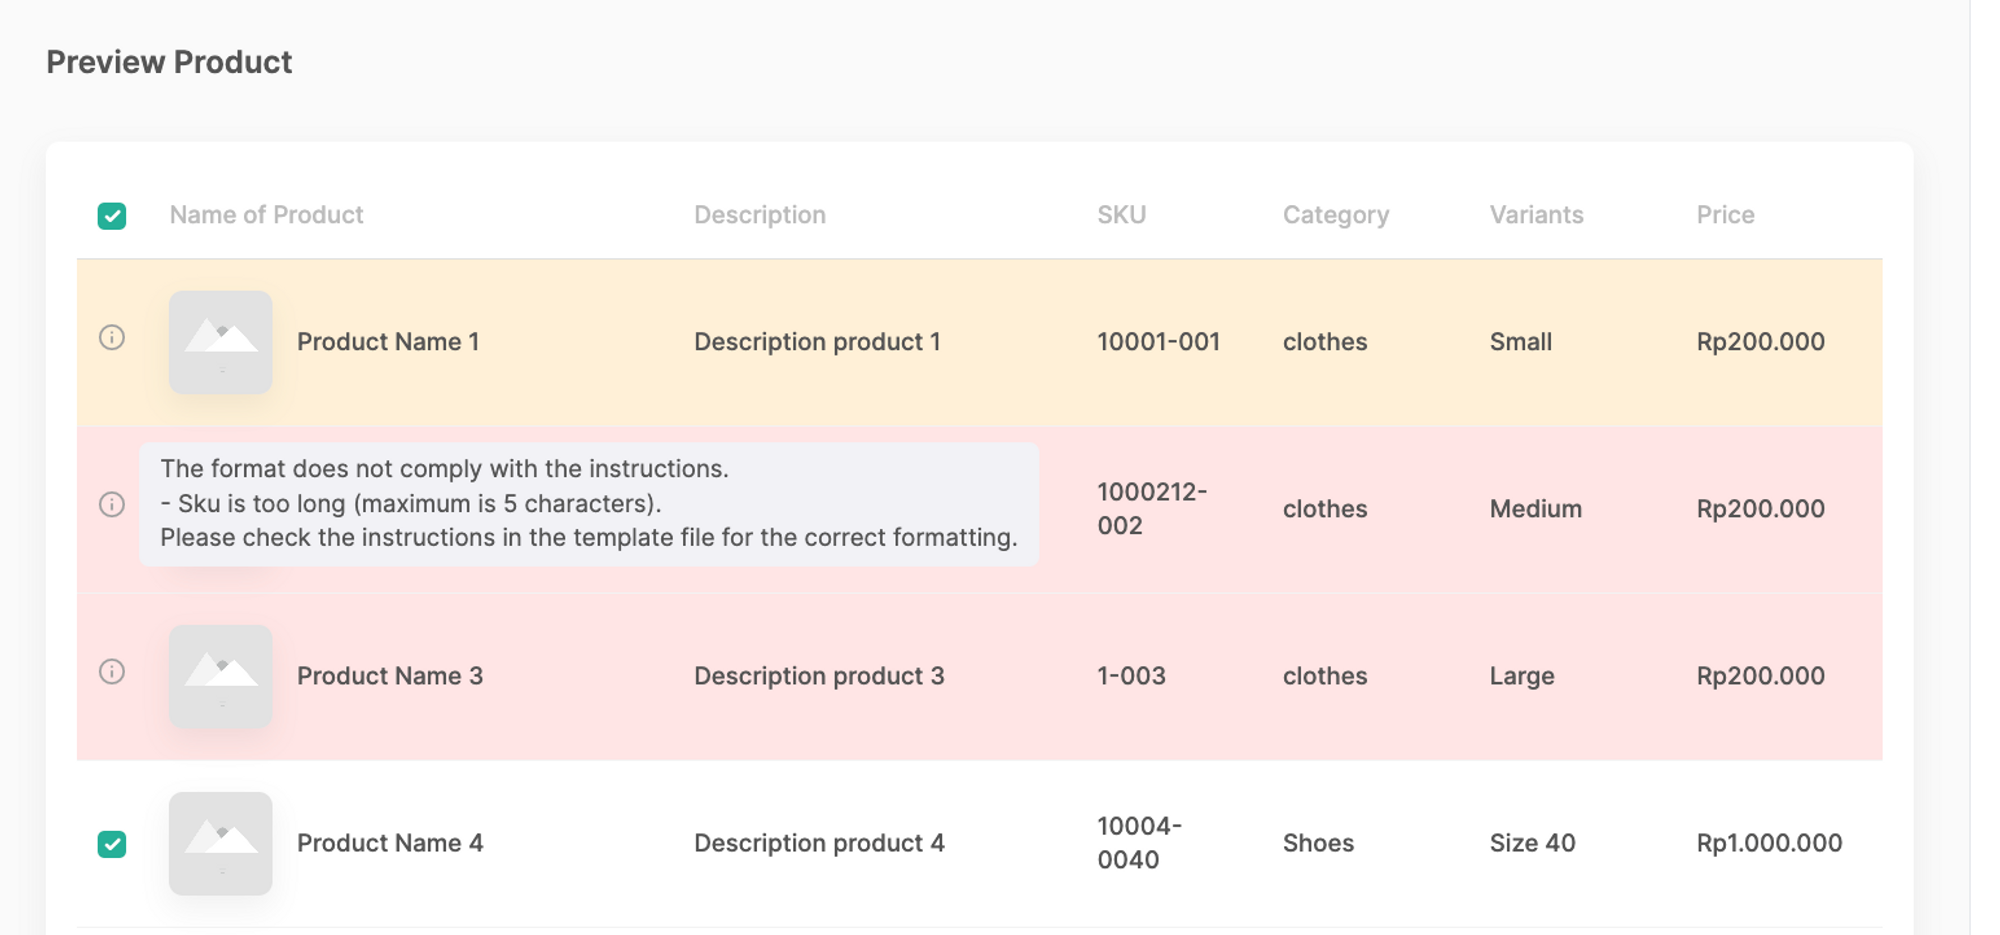
If the preview shows any warning indicators, address them before proceeding:
Yellow: the SKU of this variant already exists, either elsewhere in the file or in the system.
Red: the data doesn't match the expected format — double-check character limits and whether the field expects a Number or Text.
Step 6: Save Your Products
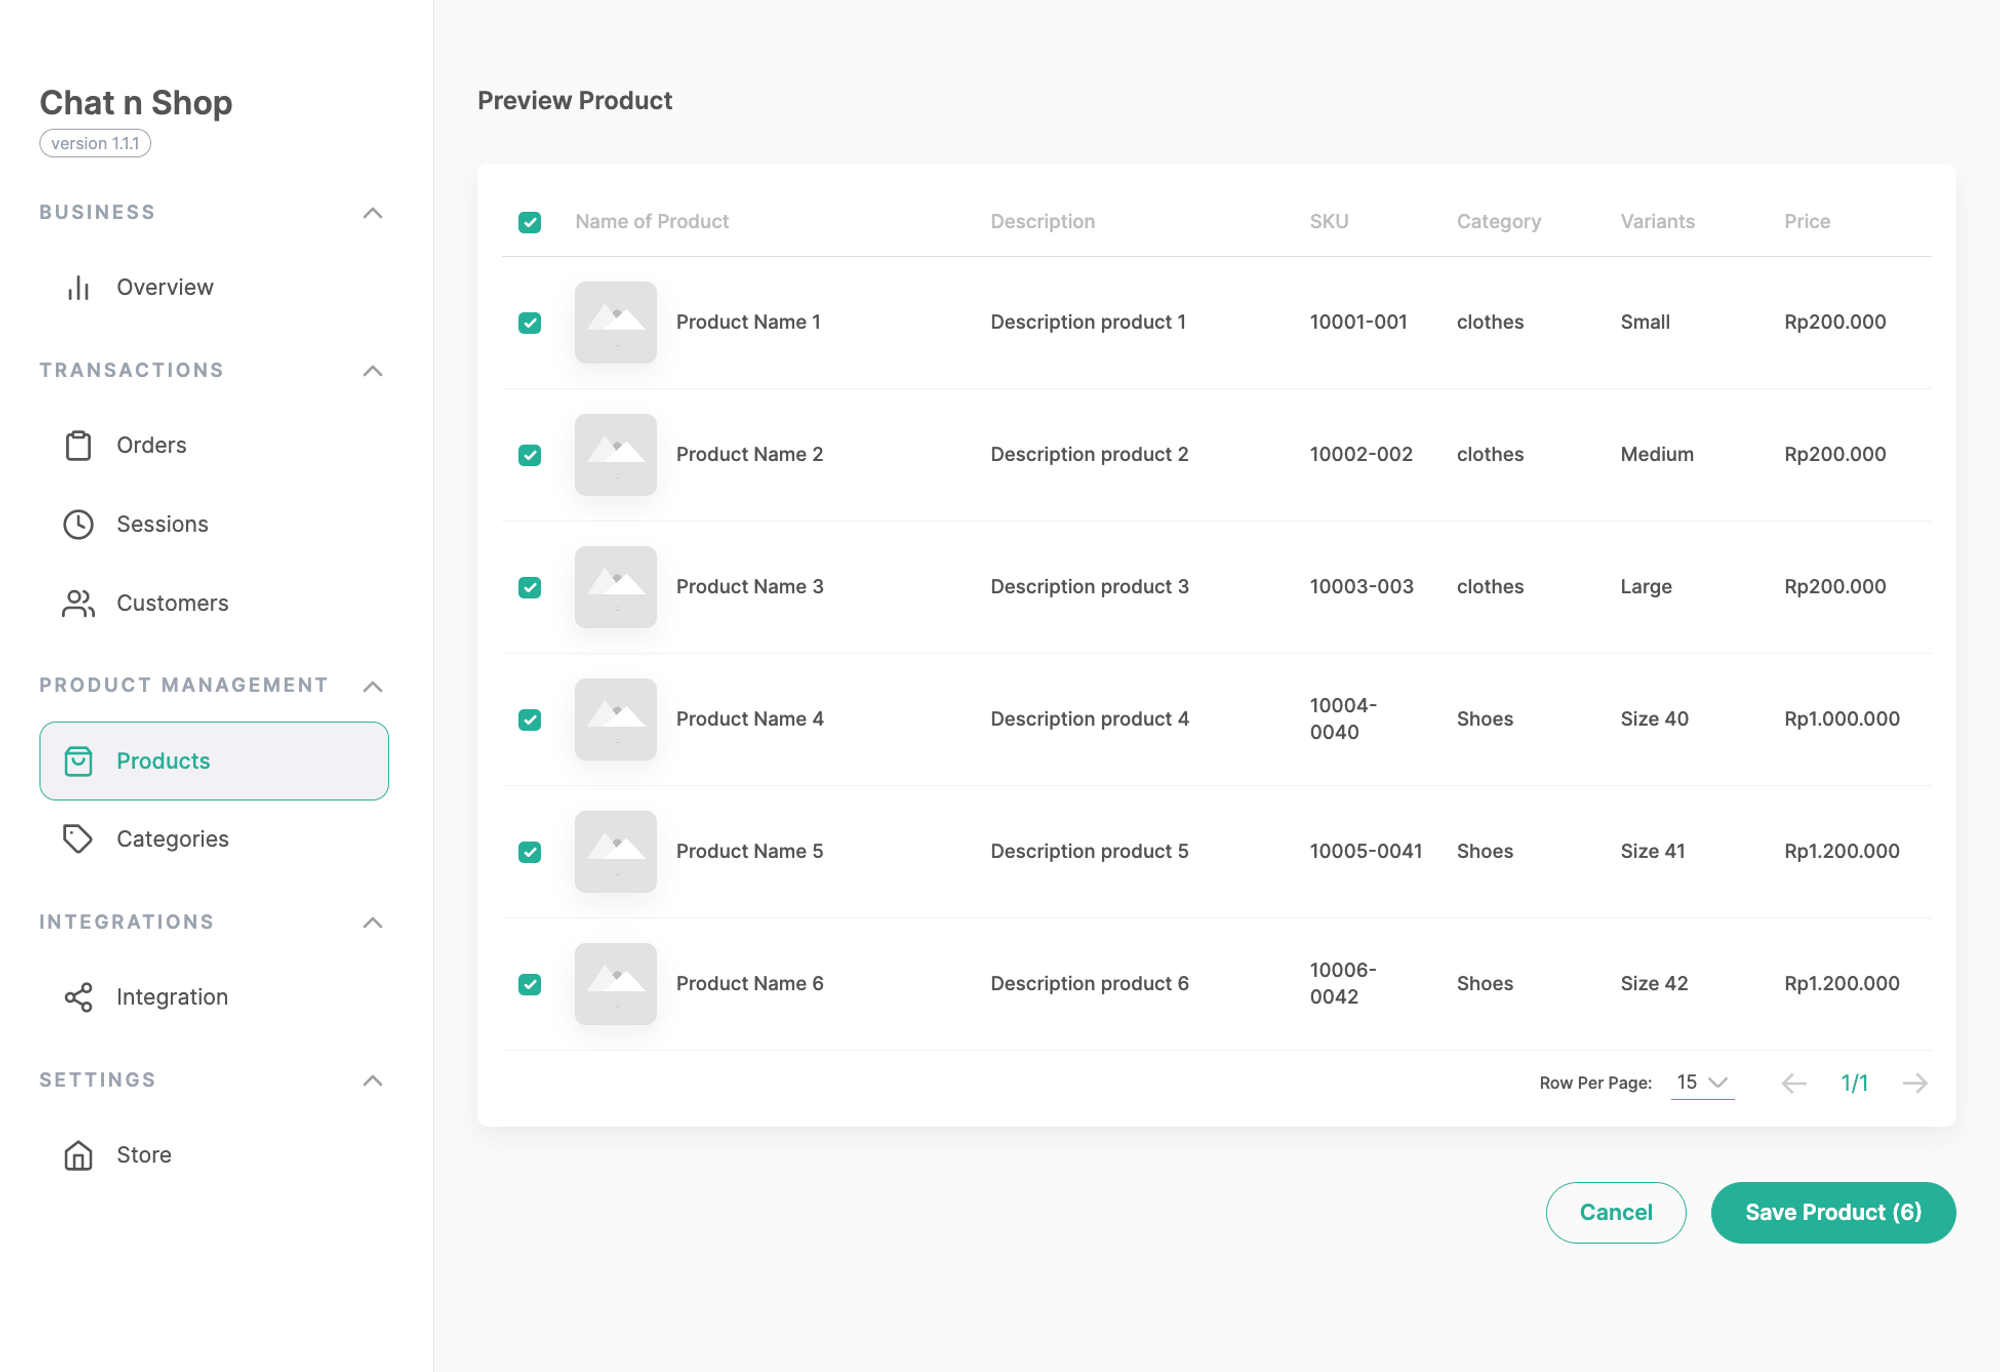
Select the checkboxes next to the products you want to import. Once everything looks correct, click Save Product to add them to your catalog.
Once saved, a confirmation pop-up will let you know the import has started, and your new products will appear shortly in the List of Products.
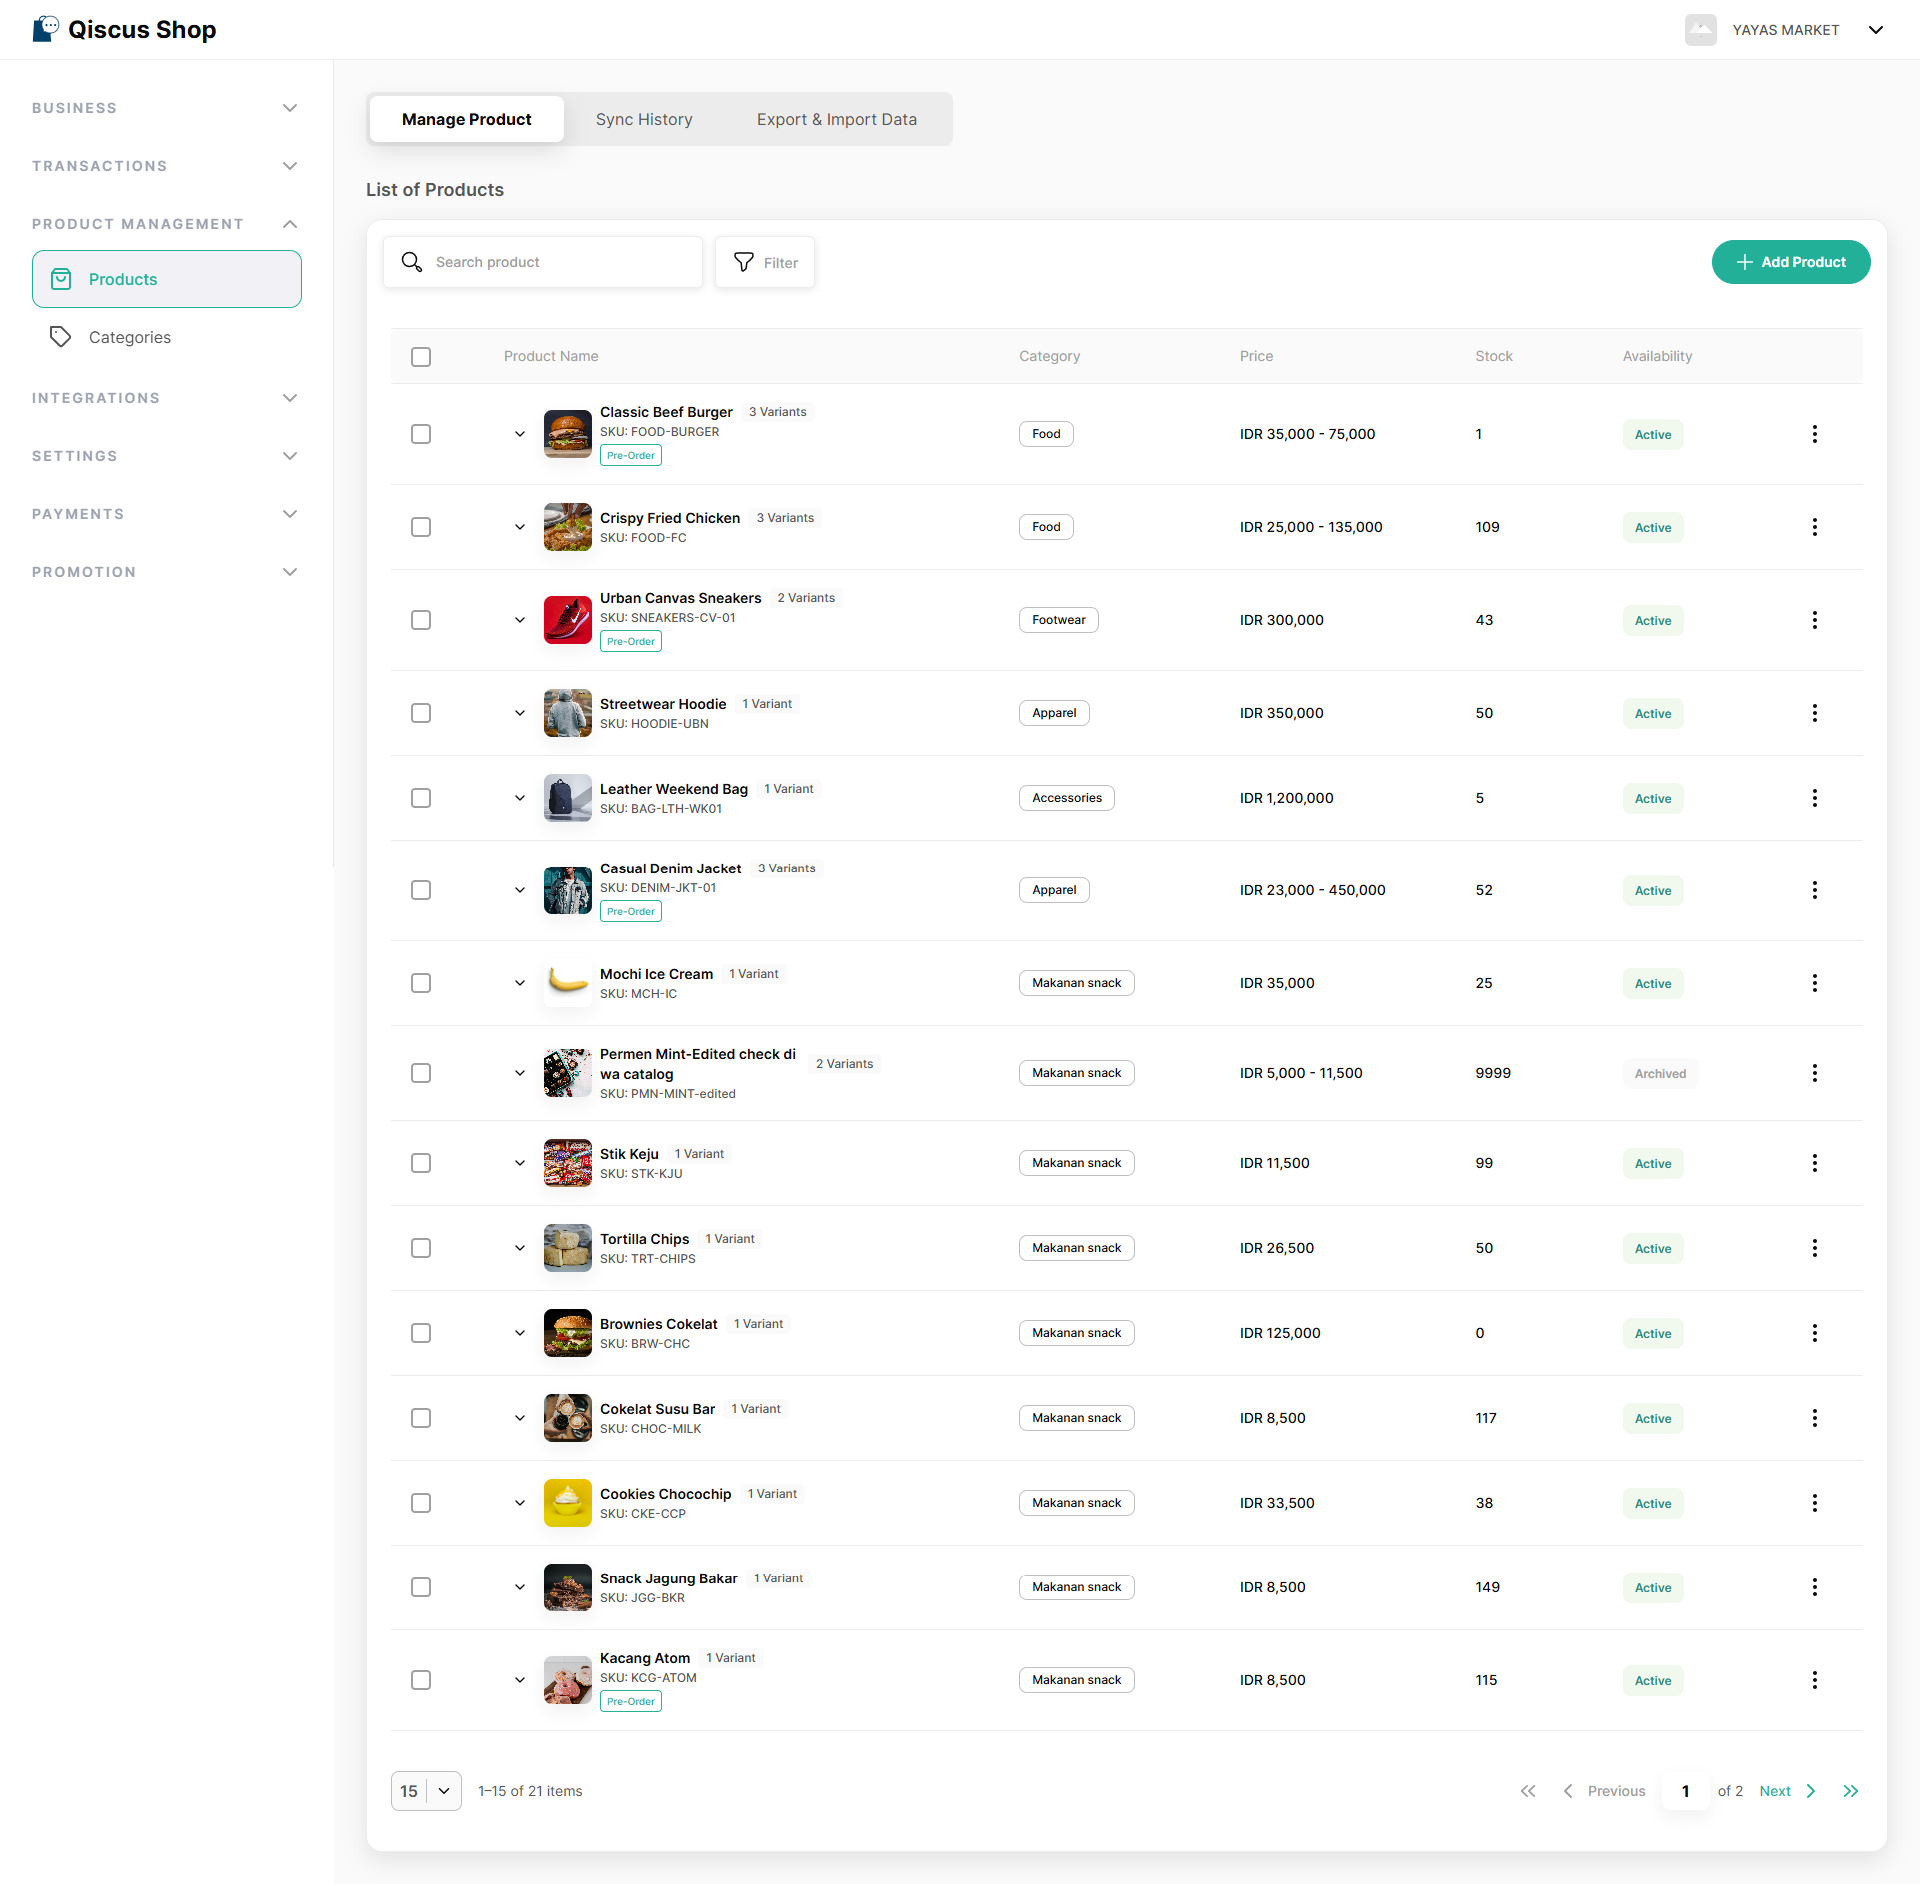
That's it — your bulk product import is complete.