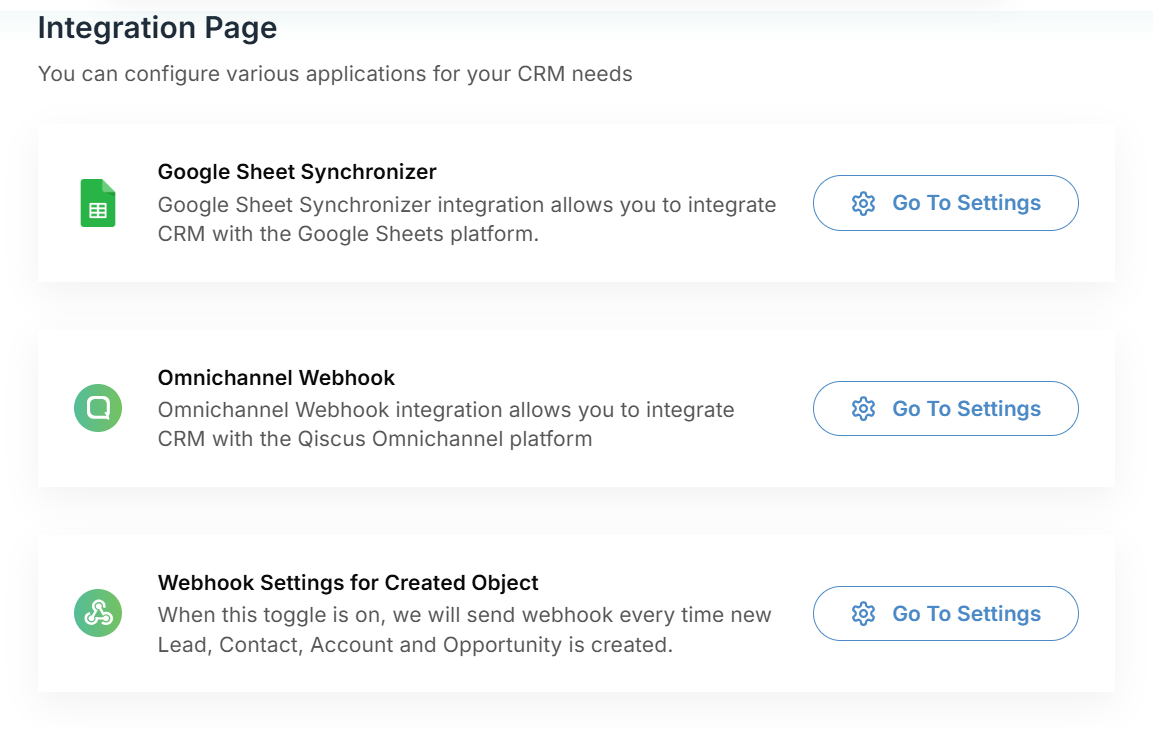
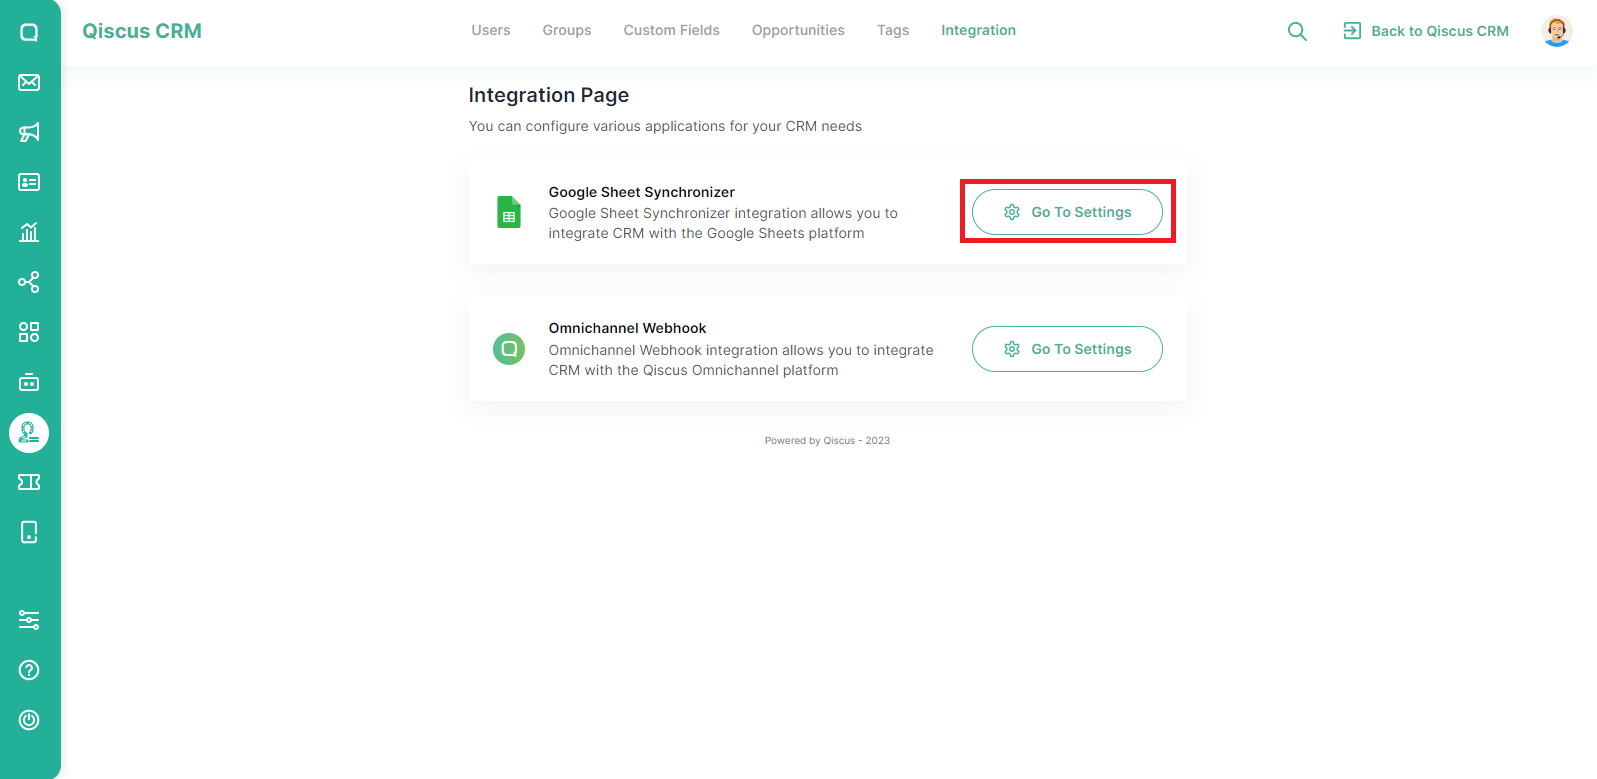
On the Admin Panel page, you have access to three settings.
Google Sheet Synchronizer
Omnichannel Webhook
Webhook Settings for Created Object
Google Sheet Synchronizer
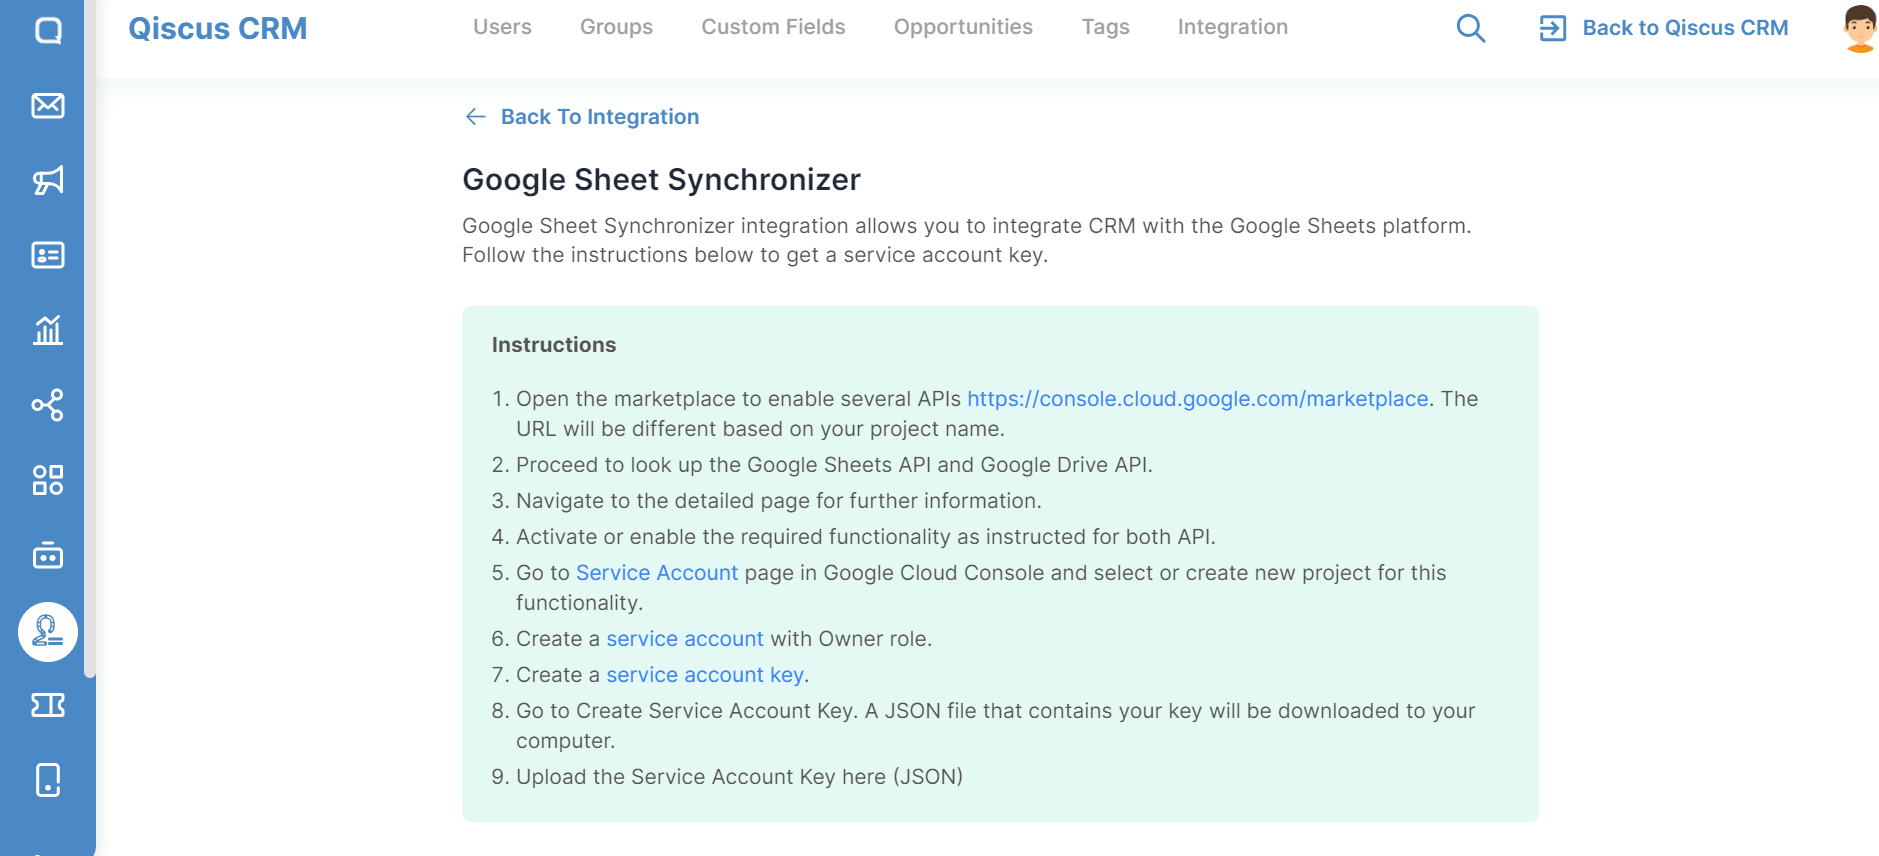
Integrating QCRM with Google Sheet Synchronizer can make it easier for you to synchronize their CRM data seamlessly with Google Sheets. You can export CRM data, such as leads, accounts, and opportunities, to a designated Google Sheet. To integrate QCRM with Google Sheet Synchronizer, you can follow these steps:
- From the Integration menu, click Go To Settings button,
- Follow the steps to sign in using your Google account,
- Open the marketplace to enable several APIs https://console.cloud.google.com/marketplace. The URL will be different based on your project name.
- Proceed to look up the Google Sheets API and Google Drive API.
- Navigate to the detailed page for further information.
- Activate or enable the required functionality as instructed for both API.
- Go to Service Account page in Google Cloud Console and select or create new project for this functionality.
- Create a service account with Owner role.
- Create a service account key.
- Go to Create Service Account Key. A JSON file that contains your key will be downloaded to your computer.
- Upload the Service Account Key here (JSON)
- After successfully integrating Google Sheet Synchronizer, the Integration page will change as shown below.
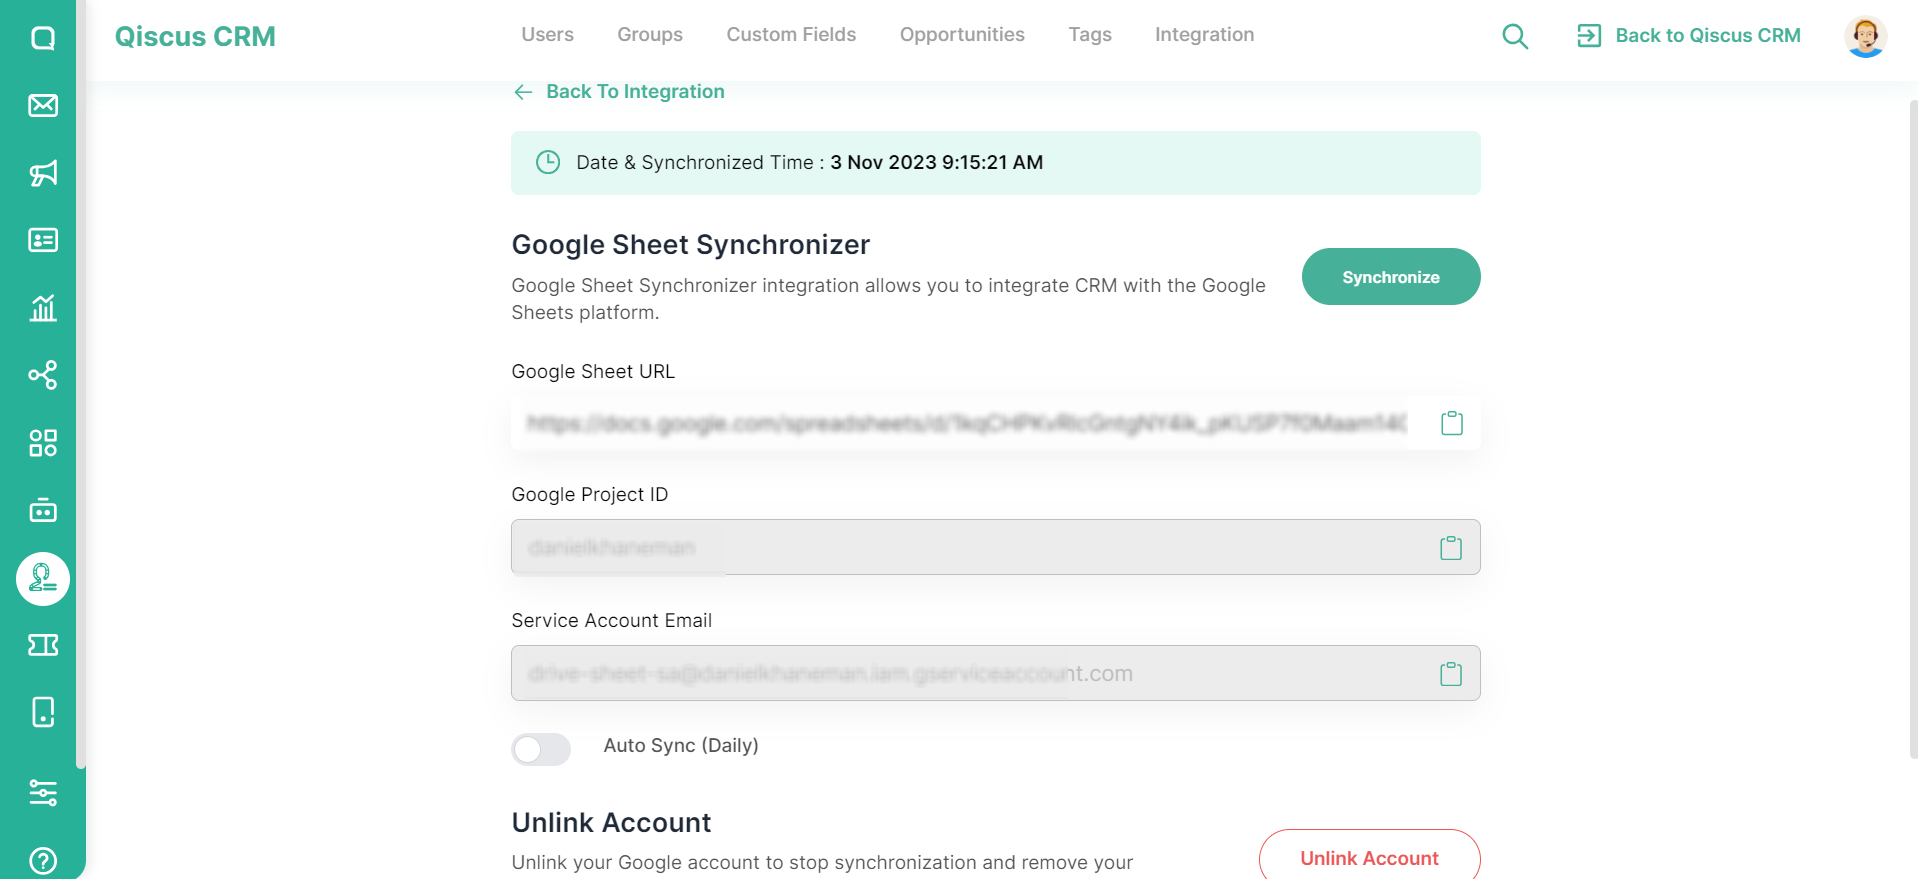
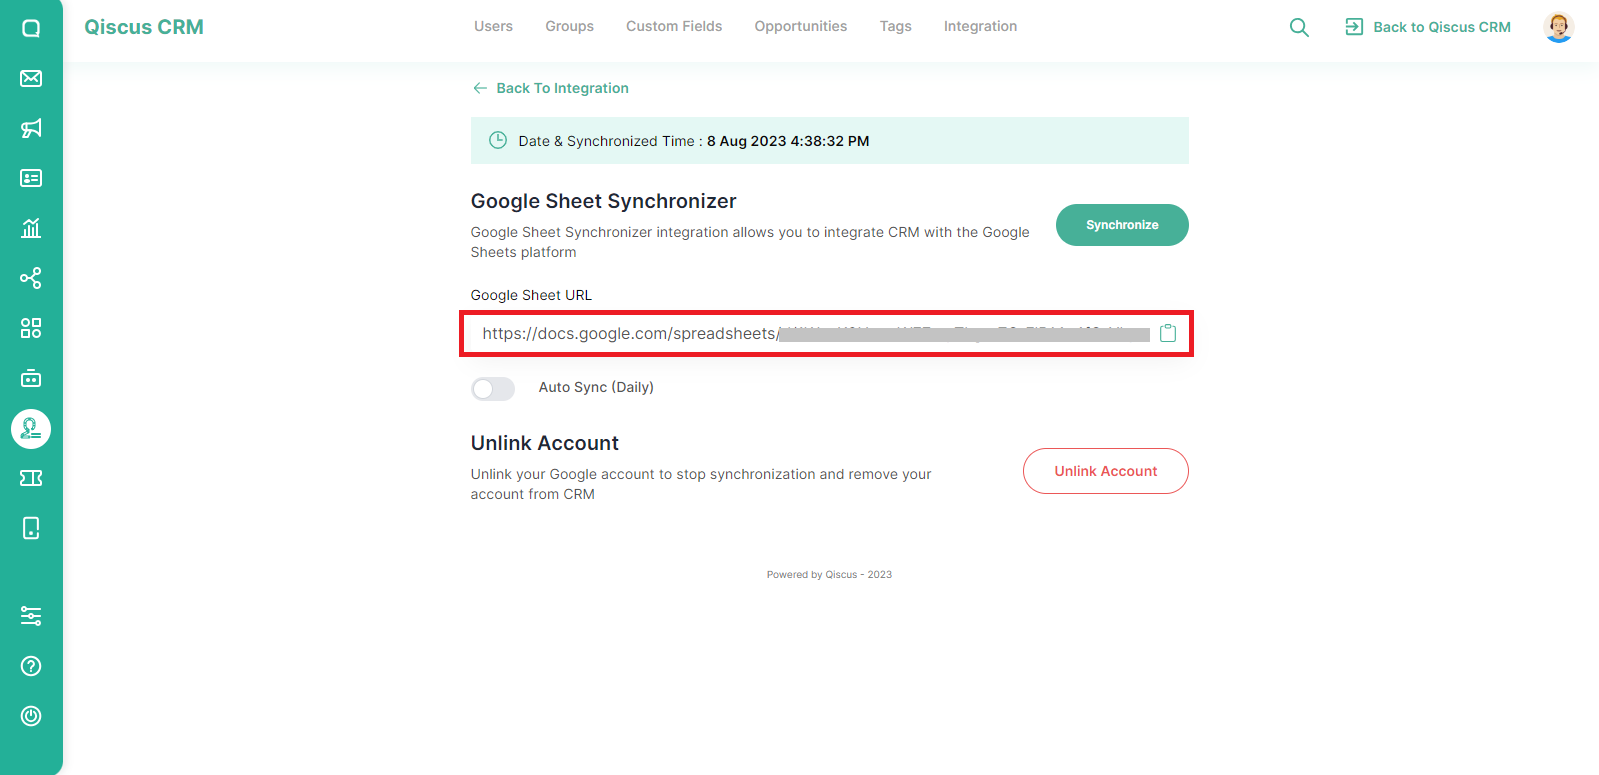
- You can open the data via the Google Sheet URL provided,
- If you activate the Auto Sync (Daily) toggle, the data will be automatically synced every day.

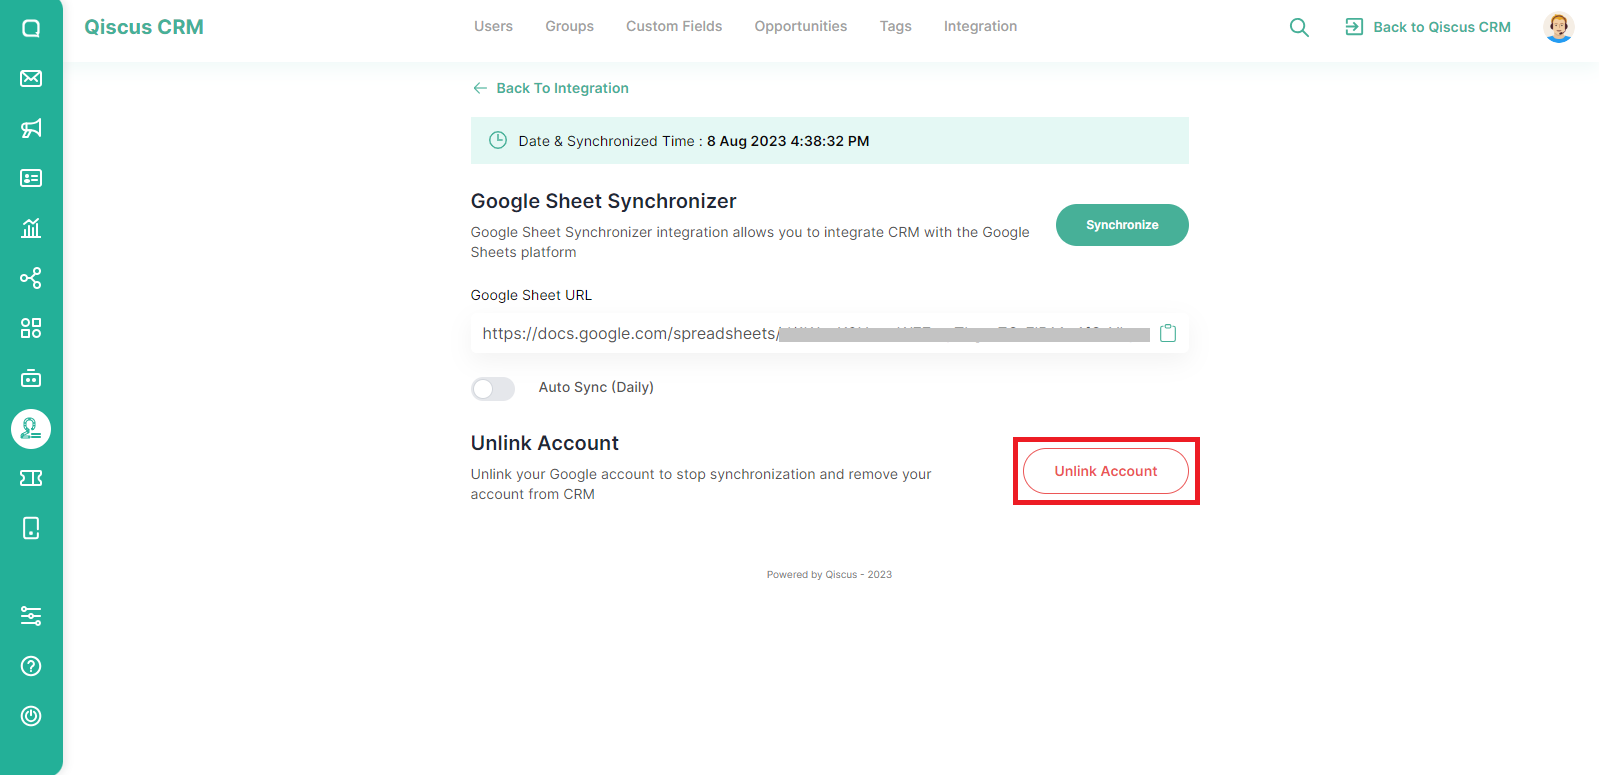
- To disconnect QCRM with Google Sheet Synchronizer, you can simply click the Unlink Account button.
Omnichannel Webhook
QCRM integration with Omnichannel Webhook is used to manage custom button webhooks and custom agent allocation.
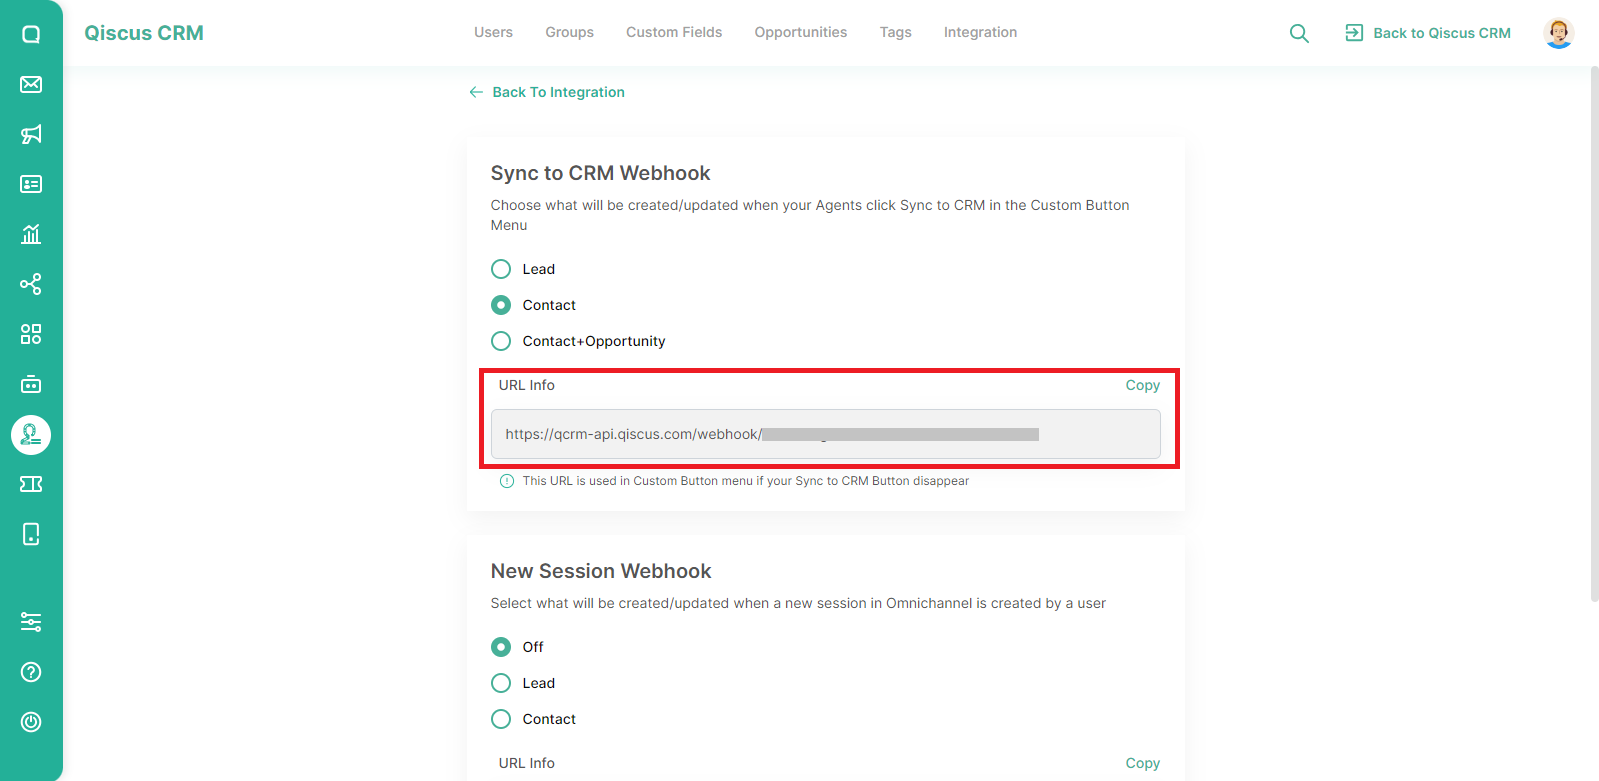
Sync to CRM Webhook
This webhook is used to control what will happen after clicking the Sync to CRM button on the Inbox menu.

There are 3 scenarios as shown in the following image:
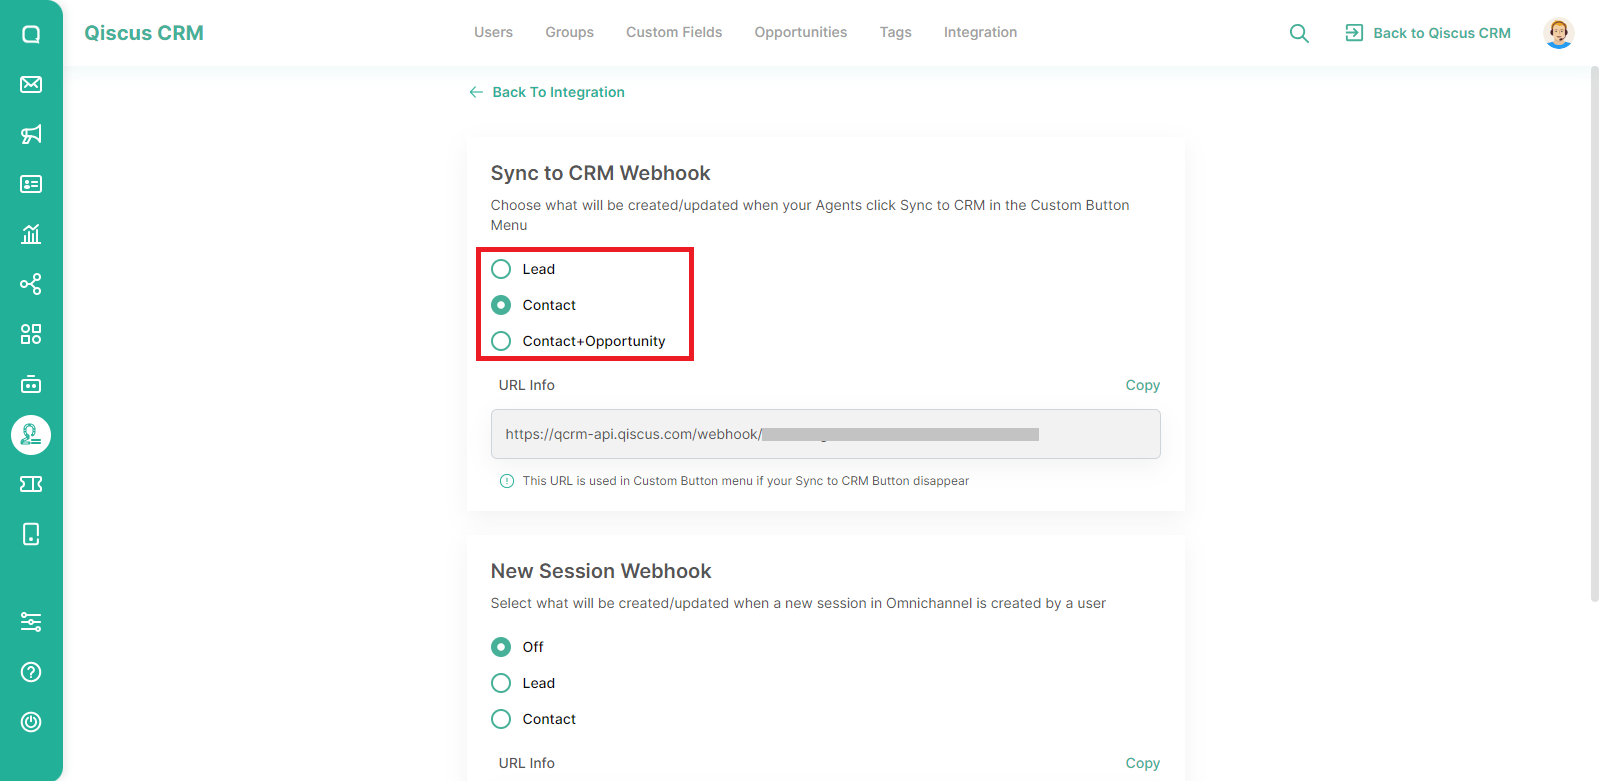
- If you choose Lead, when Agents click Sync to CRM in one of the chat rooms, the customer data will be saved as a Lead on the QCRM menu.
- If you choose Contact, when Agents click Sync to CRM in one of the chat rooms, the customer data will be saved as a Contact on the QCRM menu.
- If you choose Contact+Opportunity, when Agents click Sync to CRM in one of the chat rooms, the customer data will be saved as a Contact and an Opportunity on the QCRM menu.
You will get a Webhook URL which you can copy then paste into the custom button settings for Sync to CRM.
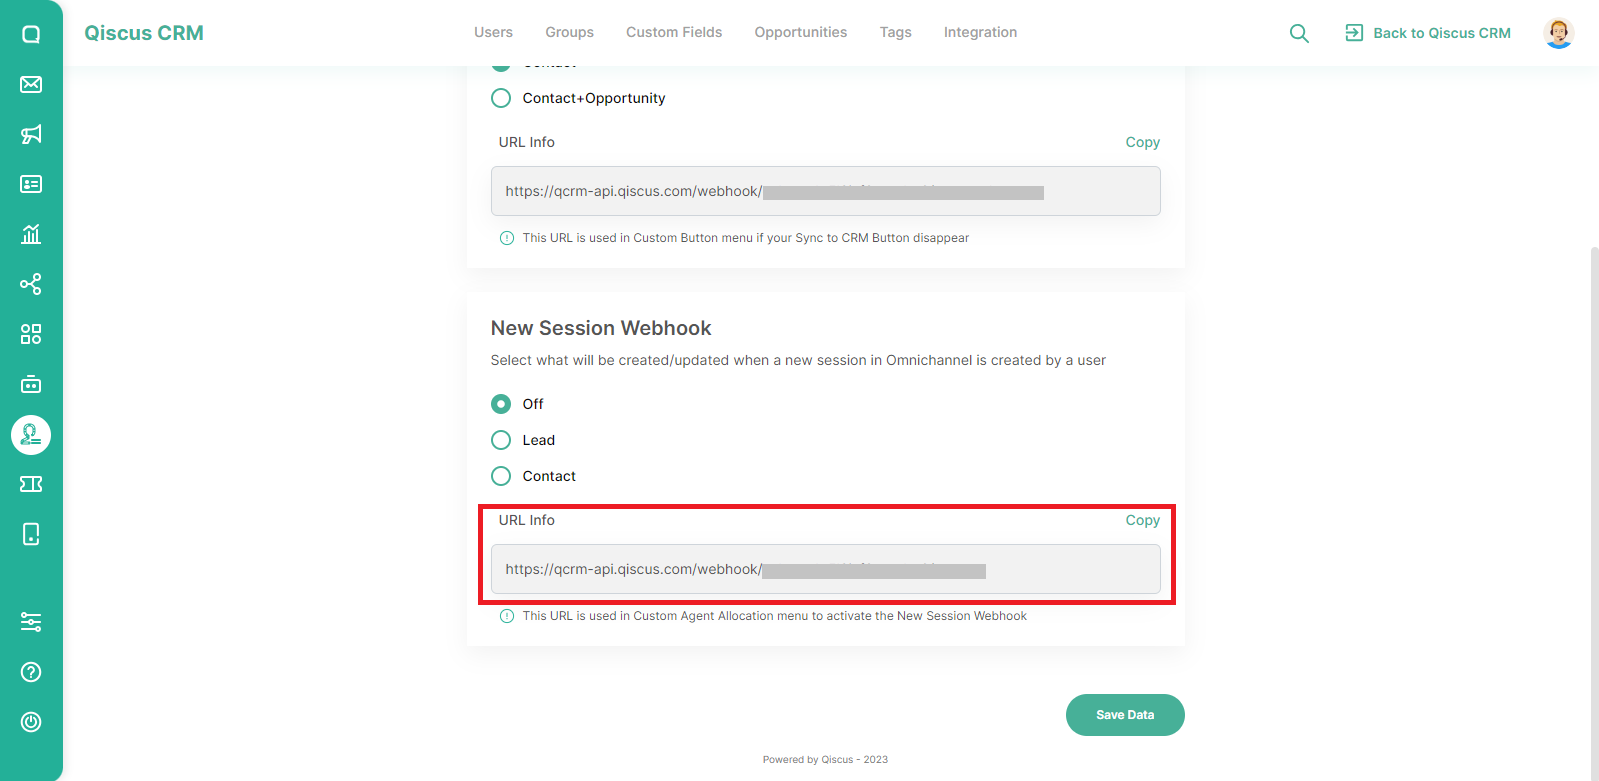
New Session Webhook
In addition to Sync to CRM, you can also set up Custom Agent Allocation webhook. Just like Sync to CRM, there are 3 scenarios you can choose from:

- If you select Off, nothing will happen when there is a new chat.
- If you choose a Lead, the customer data will be saved as a Lead when there is a new chat.
- If you choose a Contact, the customer data will be saved as a Contact when there is a new chat.
You will get a Webhook URL which you can copy then paste into the Custom Agent Allocation settings.
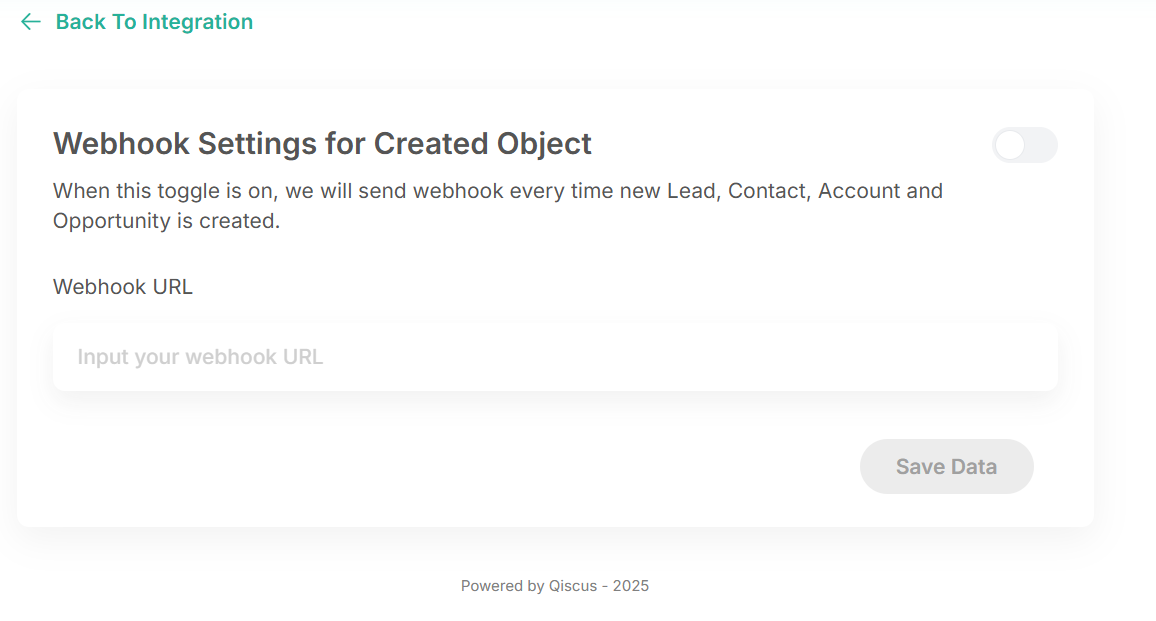
Webhook Settings for Created Object
Enable this setting to trigger an external webhook upon creation. When enabled, a webhook will be sent to the specified URL whenever a Lead, Contact, Opportunity, or Account is created