General
User Profile & Password
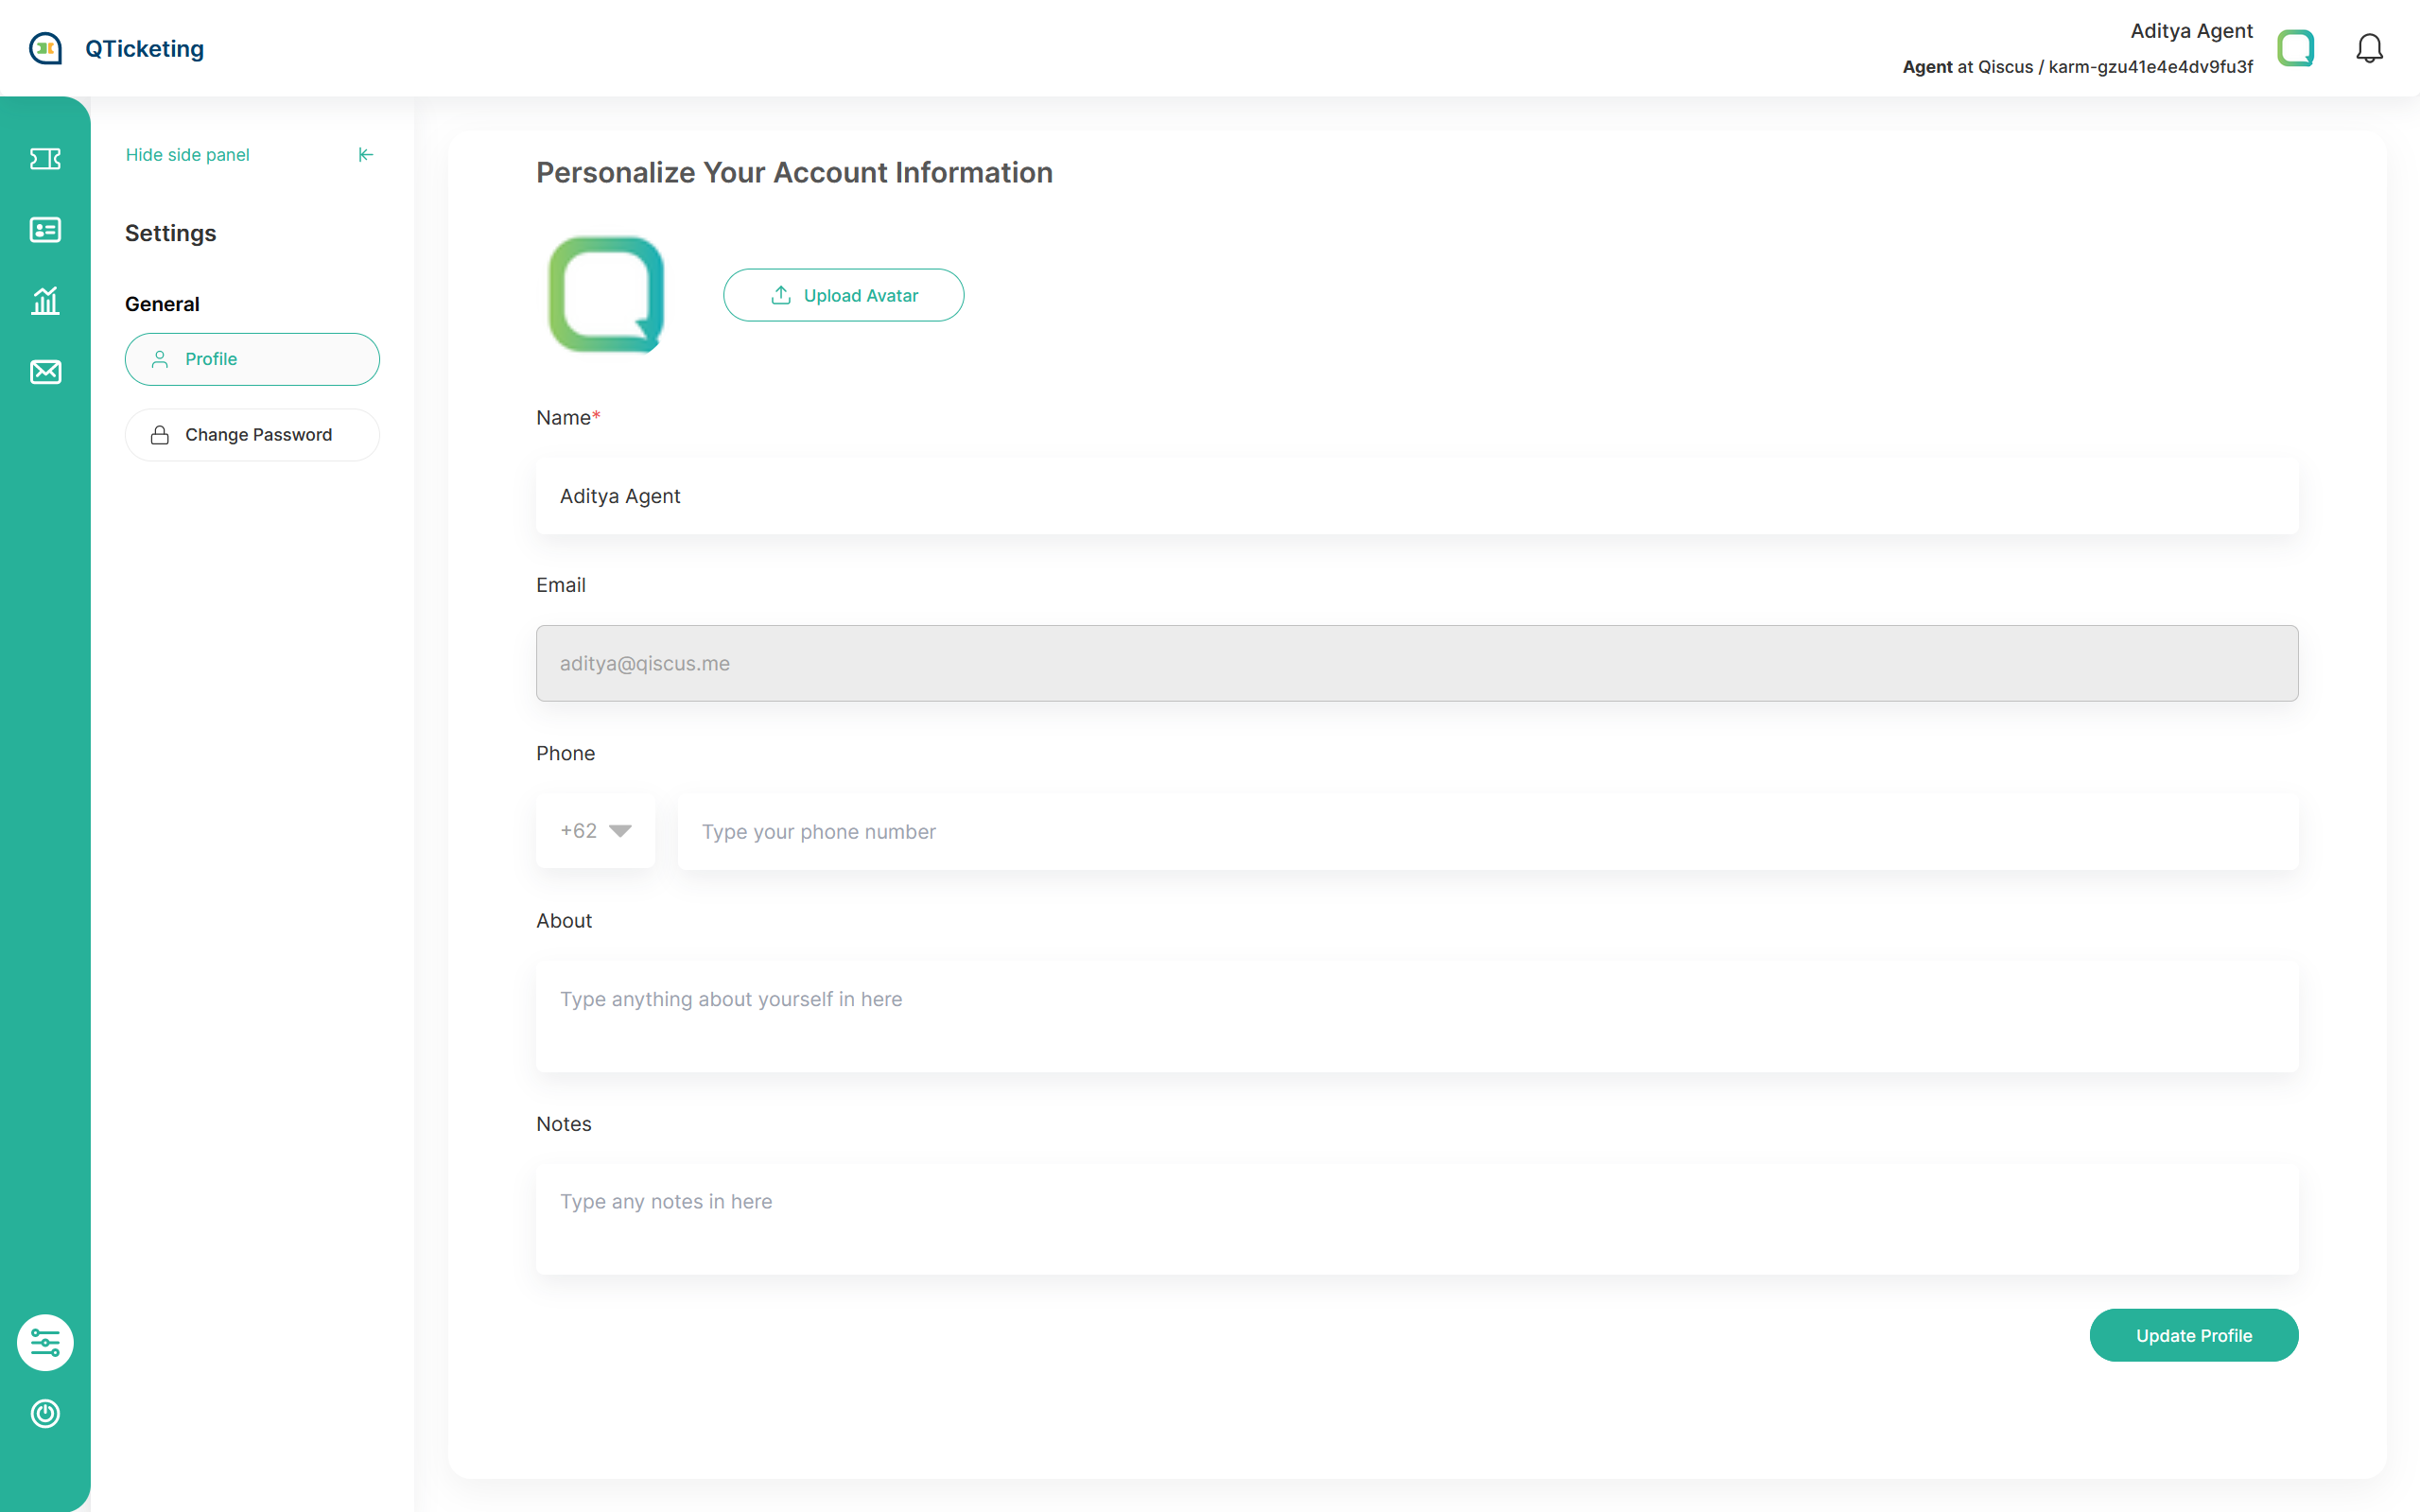
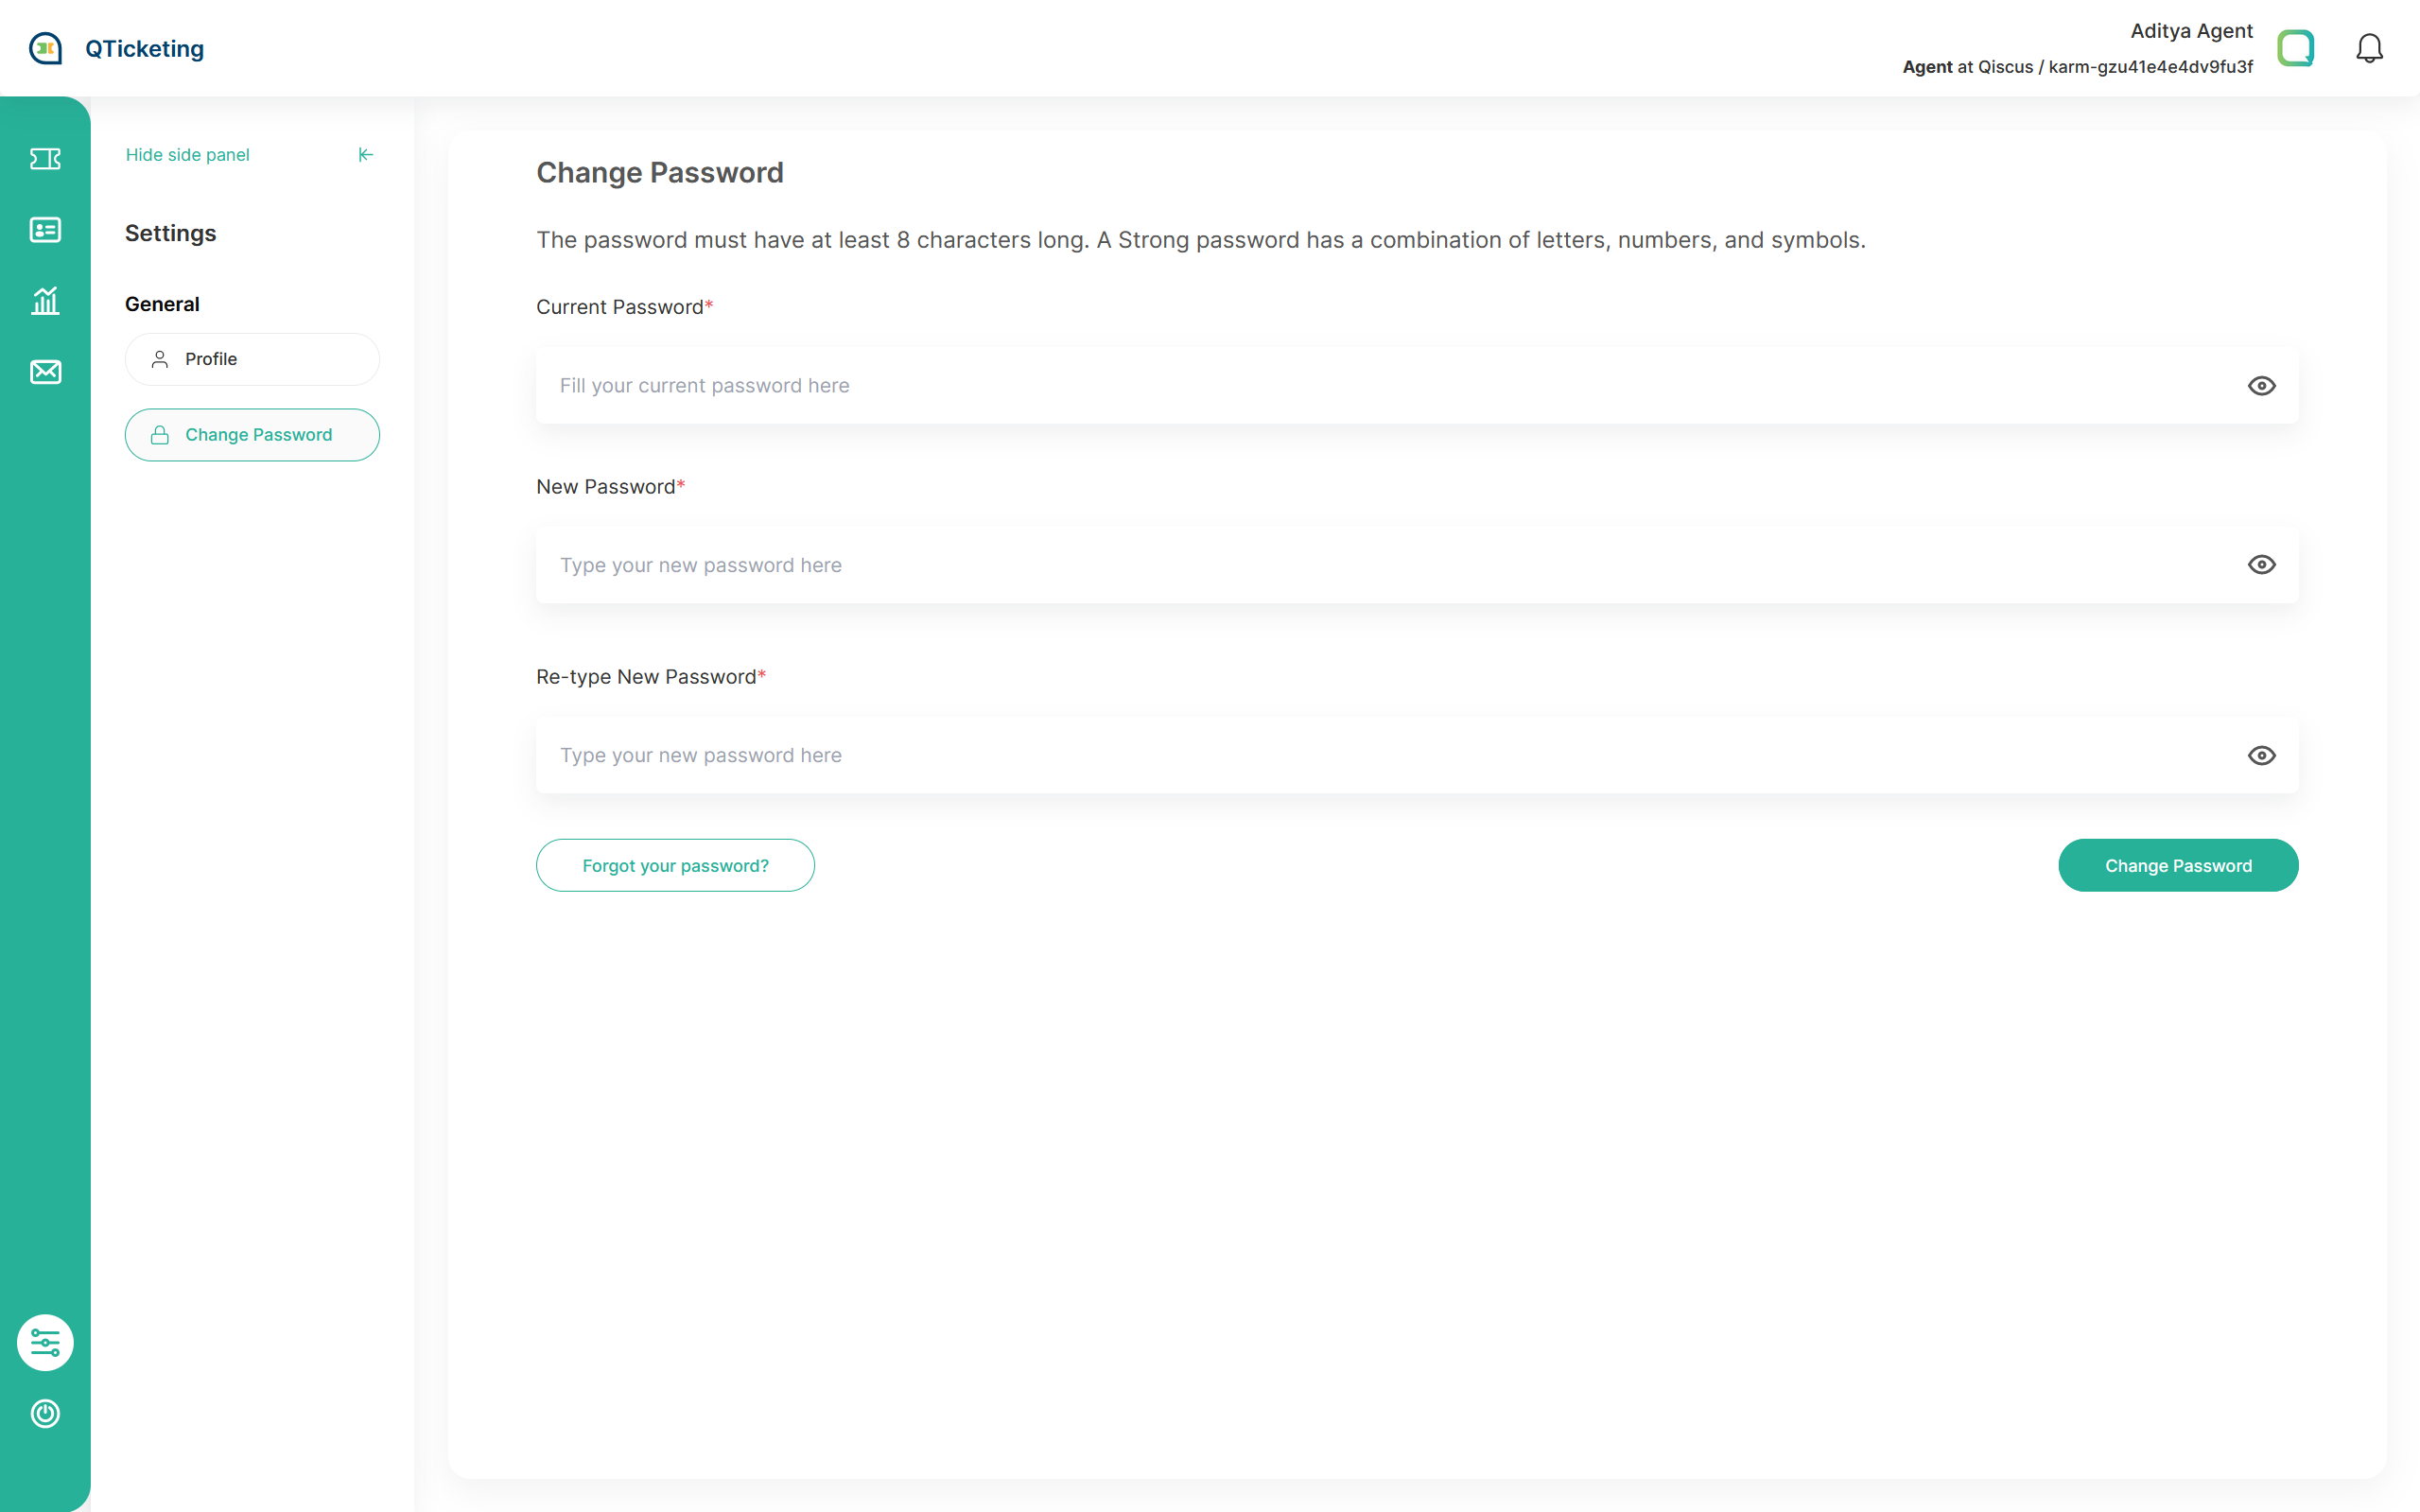
By default, Qiscus Helpdesk displays this menu for all user roles, including Agents, Supervisors, and Admins. Users are required to provide essential information, such as their name and email, while other details remain optional. Qiscus Helpdesk users can also change their passwords in the 'Change Password' menu, where they are prompted to enter their current password along with the new one.
If a user forgets their password or has never set a password before, they can easily set a new password using the 'Forgot Password' flow. You can find the 'Forgot Password' option on both the 'Change Password' pages and the Qiscus Helpdesk login pages. Once a password reset is requested, an email containing a link to set a new password will be sent to the user's email. It's important to note that this link has a 30-minute expiry period. If the link has expired, you can simply request another password reset email.
User Administration
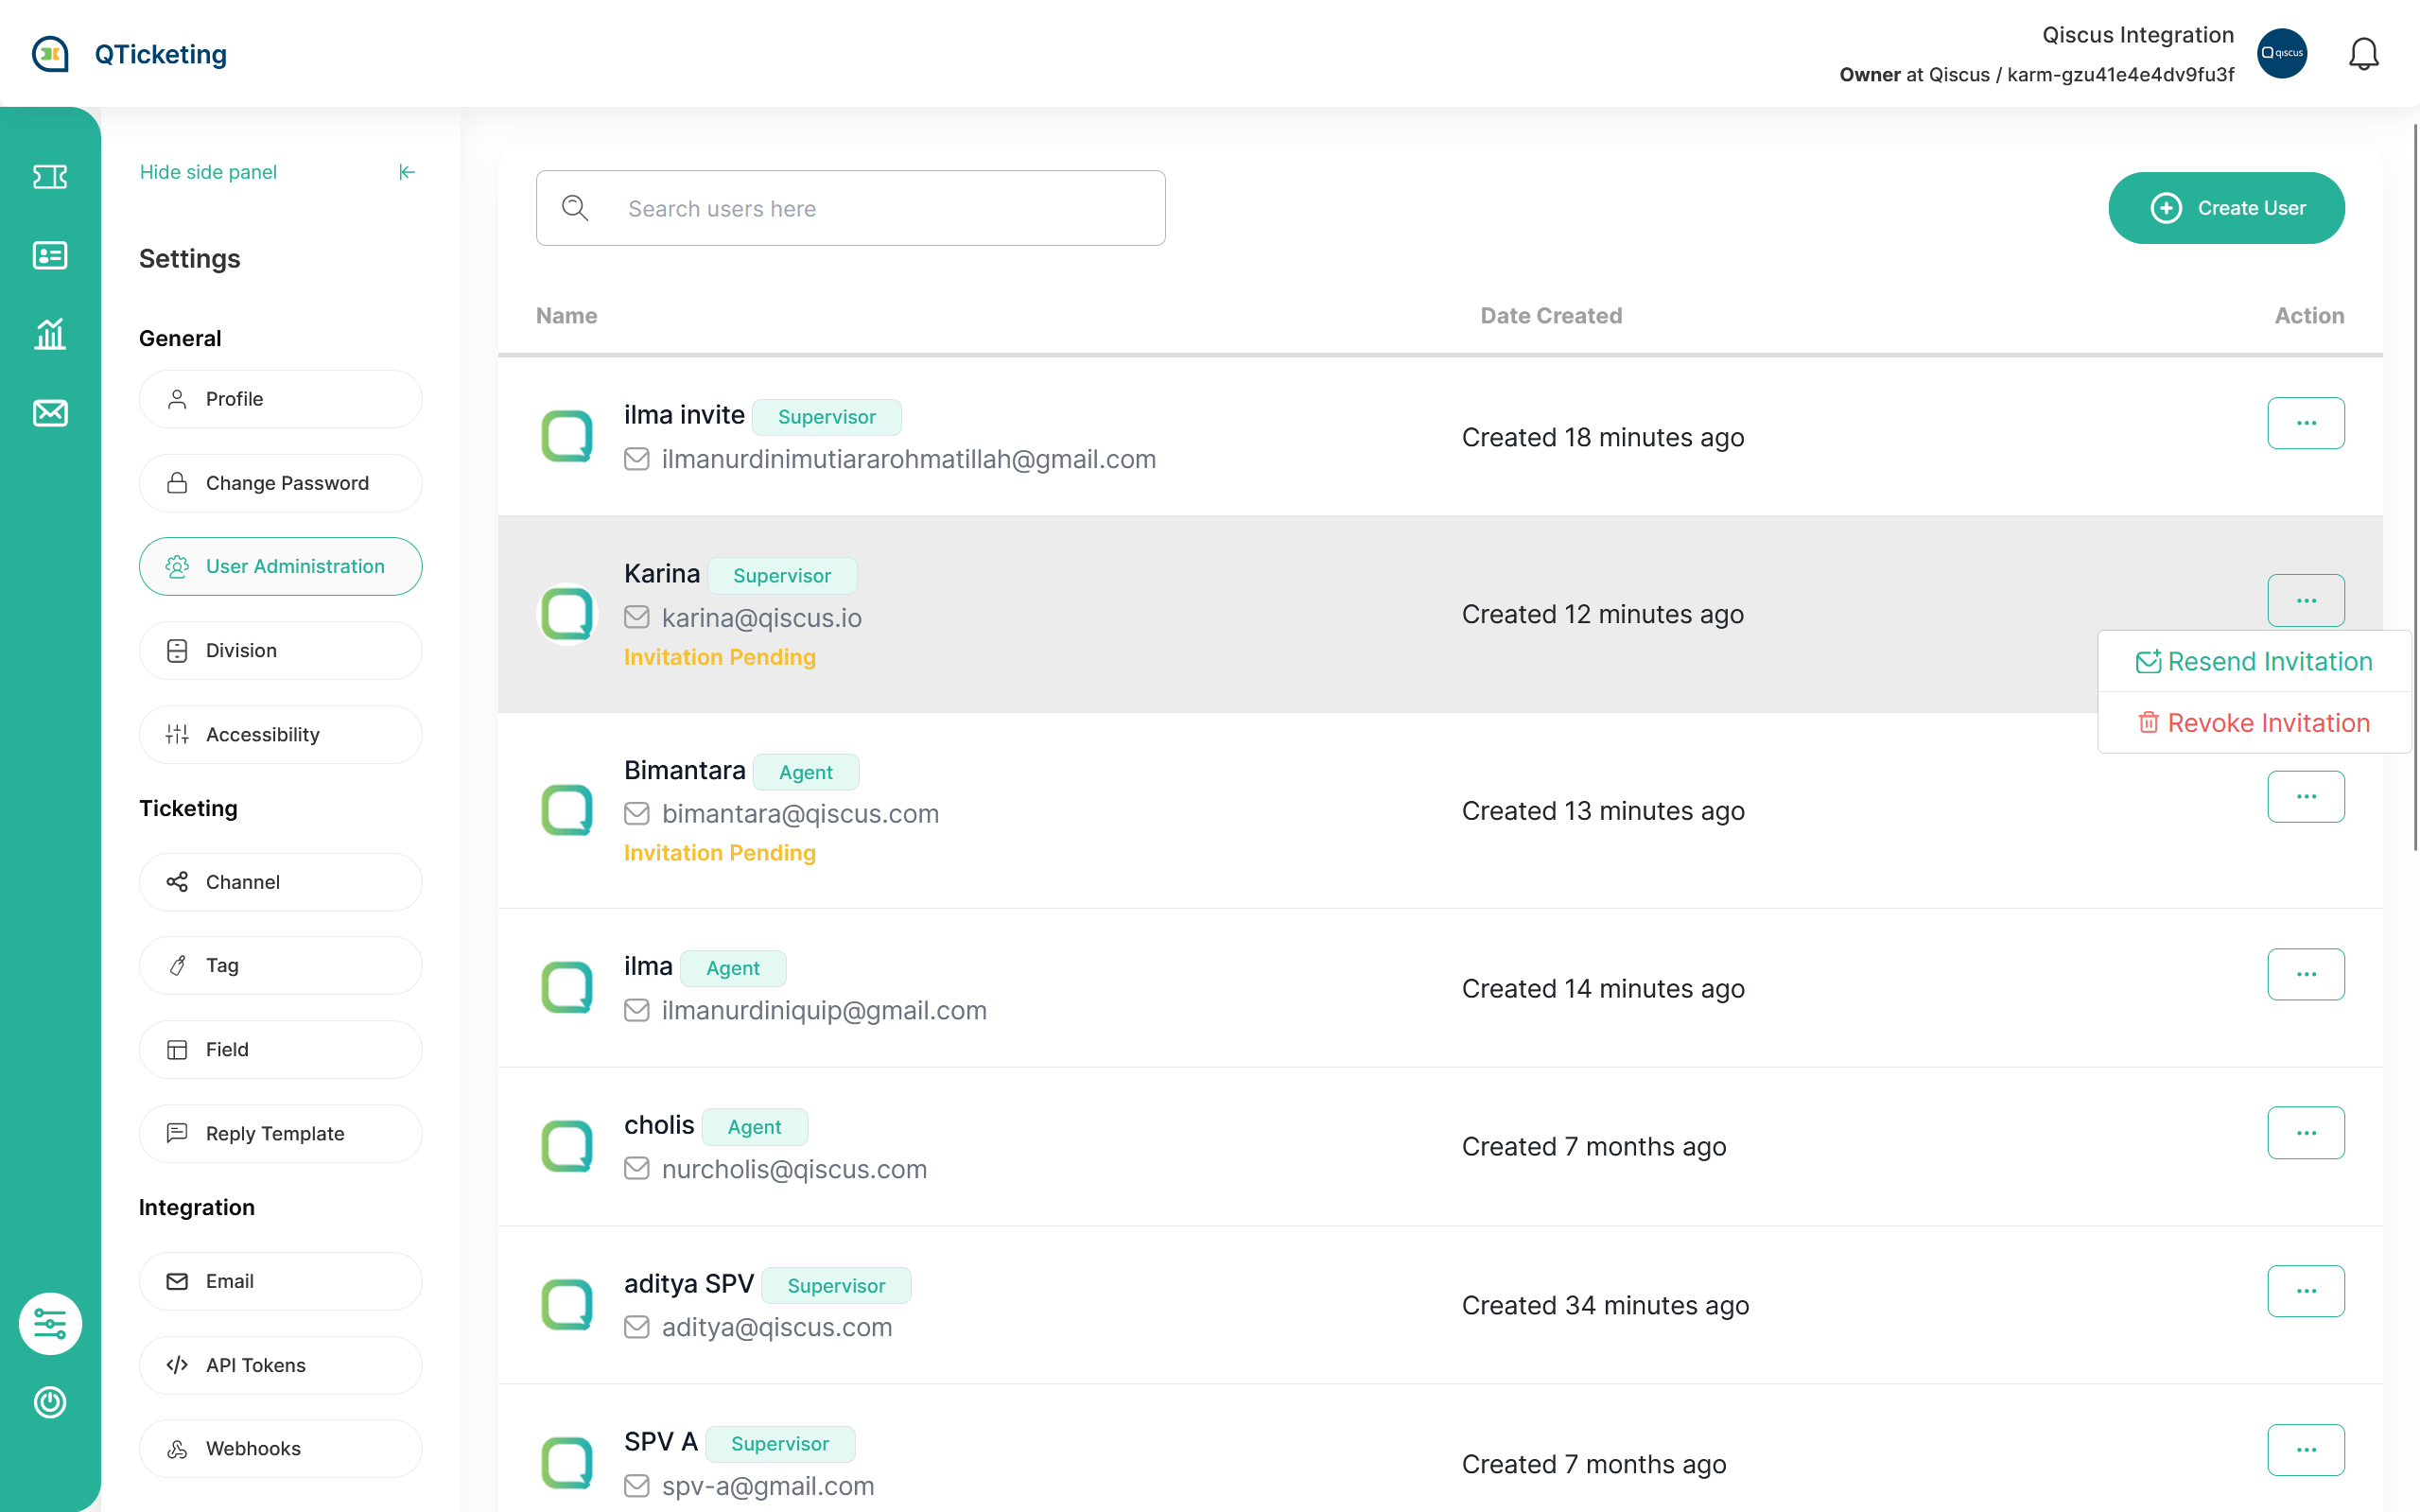
User Administration is a menu accessible to Admins and Owners. In this menu, Owners or Admins can create new Supervisors and Agents using the 'Create User' button. During the user creation process, it requires the user's name and email. Once the user is added to Qiscus Helpdesk, they will receive an email invitation to join Qiscus Helpdesk.
There are two ways to activate an Agent/Supervisor account:
- By accepting the invitation email and setting up their password.
- By logging in via Omnichannel and accessing the Qiscus Helpdesk pages.
As a Qiscus Helpdesk Tenant Owner or Qiscus Helpdesk Tenant Admin, you have the capability to manage user invitations effectively. This includes inviting new users to join your Qiscus Helpdesk platform, resending invitations in case they are missed or need a reminder, and the ability to revoke invitations should the need arise. This feature allows you to efficiently onboard and manage your team members, ensuring a smooth and controlled user access process.
Activate Agent Account via Email Invitation
When the Owner or Admin adds a new user to Qiscus Helpdesk, the user will receive an email invitation to join. The invited user needs to accept the invitation and set up their password within 24 hours of the invitation link creation. After 24 hours, the link will expire, and the user will need to ask the admin to resend the invitation.
After the password has been set then Agent or Supervisor can login to the Qiscus Helpdesk via Qiscus Helpdesk Login Pages that can be accessed via this URL: https://qticketing.qiscus.com/login
Activate Agent Account through Omnichannel Login
In Qiscus Helpdesk, we offer a convenient feature designed to assist Qiscus Helpdesk Tenant Owners with onboarding their agents. All they need to do is allow agents to access the 'Tickets' menu in Omnichannel, and Qiscus Helpdesk will automatically create the account in Qiscus Helpdesk using the same user's email and user's roles. However, once the onboarding phase is complete, it's essential to disable this feature to ensure that no unexpected users gain access to Qiscus Helpdesk. You can disable this feature by navigating to the 'Settings' menu, then the 'Accessibility' section, and turning off the option 'Limit access to Qiscus Helpdesk only for agents and supervisors who are registered in Qiscus Helpdesk'.
Division
Division in Qiscus Helpdesk will be used to grouping agent and supervisor that will handle the created ticket in Qiscus Helpdesk . Division also a mandatory data during creating new ticket in Qiscus Helpdesk. As such, Qiscus Helpdesk will always have 1 created division to make it as default division. If you want to have your preferred default division, you can change the default division to your new created division that you want to assign.

here is the sniped picture during creating new division, you have to fill the division name and select at least 1 member assigned to this division.

Accessibility
in accessibility menu, Qiscus Helpdesk tenant Owner and Admin can manage the tenant's access level settings. Currently they are 3 option that you can configure.
- Allow agents to see the tickets in their divisions. By default, agents can only see the tickets that are assigned to them
This option will make tickets assigned to the agent's division visible to the agent, even if the agent isn't directly assigned to the ticket. This option can be especially useful for those who don't have a dedicated supervisor assigned to manage agent's ticket assignments.
- Limit access to Qiscus Helpdesk only for agents and supervisors who are registered in Qiscus Helpdesk
When this option is turned on, access to Qiscus Helpdesk will be restricted to agents and supervisors who are officially registered within the Qiscus Helpdesk system. This ensures that only authorized personnel can use the platform, enhancing security and control over user access.
- Allow agents to hand over the tickets they are currently handling
When this option is enabled, agents have the ability to hand over tickets they are currently handling to other team members. This facilitates effective collaboration and ensures that tickets are efficiently managed within the team, even if the original agent cannot continue with the task. It empowers agents to work together to provide seamless customer support and issue resolution.

Ticketing
Channel
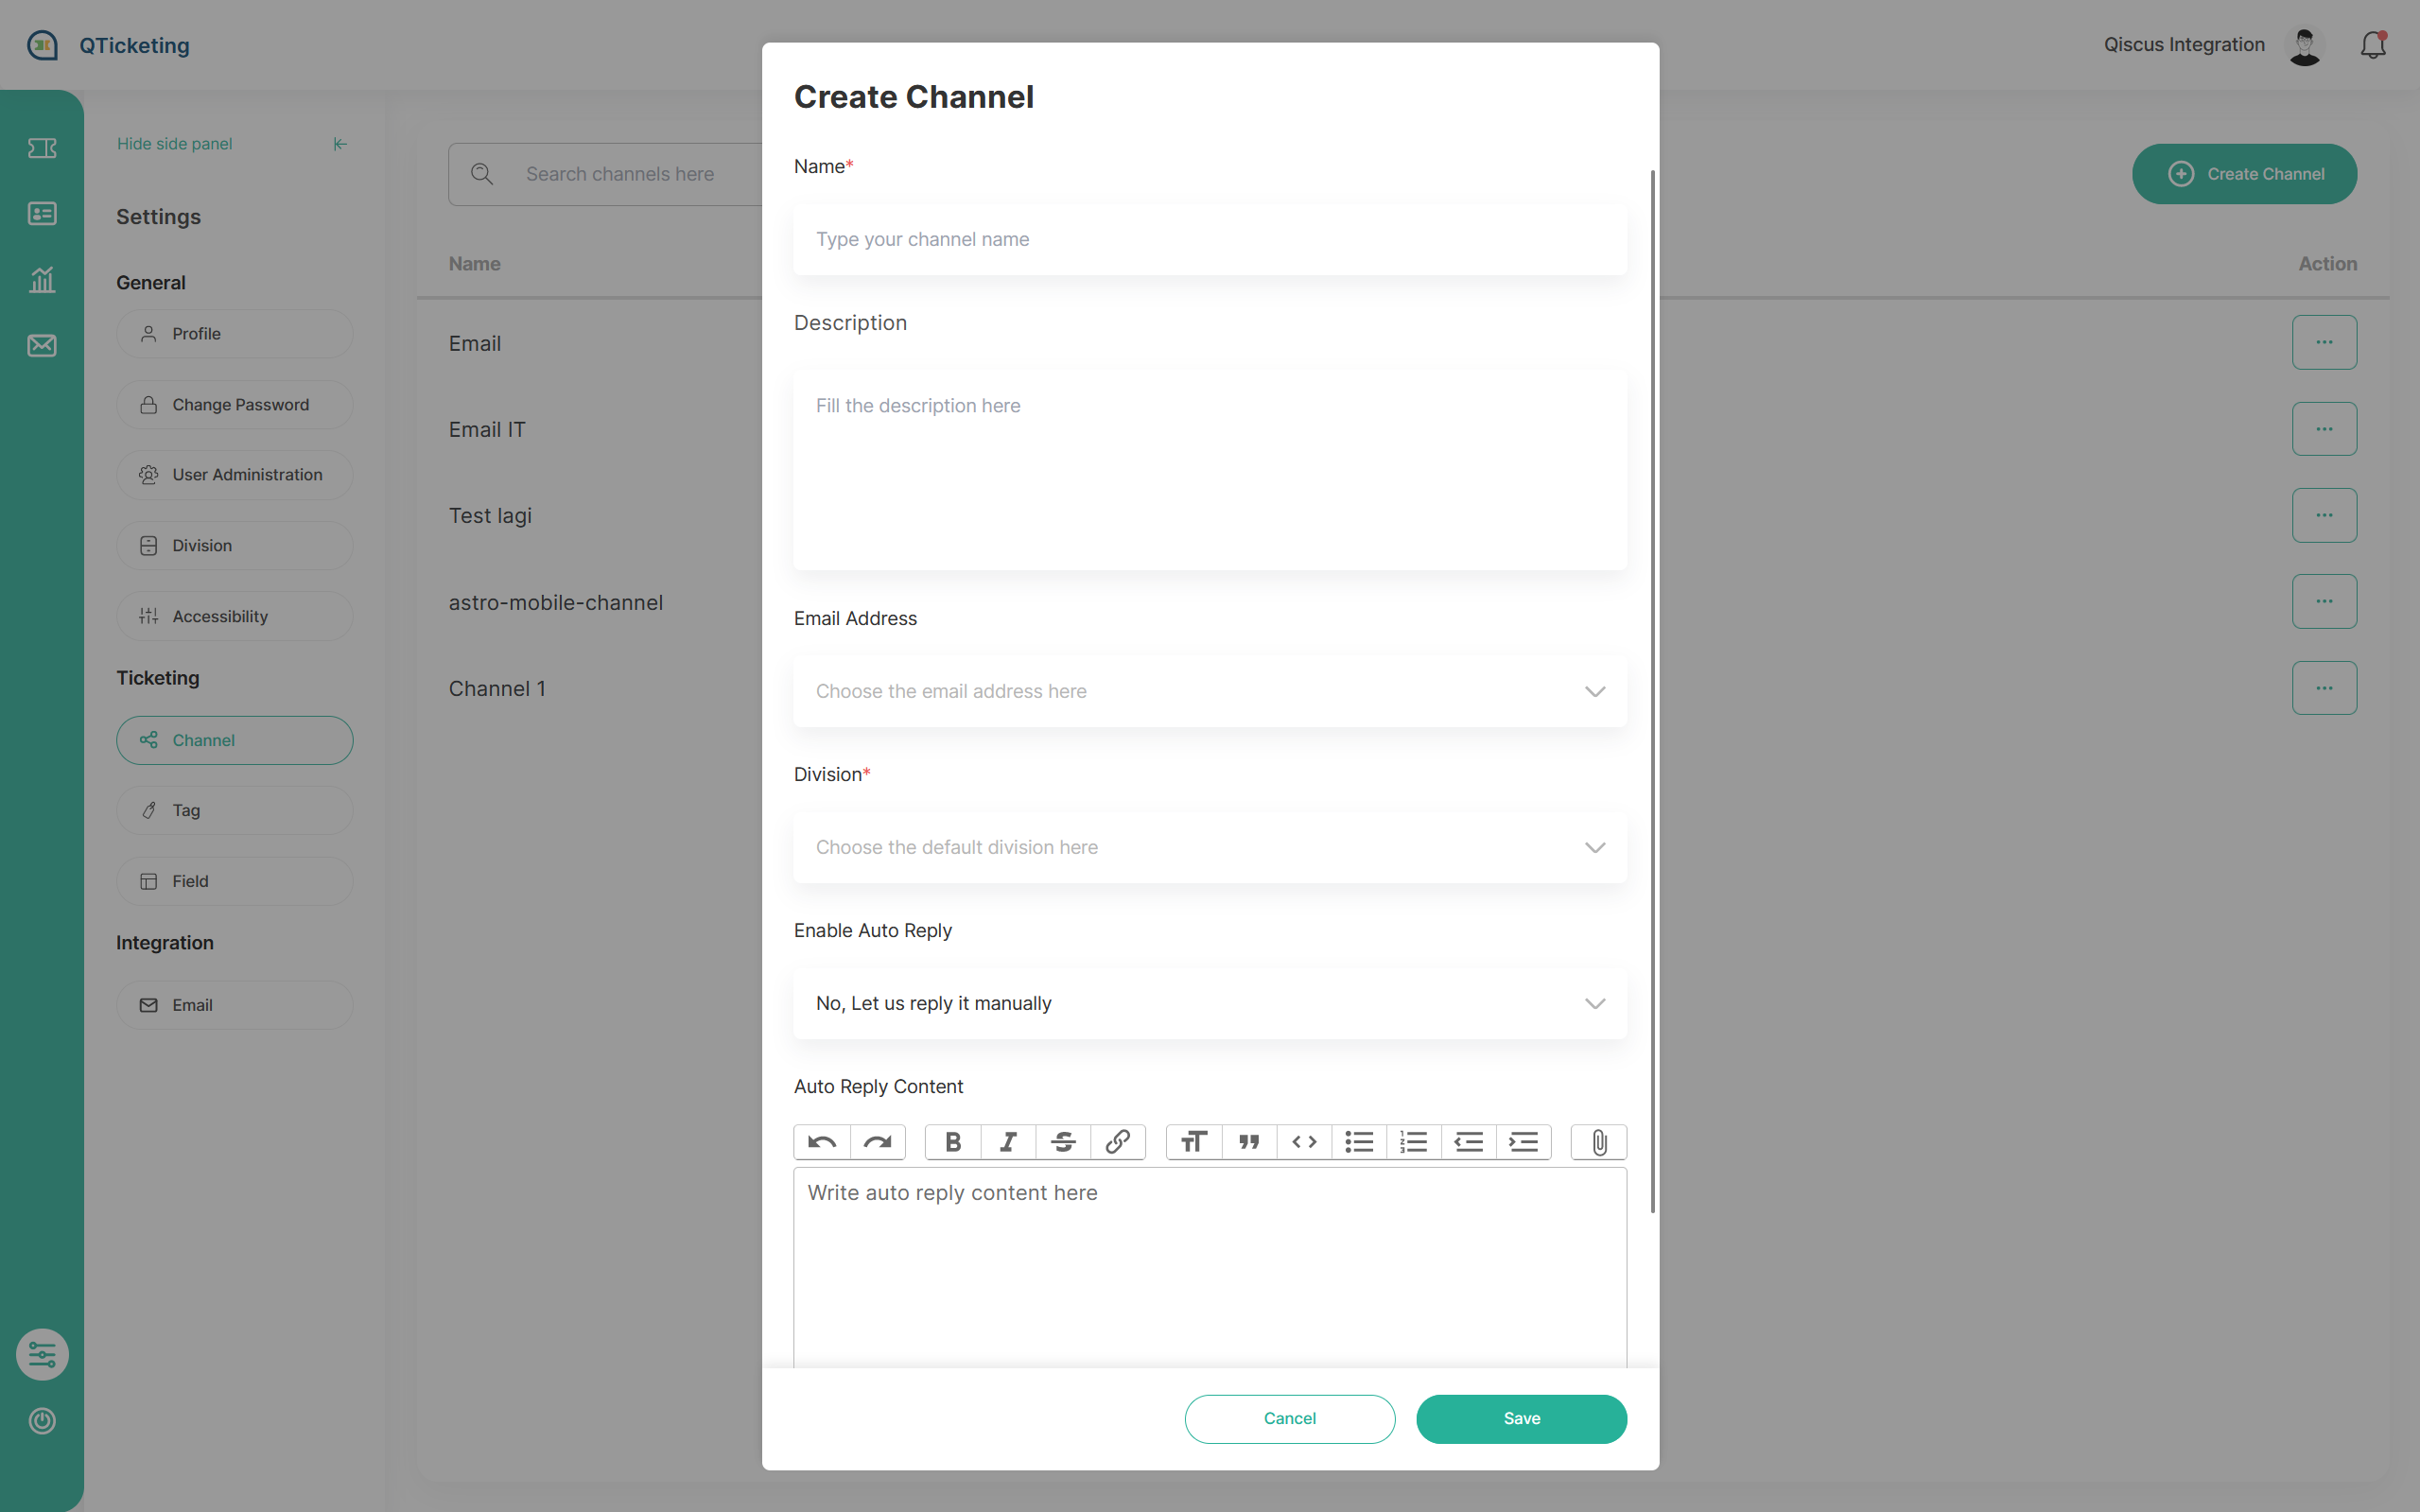
Channel in Qiscus Helpdesk are used to manage the incoming ticket that comes from the outside Qiscus Helpdesk sources like inbound mail in Email integration or Ticket comes from Omnichannel Chat that created via Qiscus Helpdesk Create Ticket button.
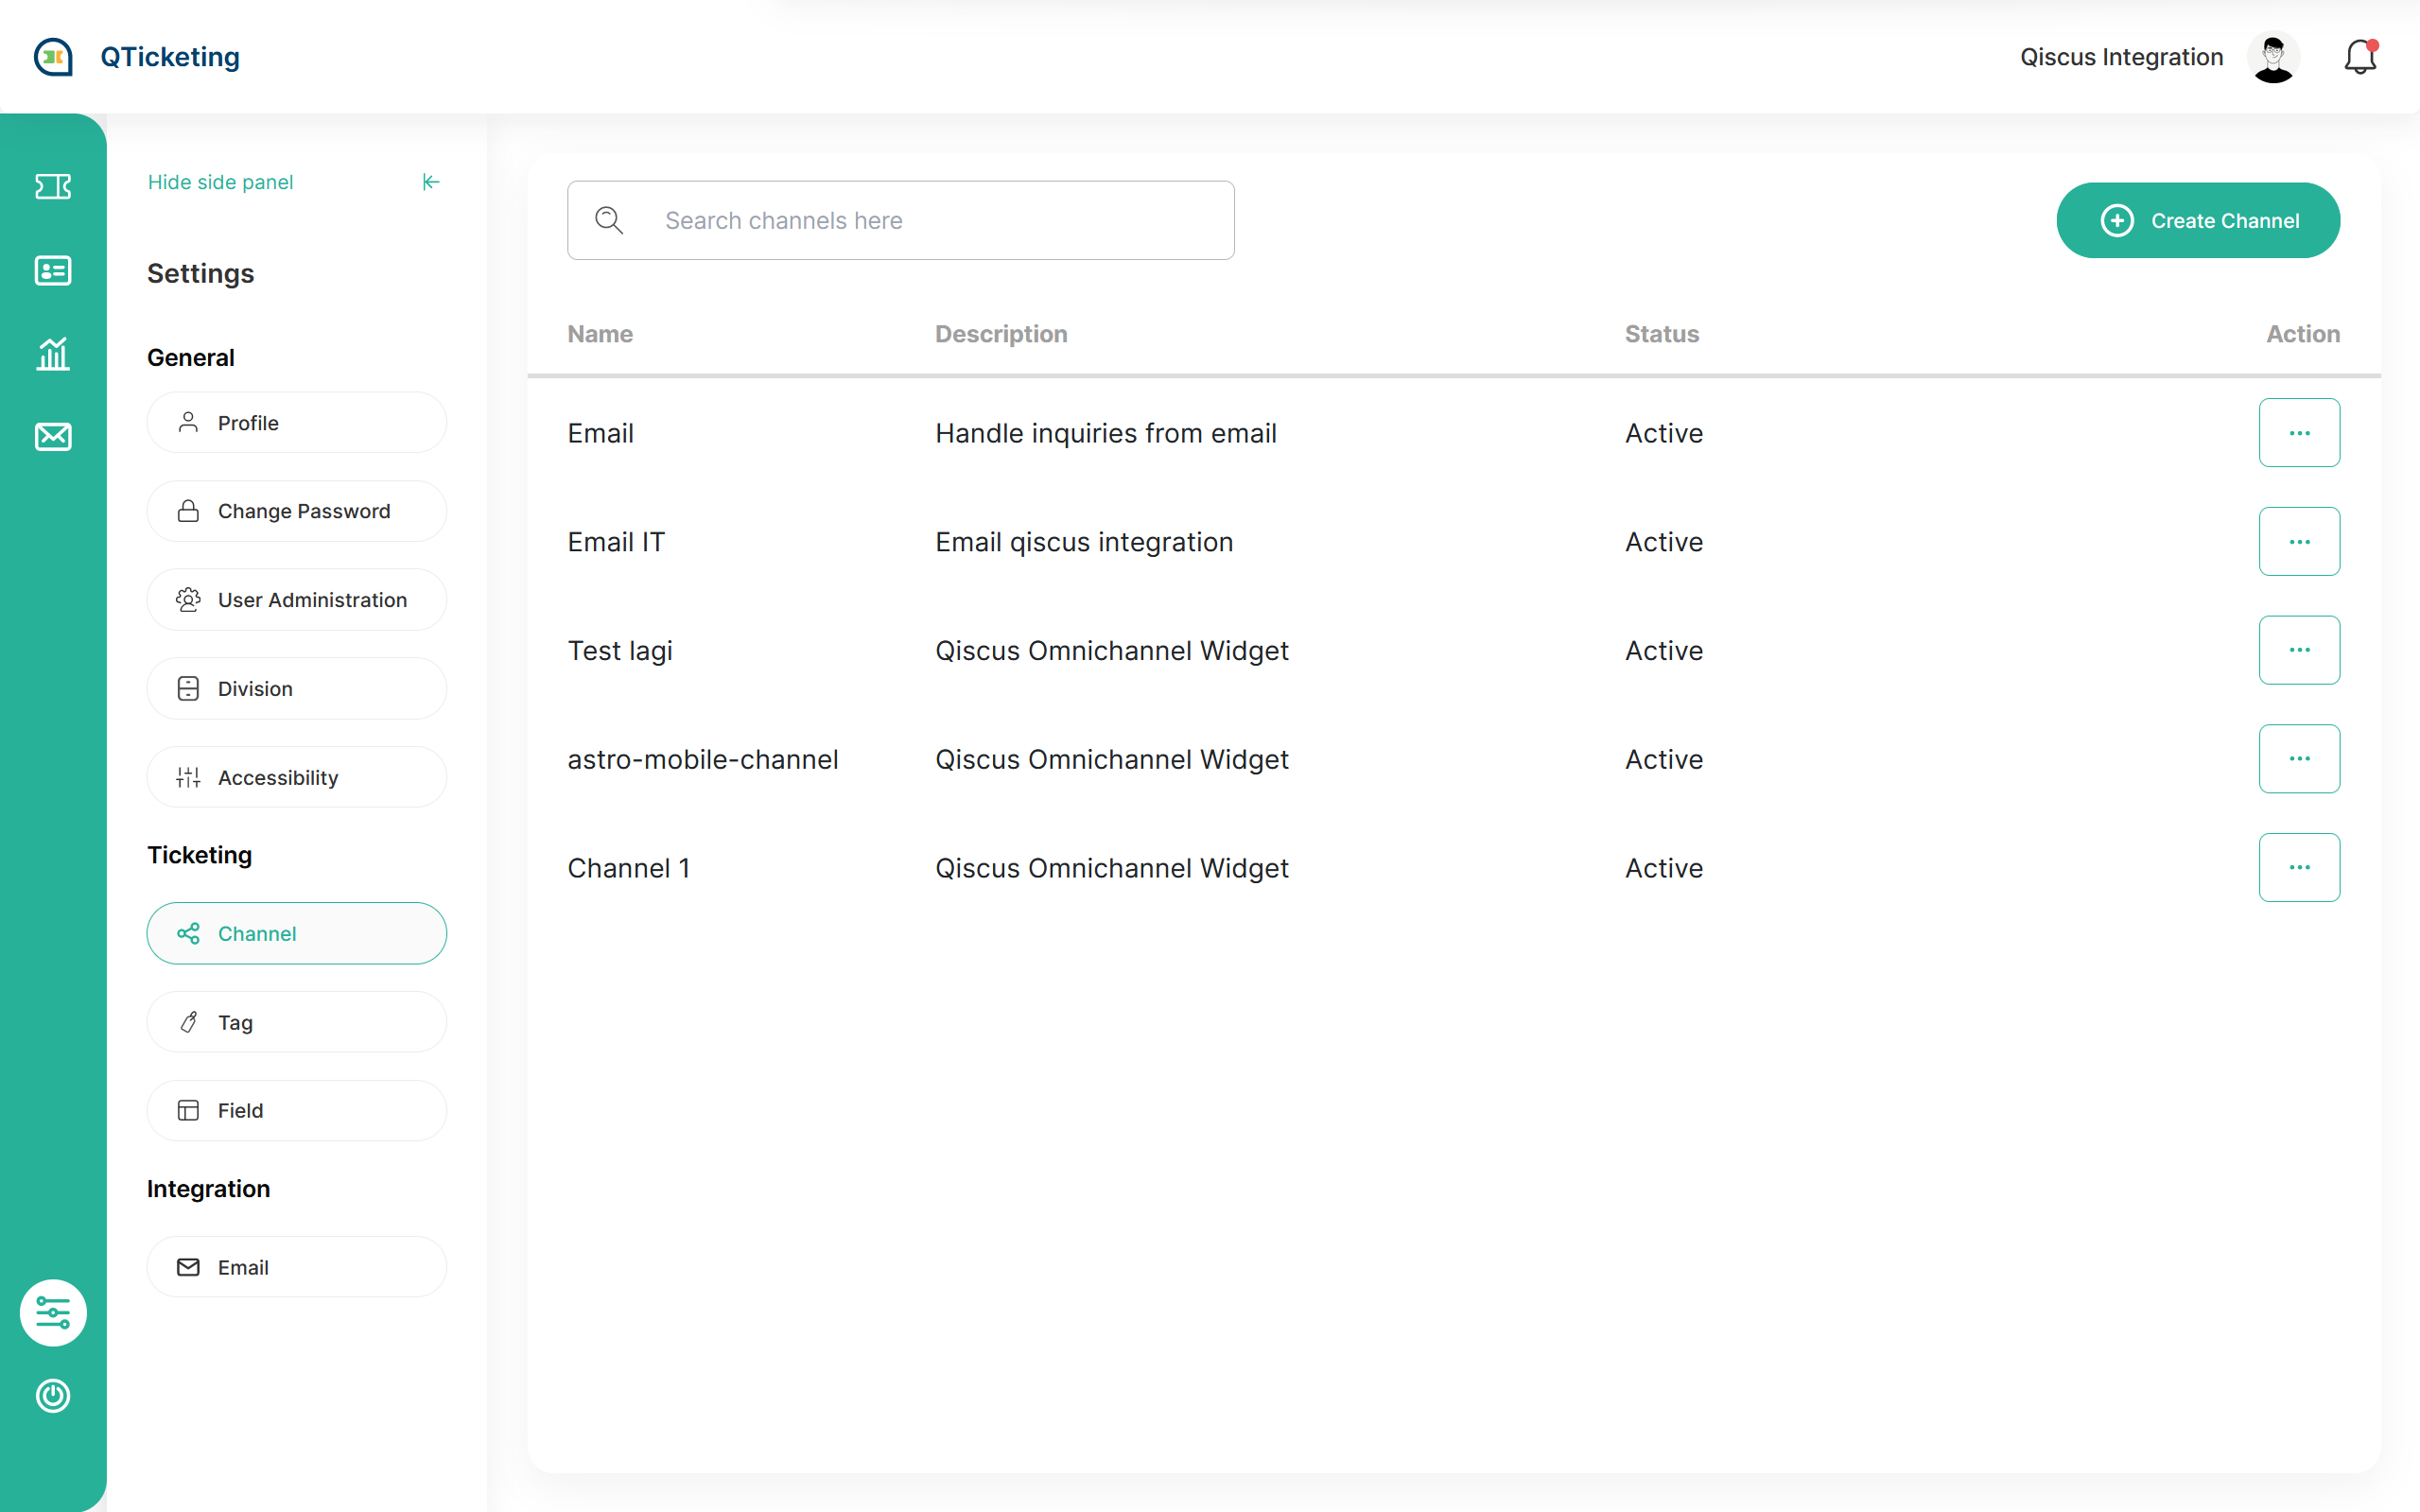
During creating new channel there are several capability that can be used in channel creation like:
- linking the channel with email integration
- Auto assign ticket to division that configured on the channel
- Enable or disable auto reply feature for linked email integration to the channel
Tag
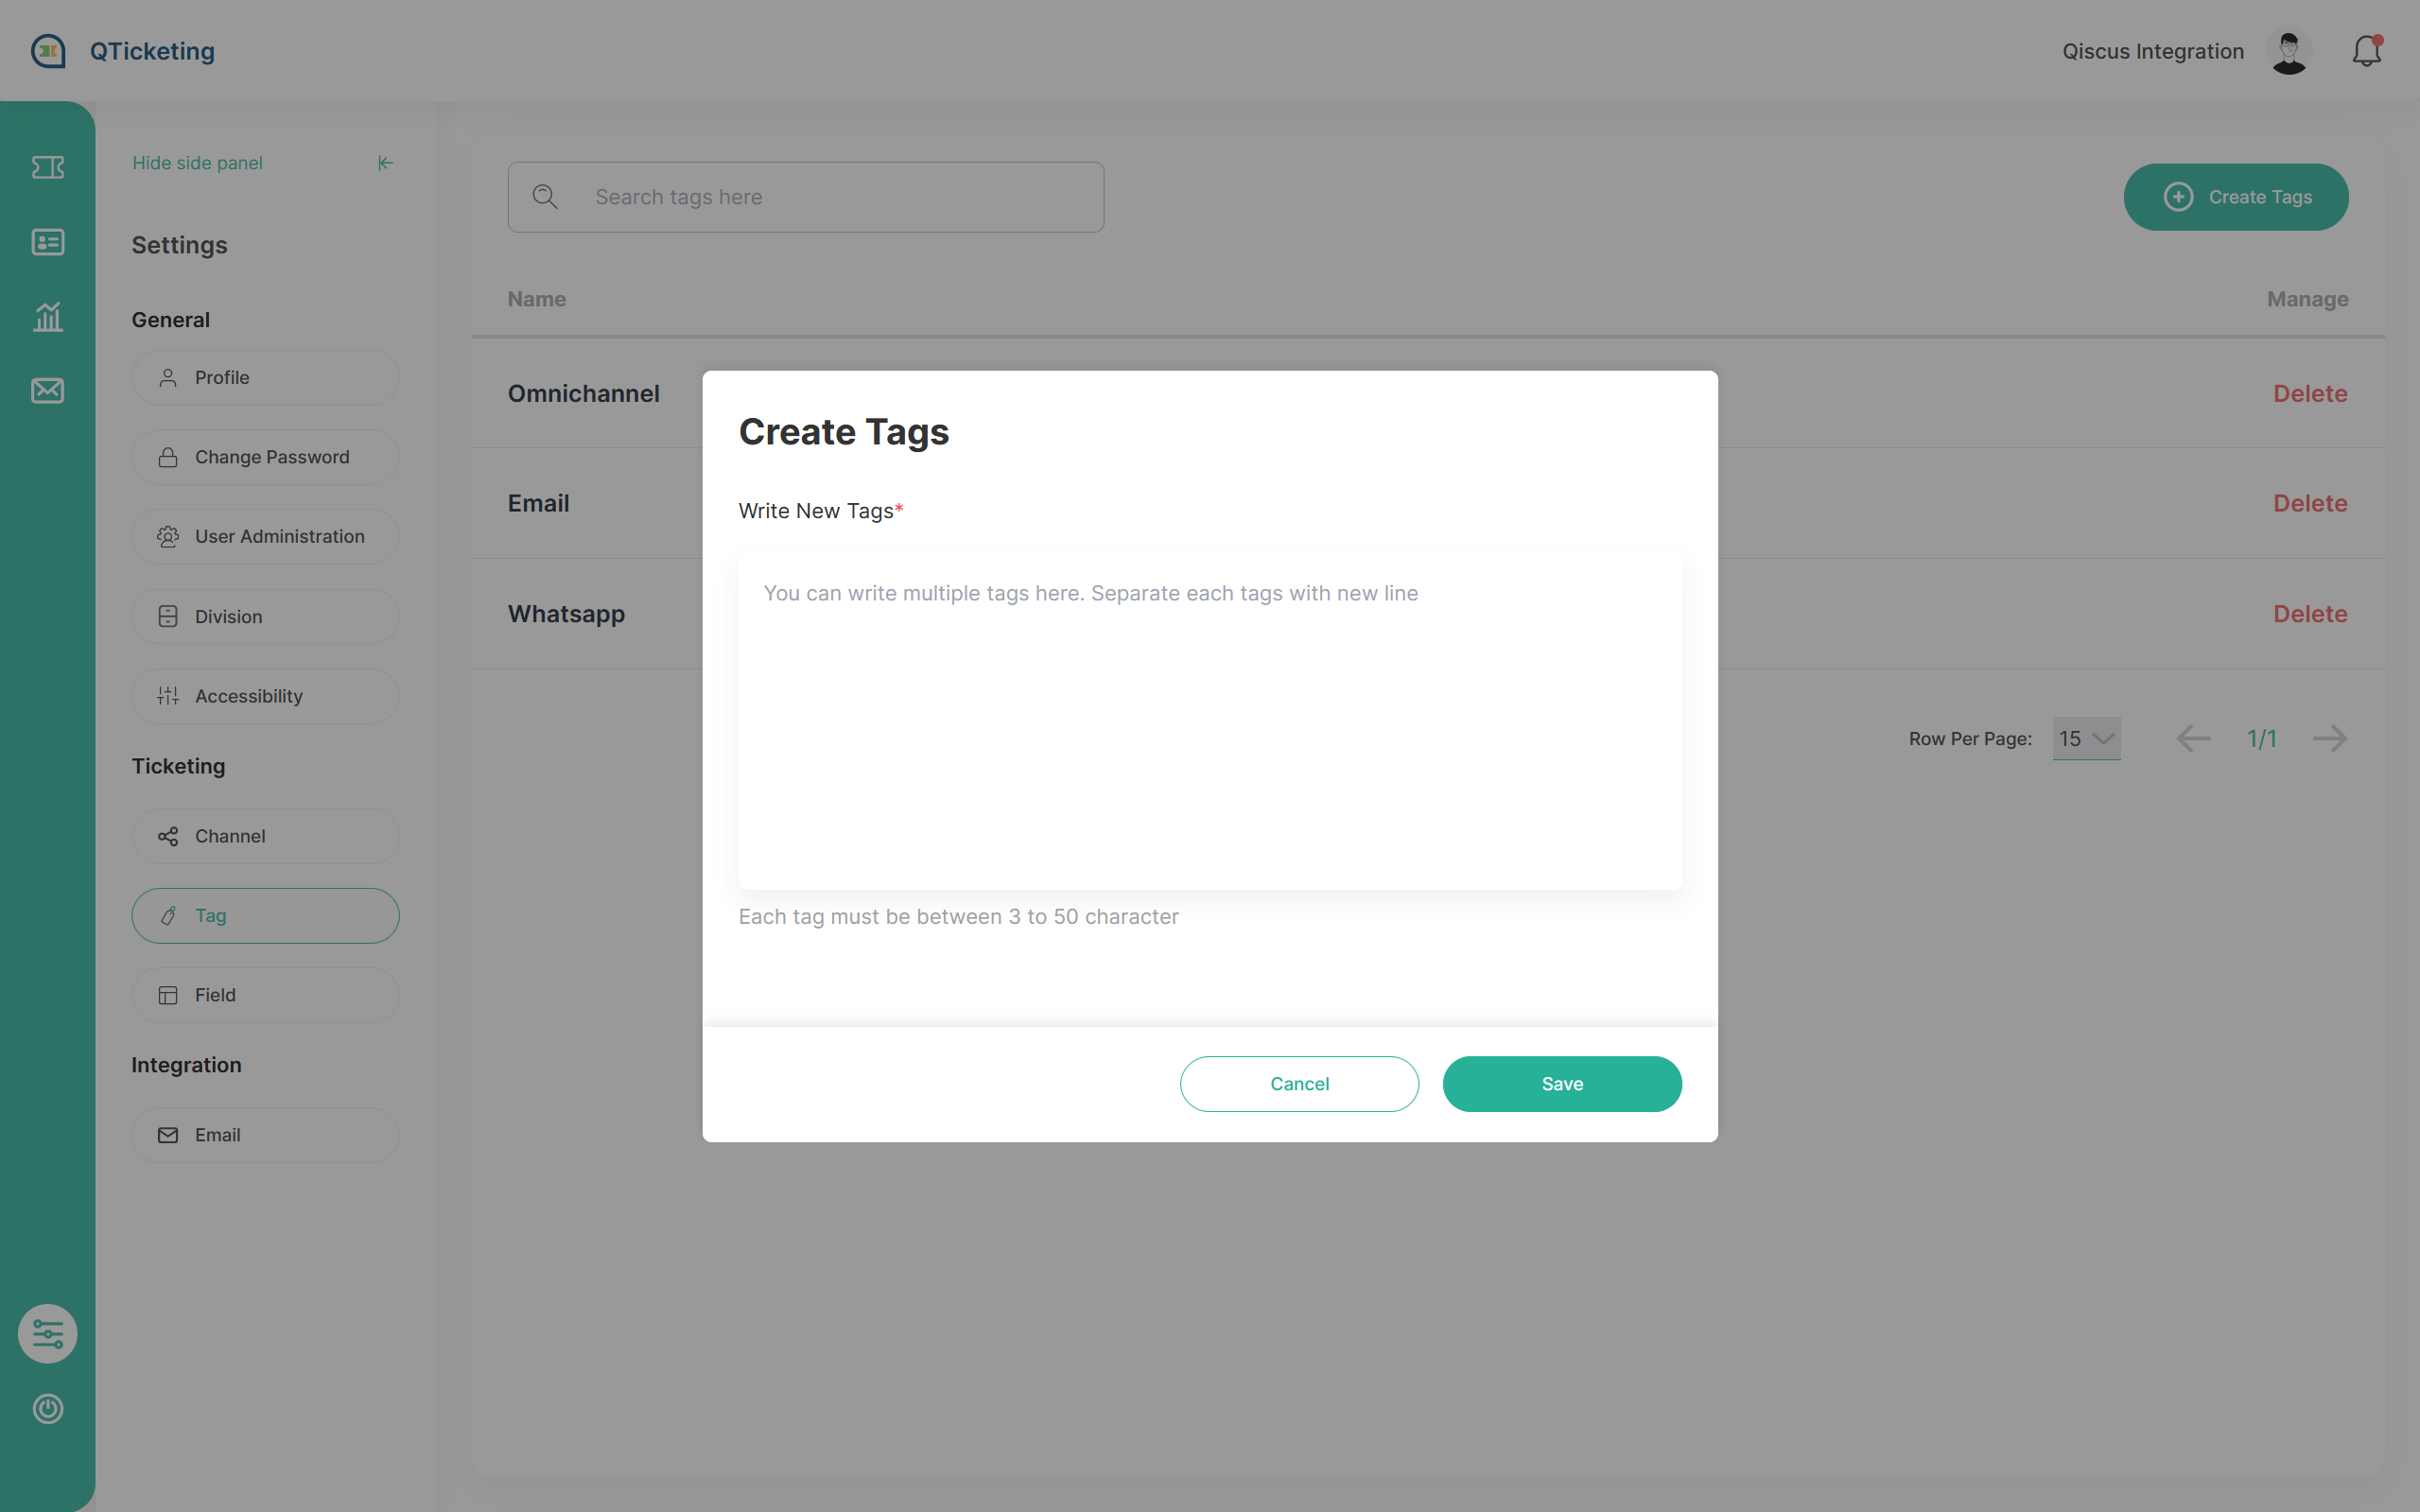
Tagging are a feature to labeling a ticket with identification purpose. By giving tag in the ticket, you can filter the ticket by using the tags and easier when analyzing your ticket identification if you want to create the custom ticket analytics by tag.
Qiscus Helpdesk have bulk insert/massive insert tagging data with separating it with enter or new line during inserting the data upon creating new tag.
Field
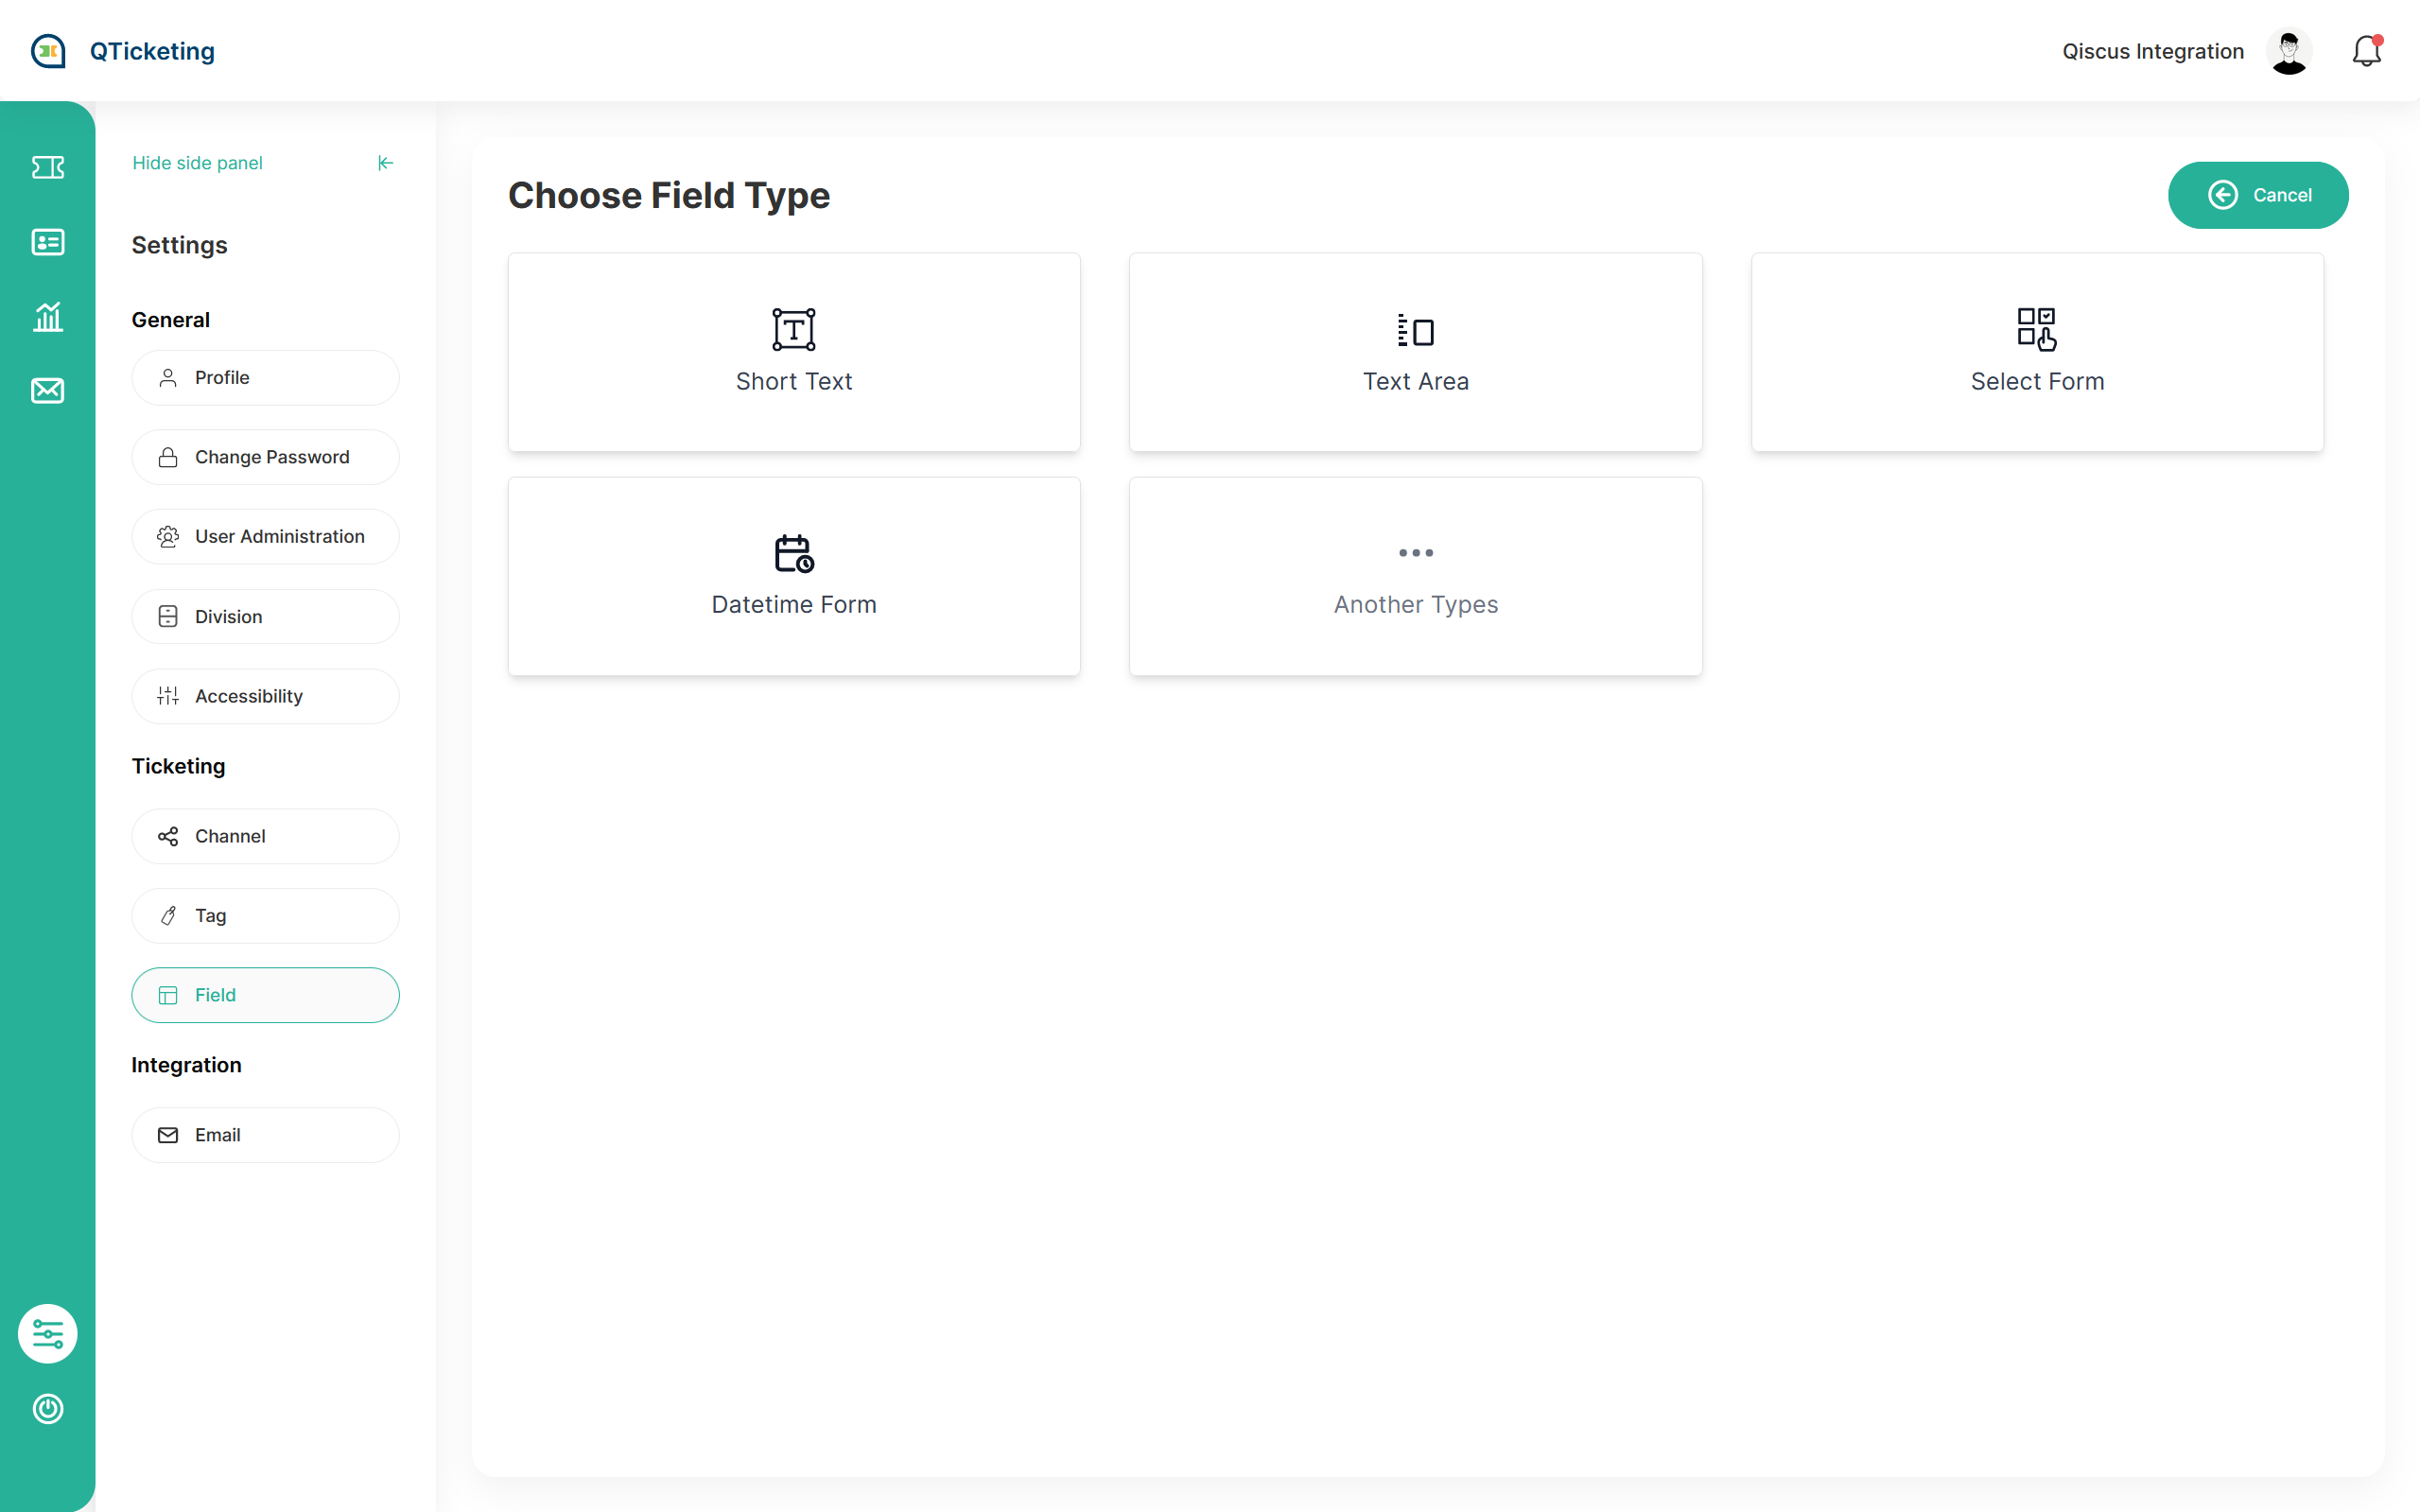
in this section menu you can add your custom additional field so you can have your own preference field fit with your needs. There are four kind of field type:
- Short Text
- Text Area
- Select Form (Dropdown)
- Datetime Form (Date)
Integration
there’s 2 type of email integration
- Default that using @qticketing.qiscus.com as an receiver or sender to customer
- Custom SMTP to masking our @qtickting.qiscus.com with your email
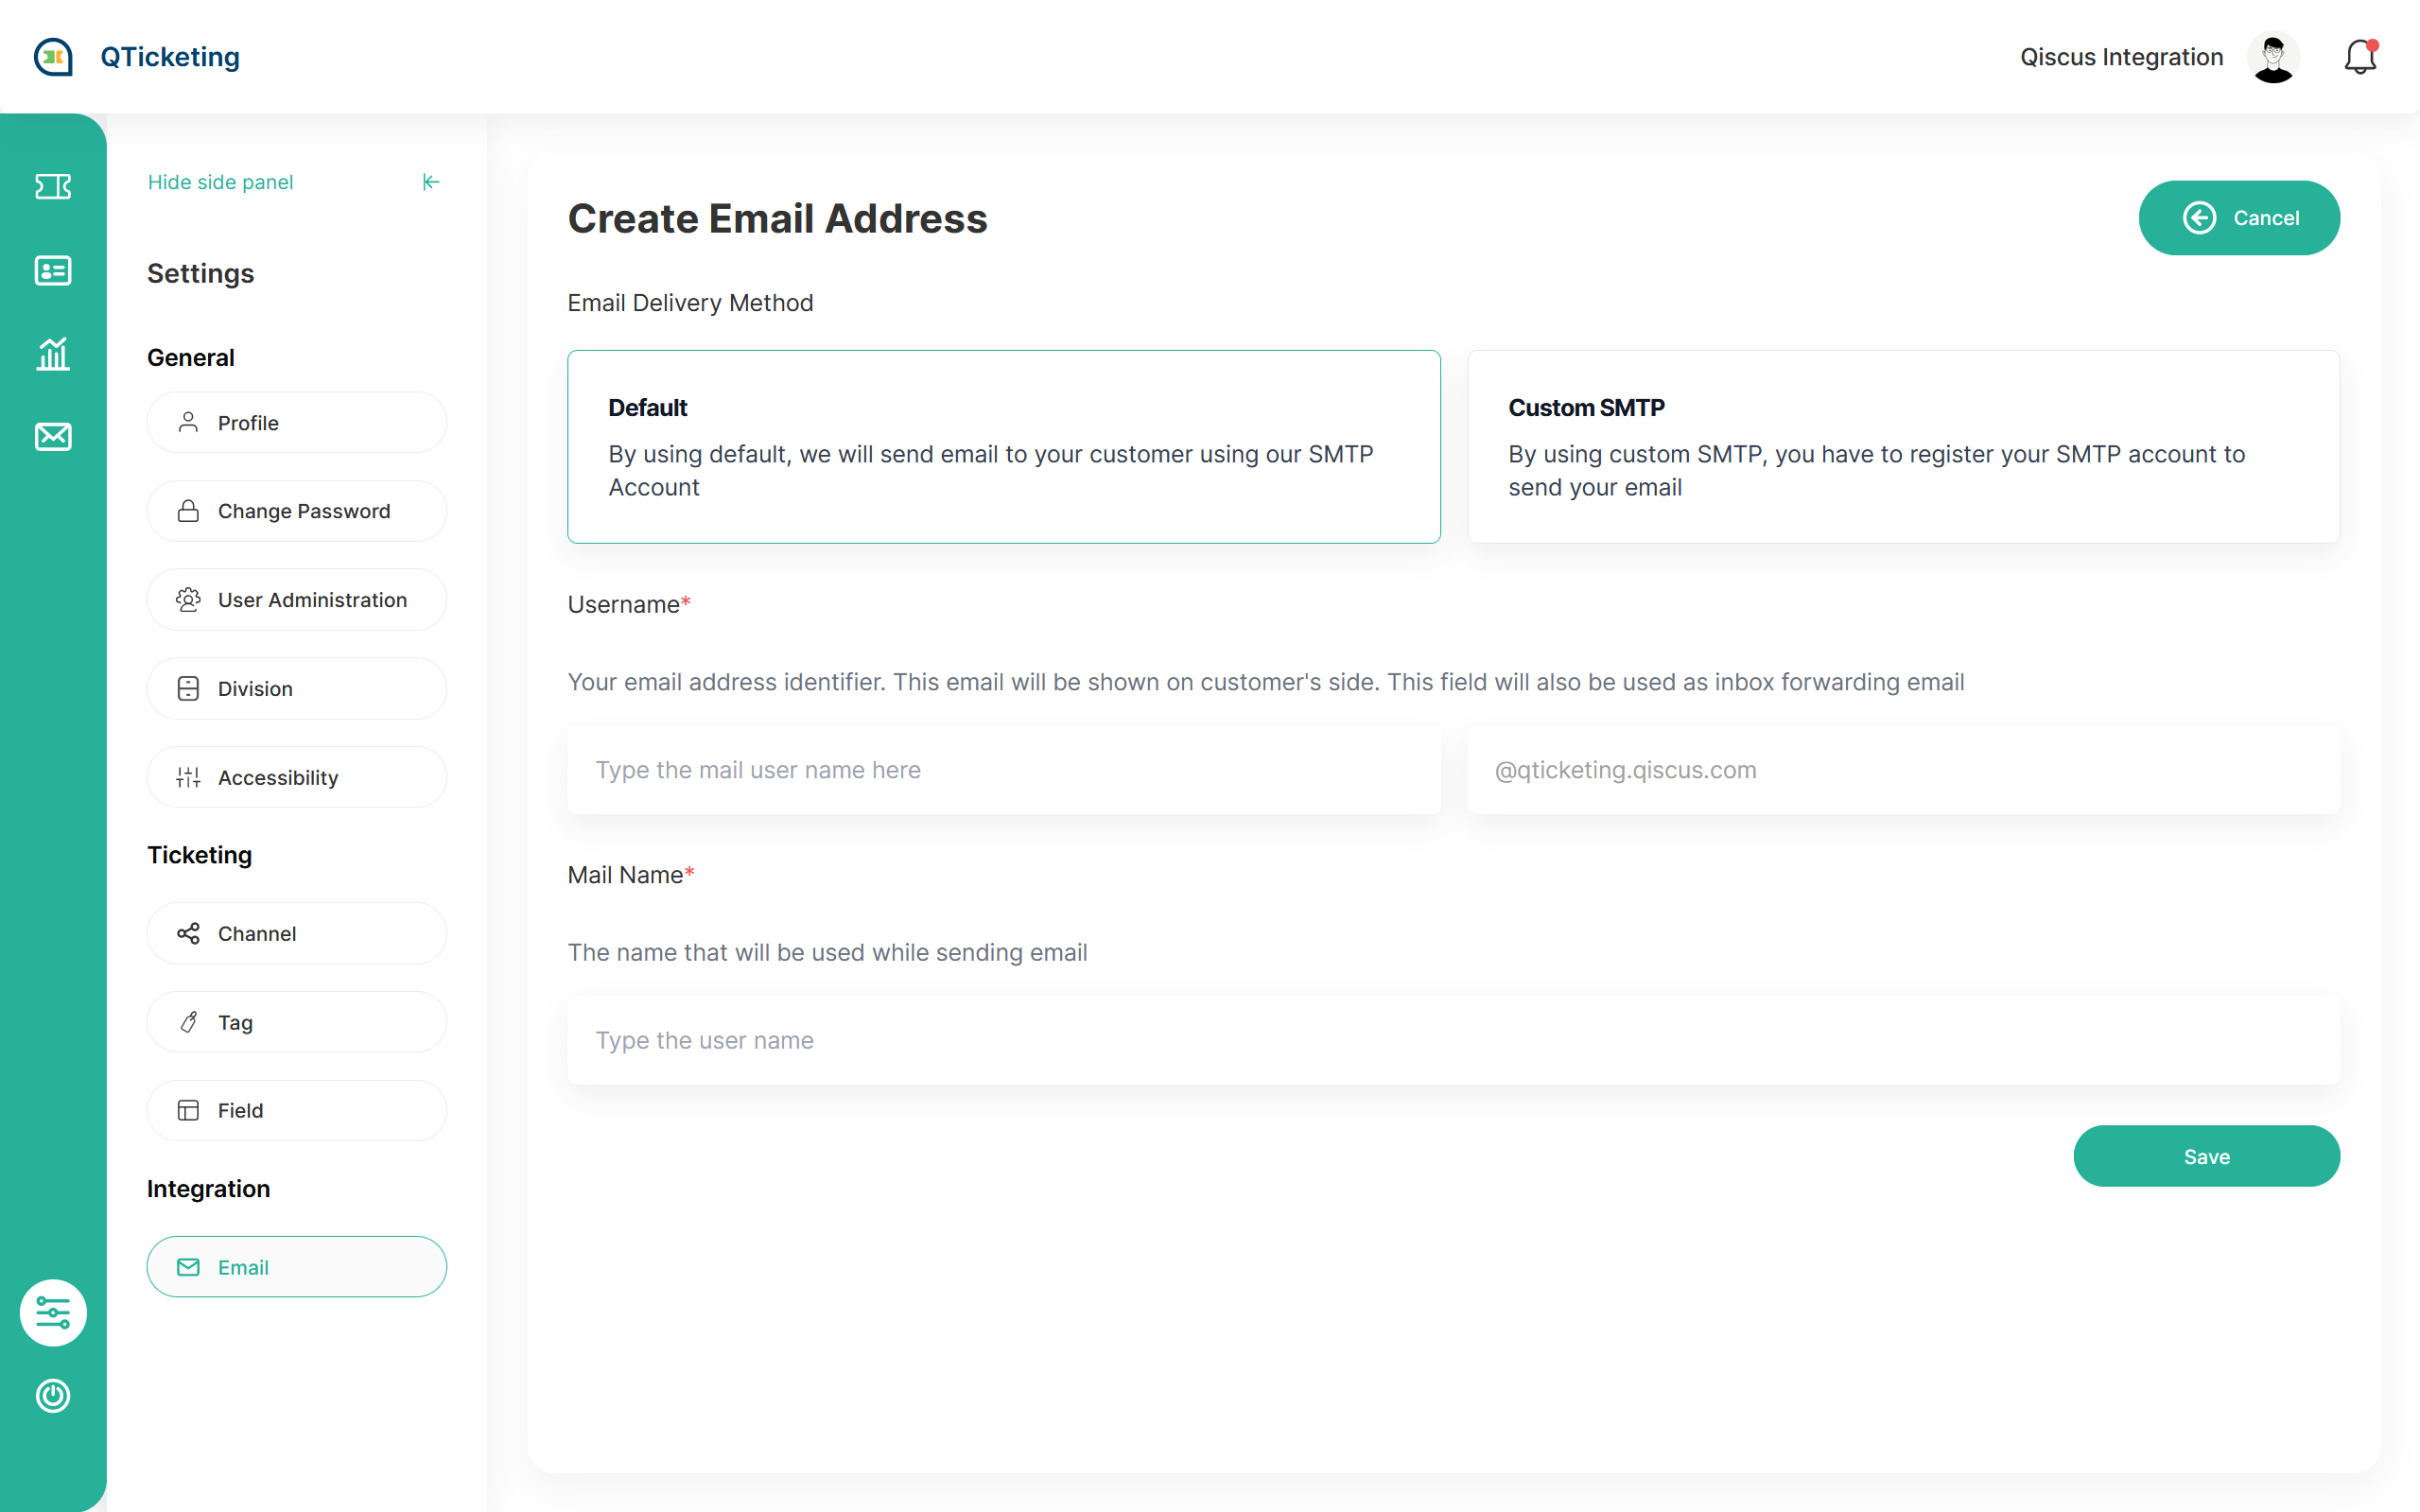
if you want to using default then you just have to fill the email address and the email name, but if you want to using Custom SMTP then there’s several step that have to be done to setup this email
To setup custom email you need to forward your email to our default email and setup the SMTP configuration that can be found in this following documentation pages: https://documentation.qiscus.com/app-center/email#smtp-configuration. After finish the configuration you can receive new ticket that received on your custom email and also able to reply the customer with the same email.
API Token
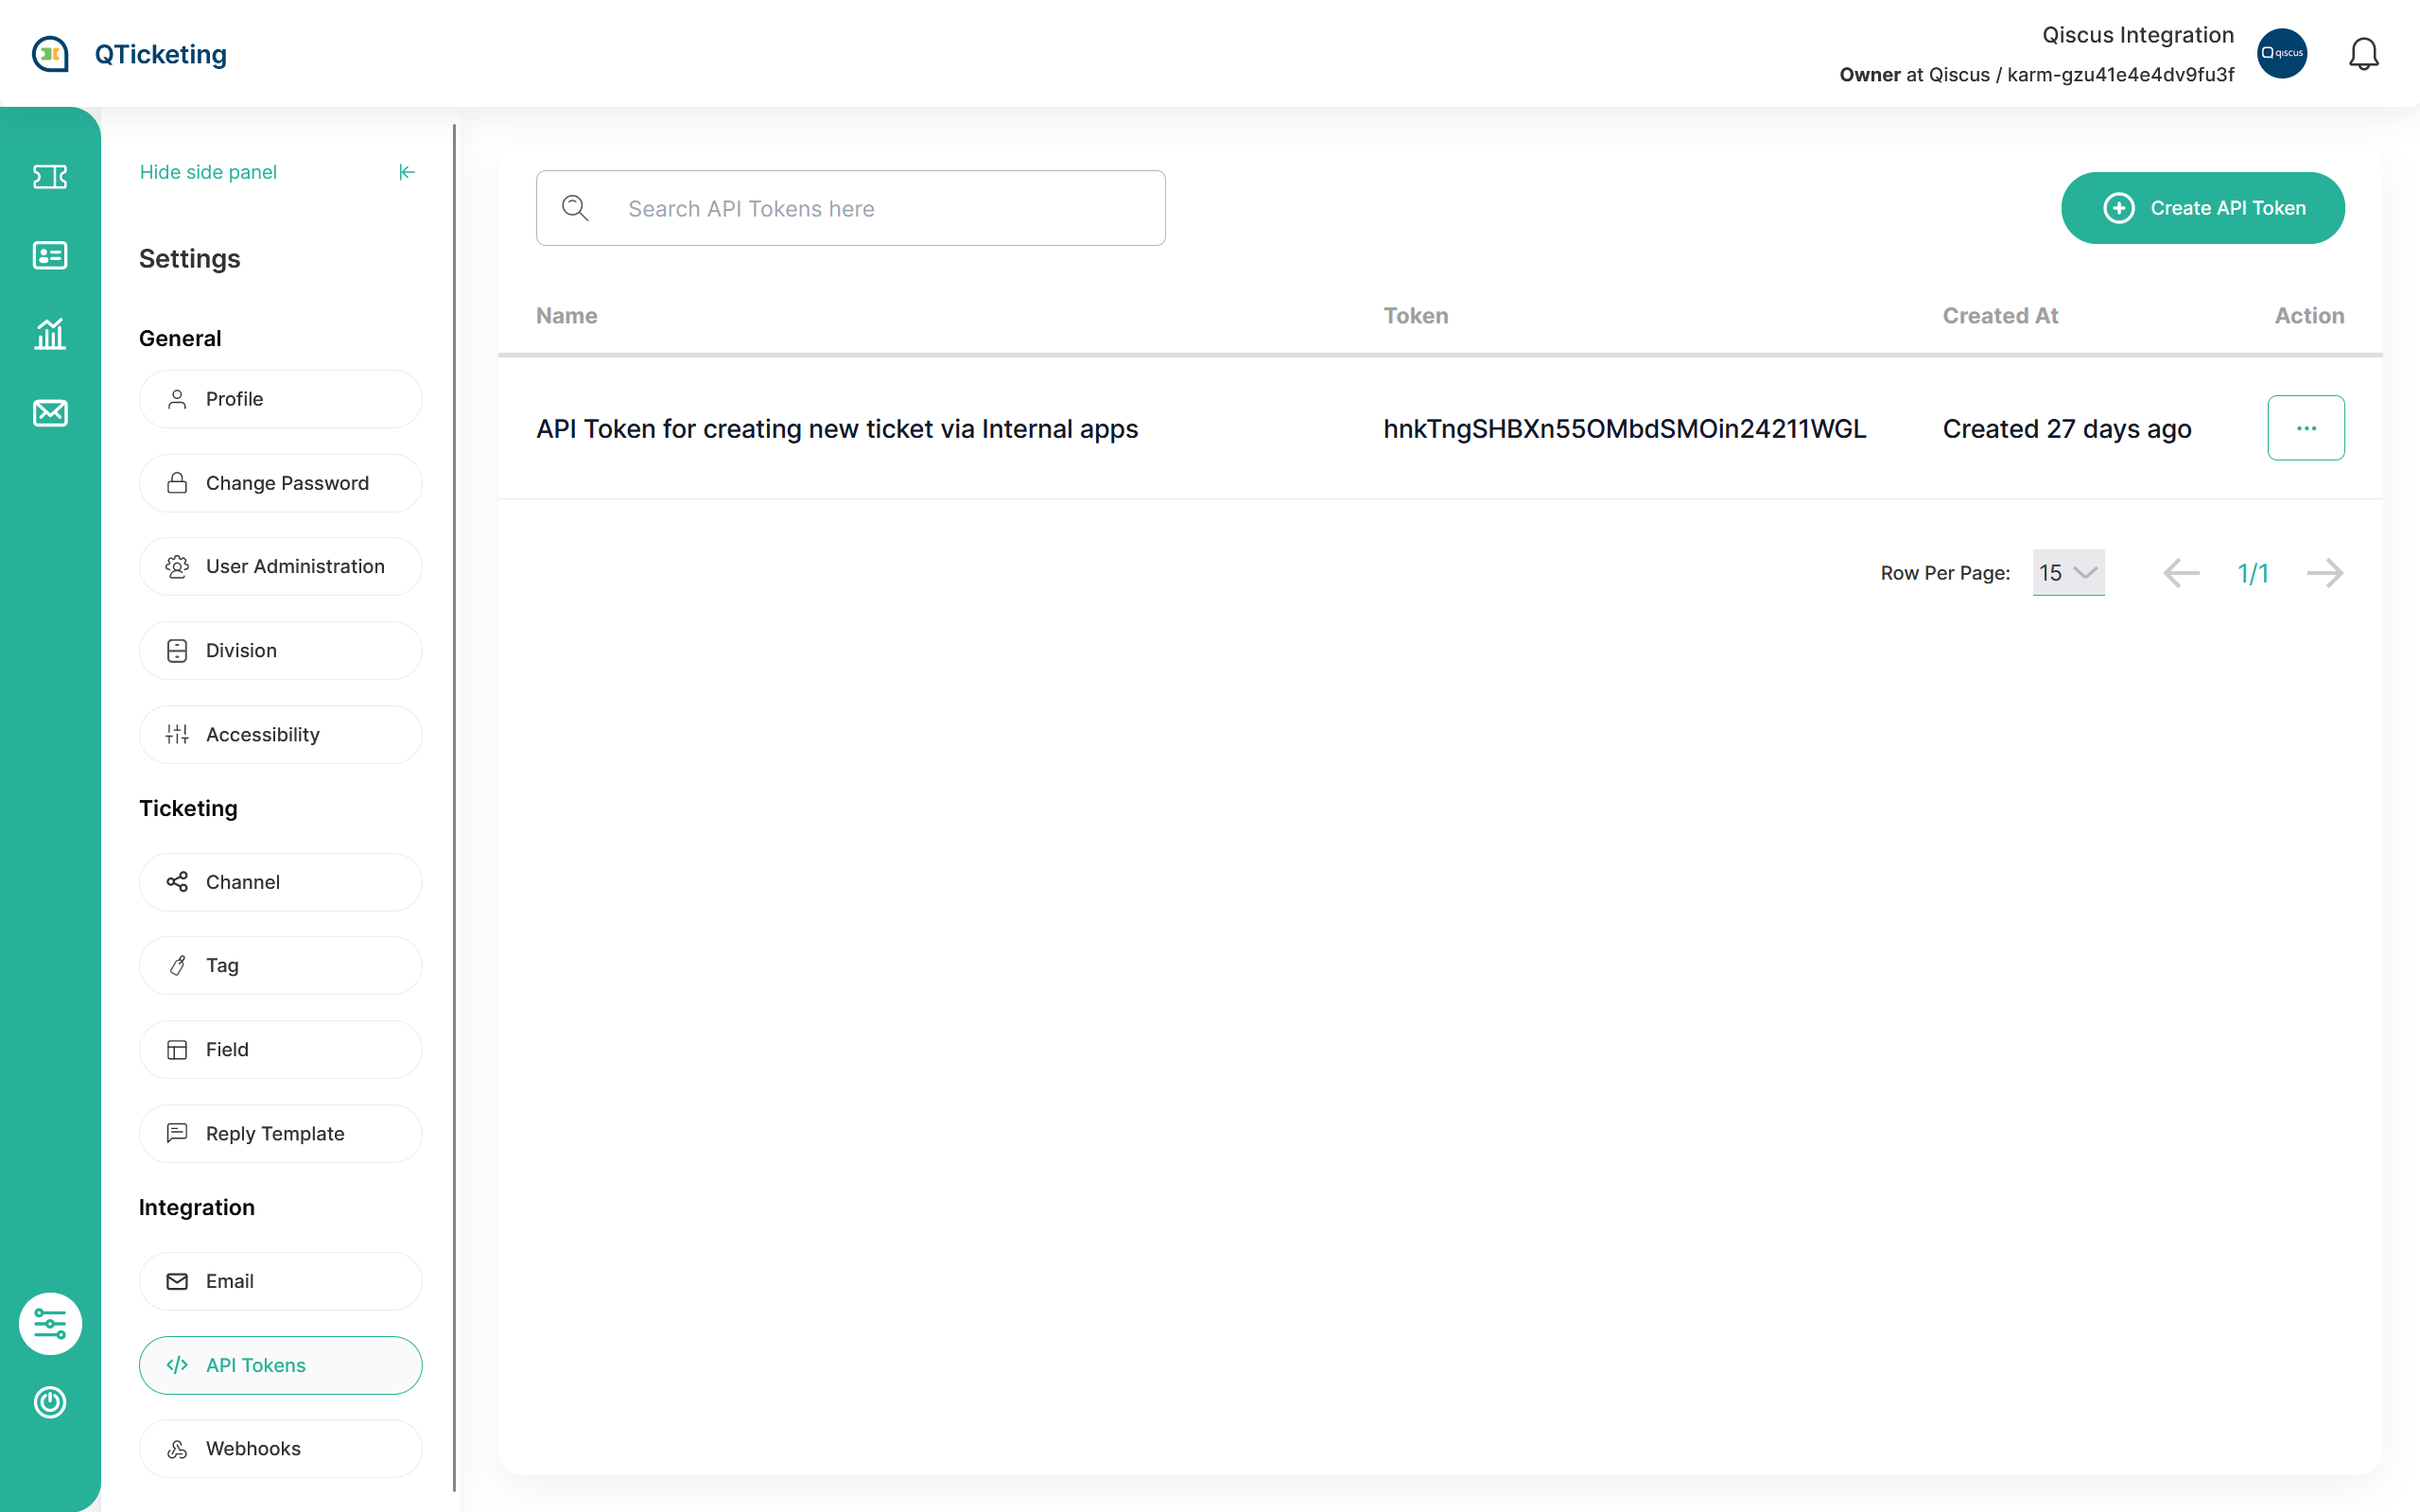
API tokens are essential tools in our ticketing system, offering secure access to the system's functionality and data. This documentation provides a concise guide on API token management, emphasizing their generation, usage, also including their role in creating new tickets through external systems.
API tokens serve as authentication keys, facilitating interactions with the ticketing system's API. To create a token, open Settings > Integration > API Tokens > Create API Token. Use the created token to create new ticket with the postman documentation below:
Qiscus Helpdesk API Postman Documentation
Webhooks
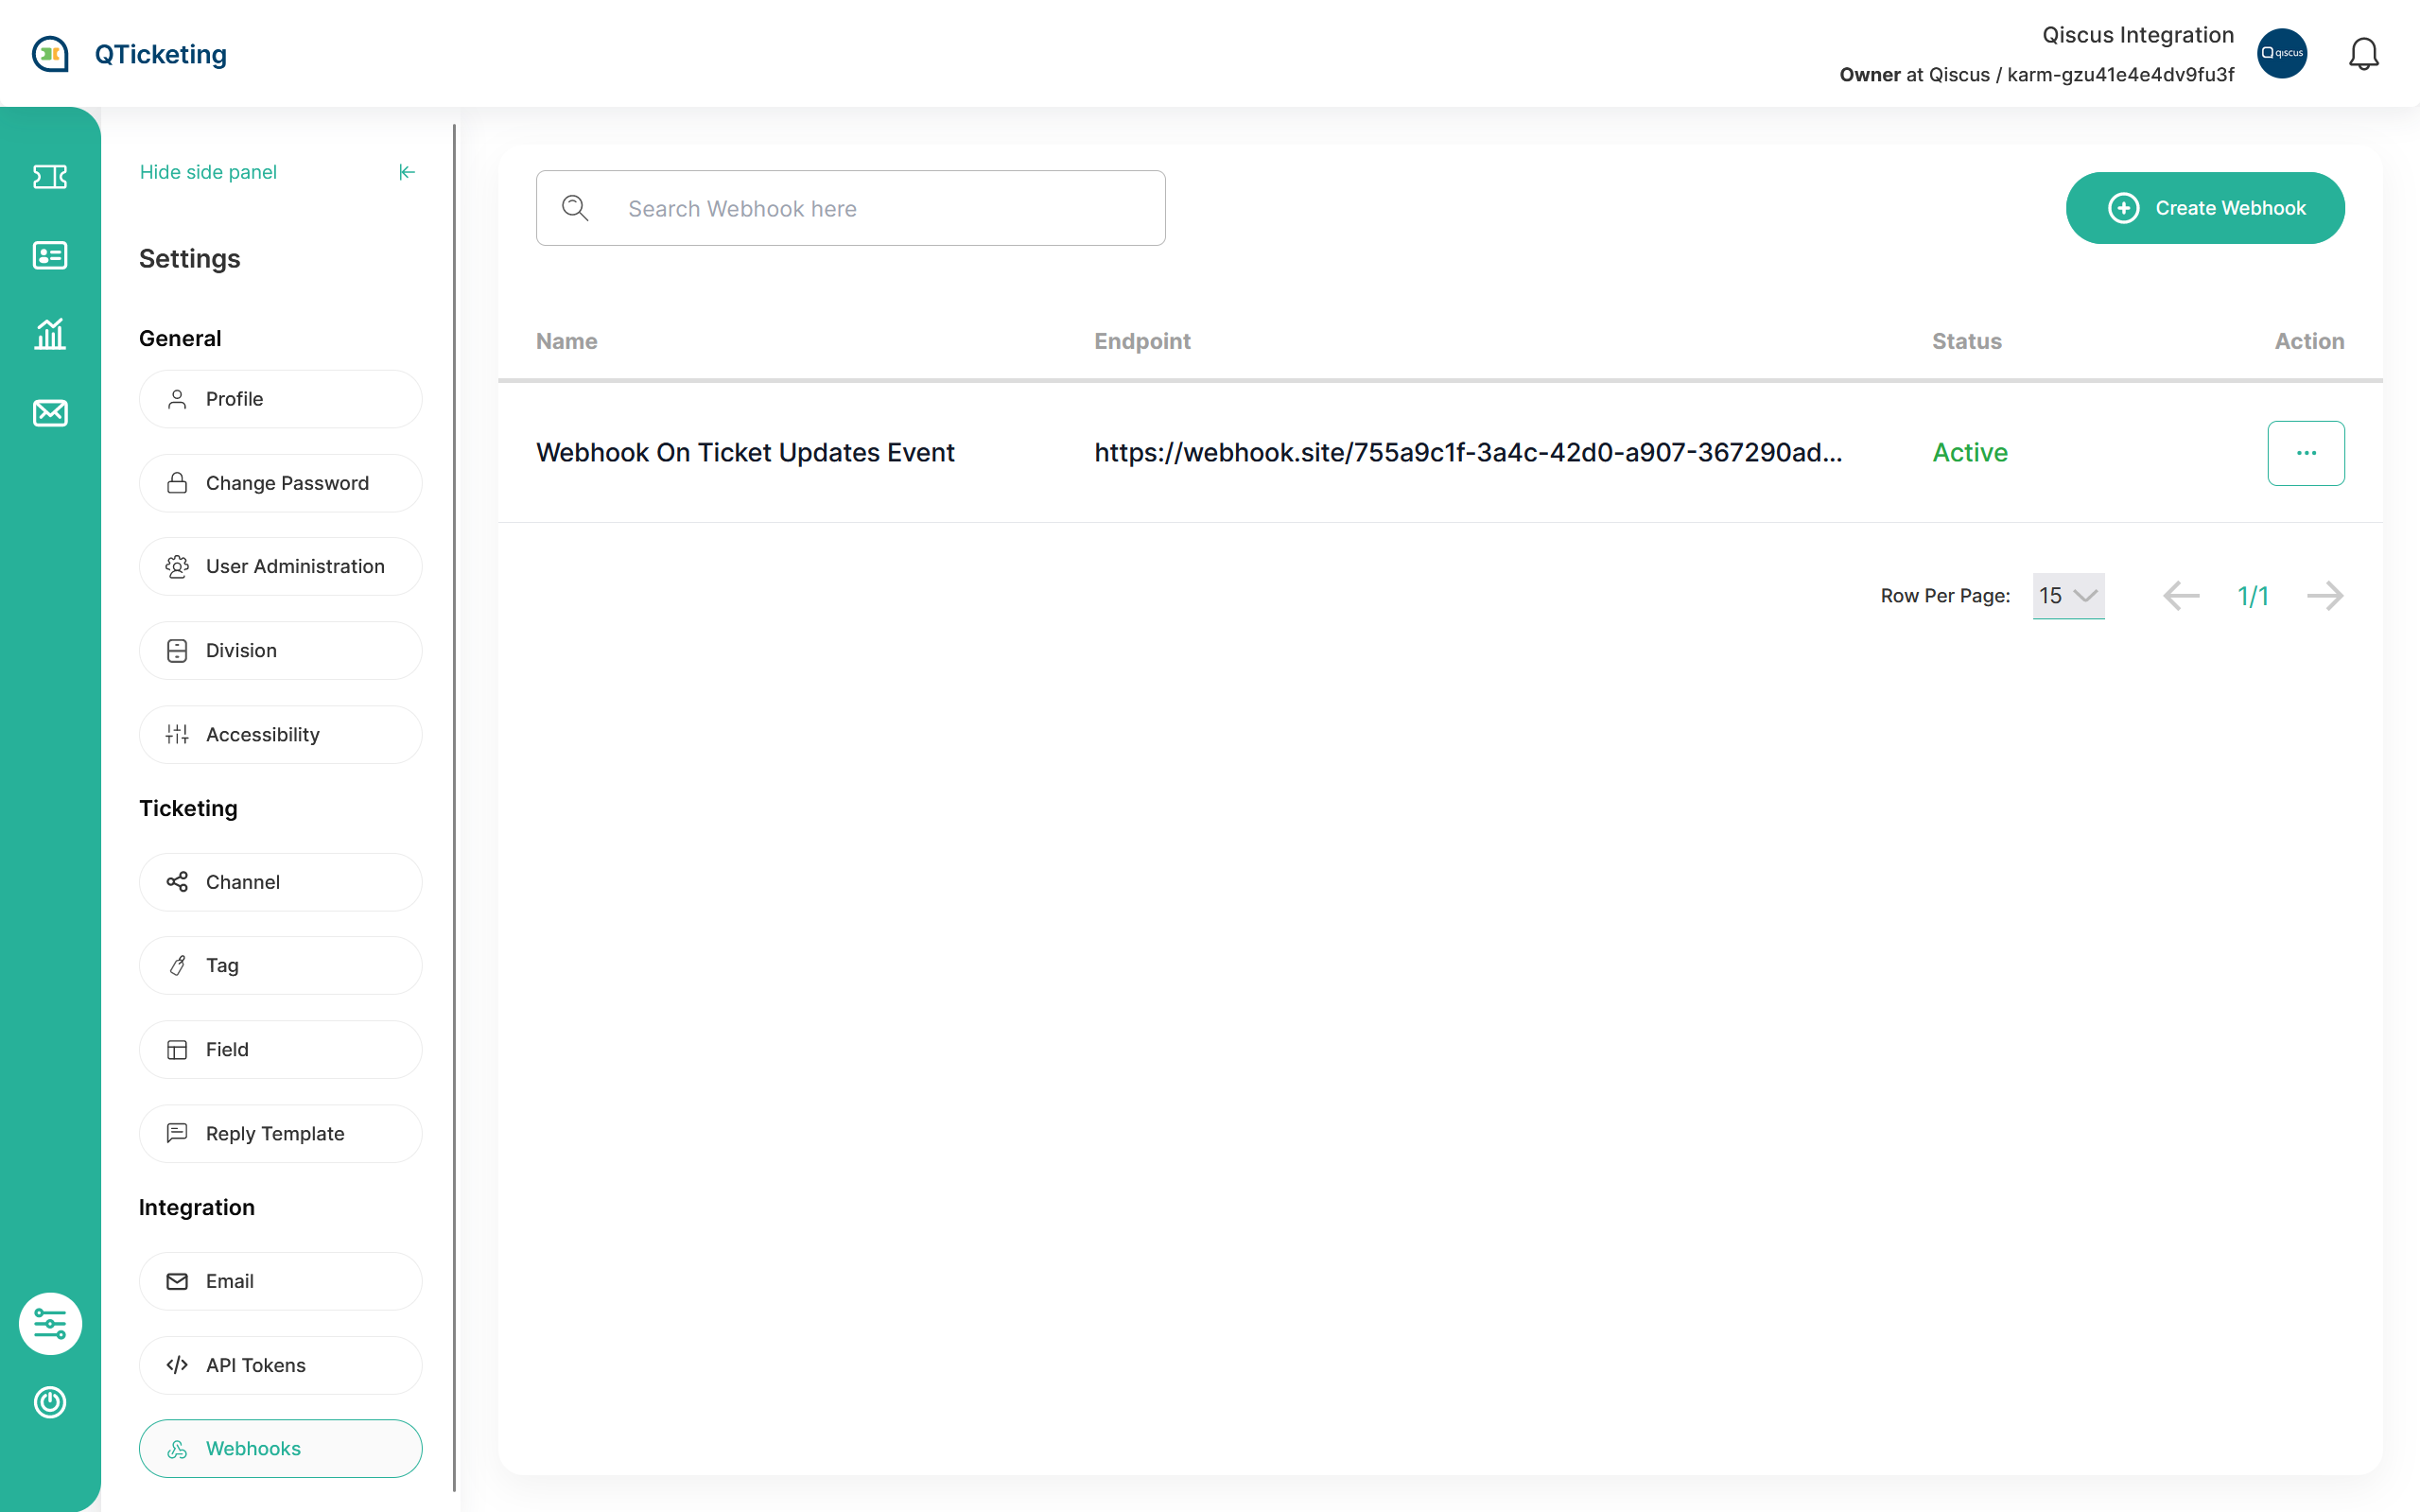
Webhooks are a powerful feature that empowers you to stay up-to-date with every ticket events. With webhook creation, you can effortlessly set up notifications for significant events, ensuring that your system remains informed in real-time. This includes staying in the loop when new tickets are created, existing tickets are updated, or when customers add new replies to their inquiries. By configuring webhooks, you streamline your workflow, enhance your responsiveness, and enable your team to collaborate effectively.