Webhook Extender is an application that is used to bypass the constraints of Qiscus Omnichannel's webhook, which can only forward one event to one target. We can forward events on Qiscus Omnichannel to a variety of endpoints by utilizing this webhook extender. Webhook Extender also comes with the ability to re-queue when a problem occurs delivering the webhook.
Installation
To activate it, go to Omnichannel App Center and search for Webhook Extender.
Then, in the App Center, click Contact Us to request activation of Webhook Extender, which can then be accessed via the My Apps page.
Setting
The status of your add-on will change to Installed once it has been activated by the Admin, and you will notice a Settings button on the Webhook Extender add-on. After that, click the Settings button to access the Webhook Extender settings.
The Webhook Extender settings look like this when no events have been added.

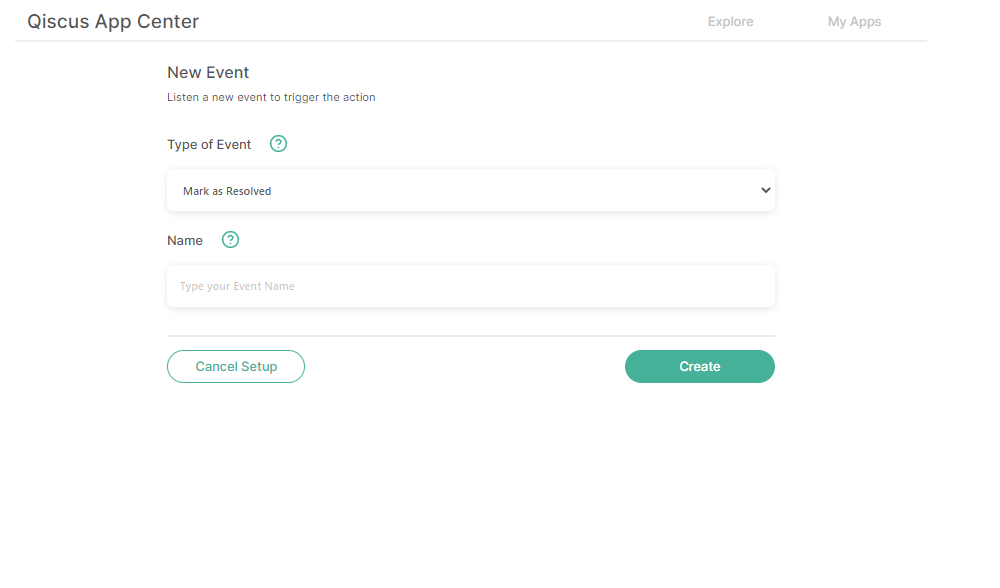
By clicking the Create A New Event Target button, we can add an Event. On this page, we may give the Event any name we wish. Then, click the Save button.
Type of Event
When a specific interaction occurs in the system, Qiscus Omnichannel sends a webhook event. On Qiscus Omnichannel, there are now five events that can be used for Webhook Extender: Mark As Resolved, Custom Agent Allocation, Bot, Custom Button, and New Session.
For further information according to the Qiscus Omnichannel webhook can refer to this documentation.
In this example we will use mark as resolved webhook to see how the webhook extender works.
Add The Event
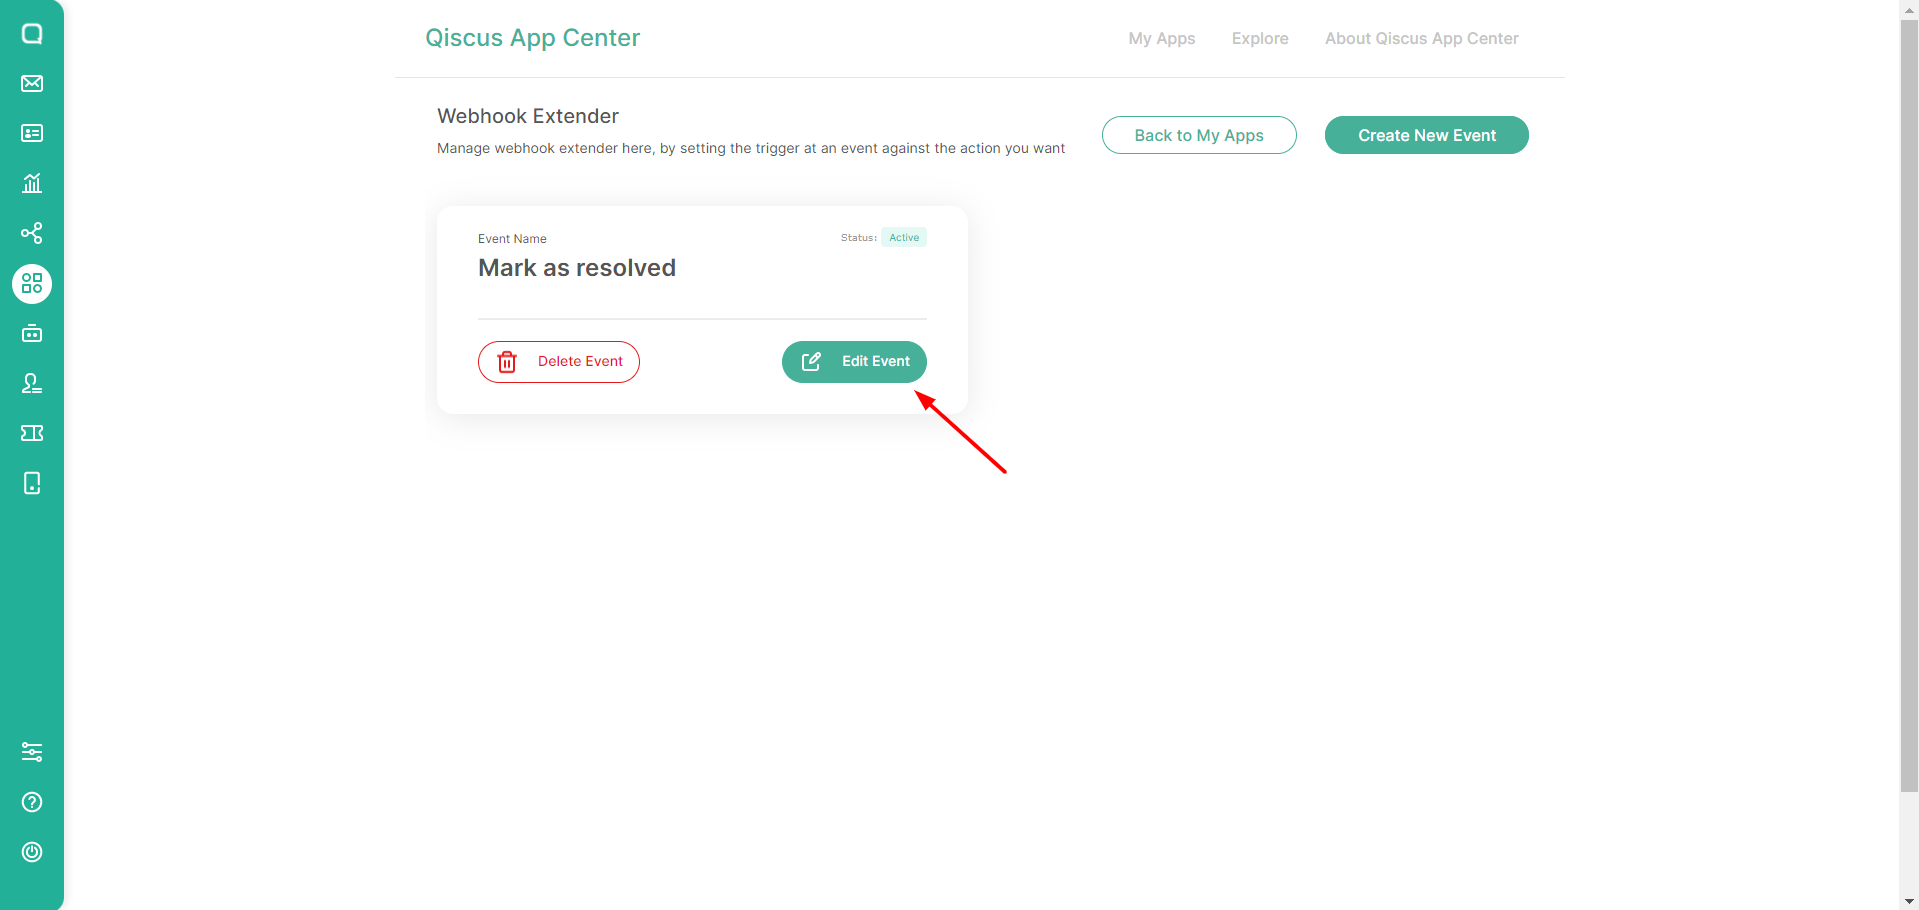
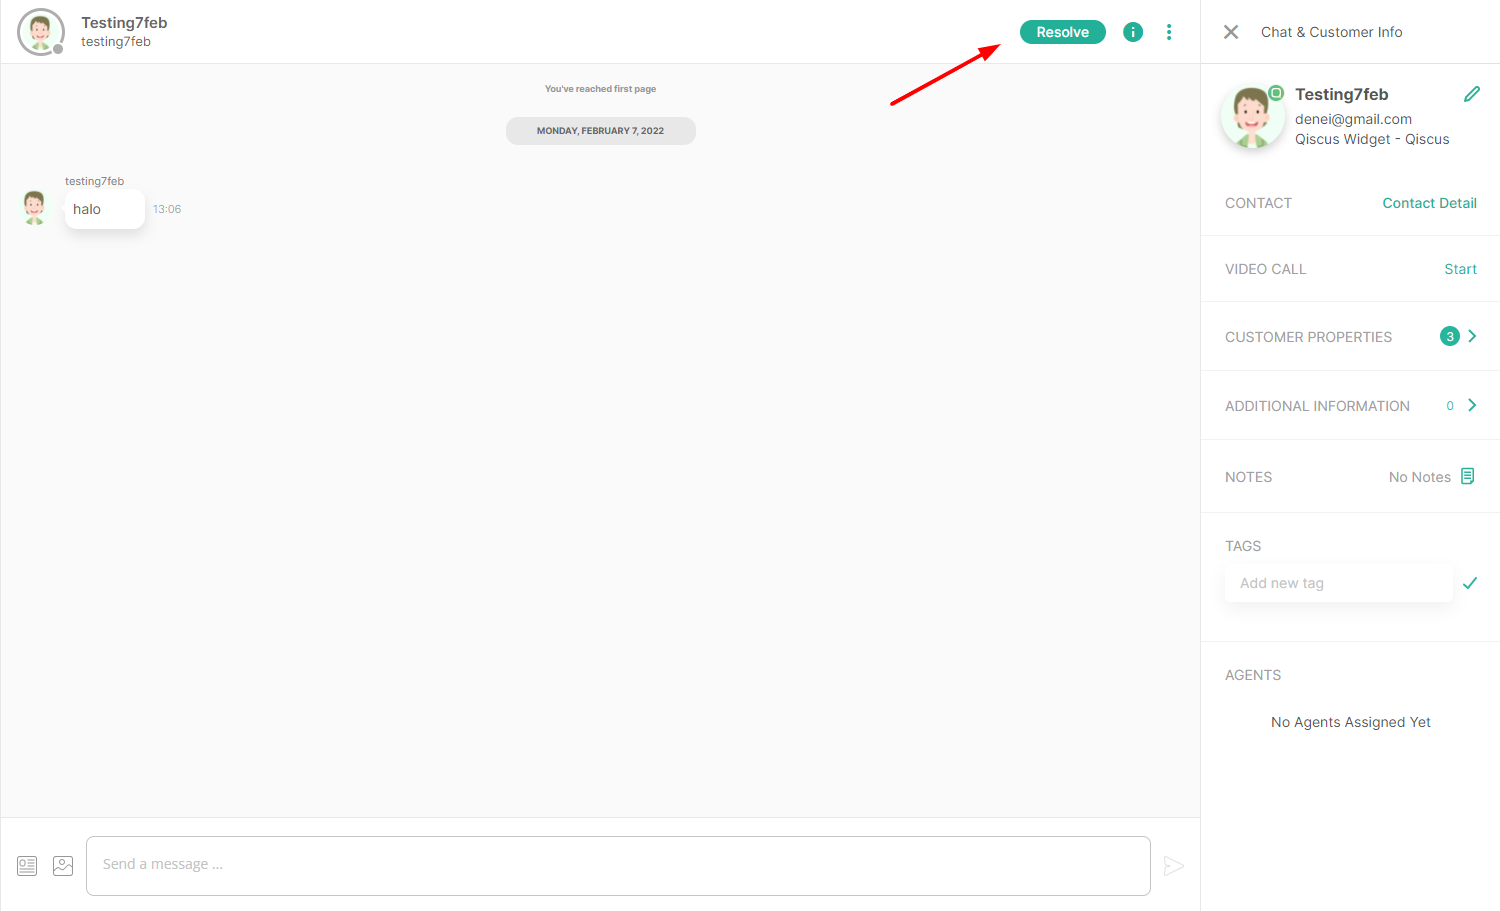
In short, every chat in Omnichannel will forward this Resolved Event to the added target if the agent/admin finishes a conversation by clicking the Resolved button. To get the Event and pass it to the target, we must first add the event we want to listen for on the Webhook Extender settings page by selecting add event. Select the desired event, give it a name, then click the save button to save it.
If you want to add the target event, you need to click the Edit Event button.
Add The Target Events
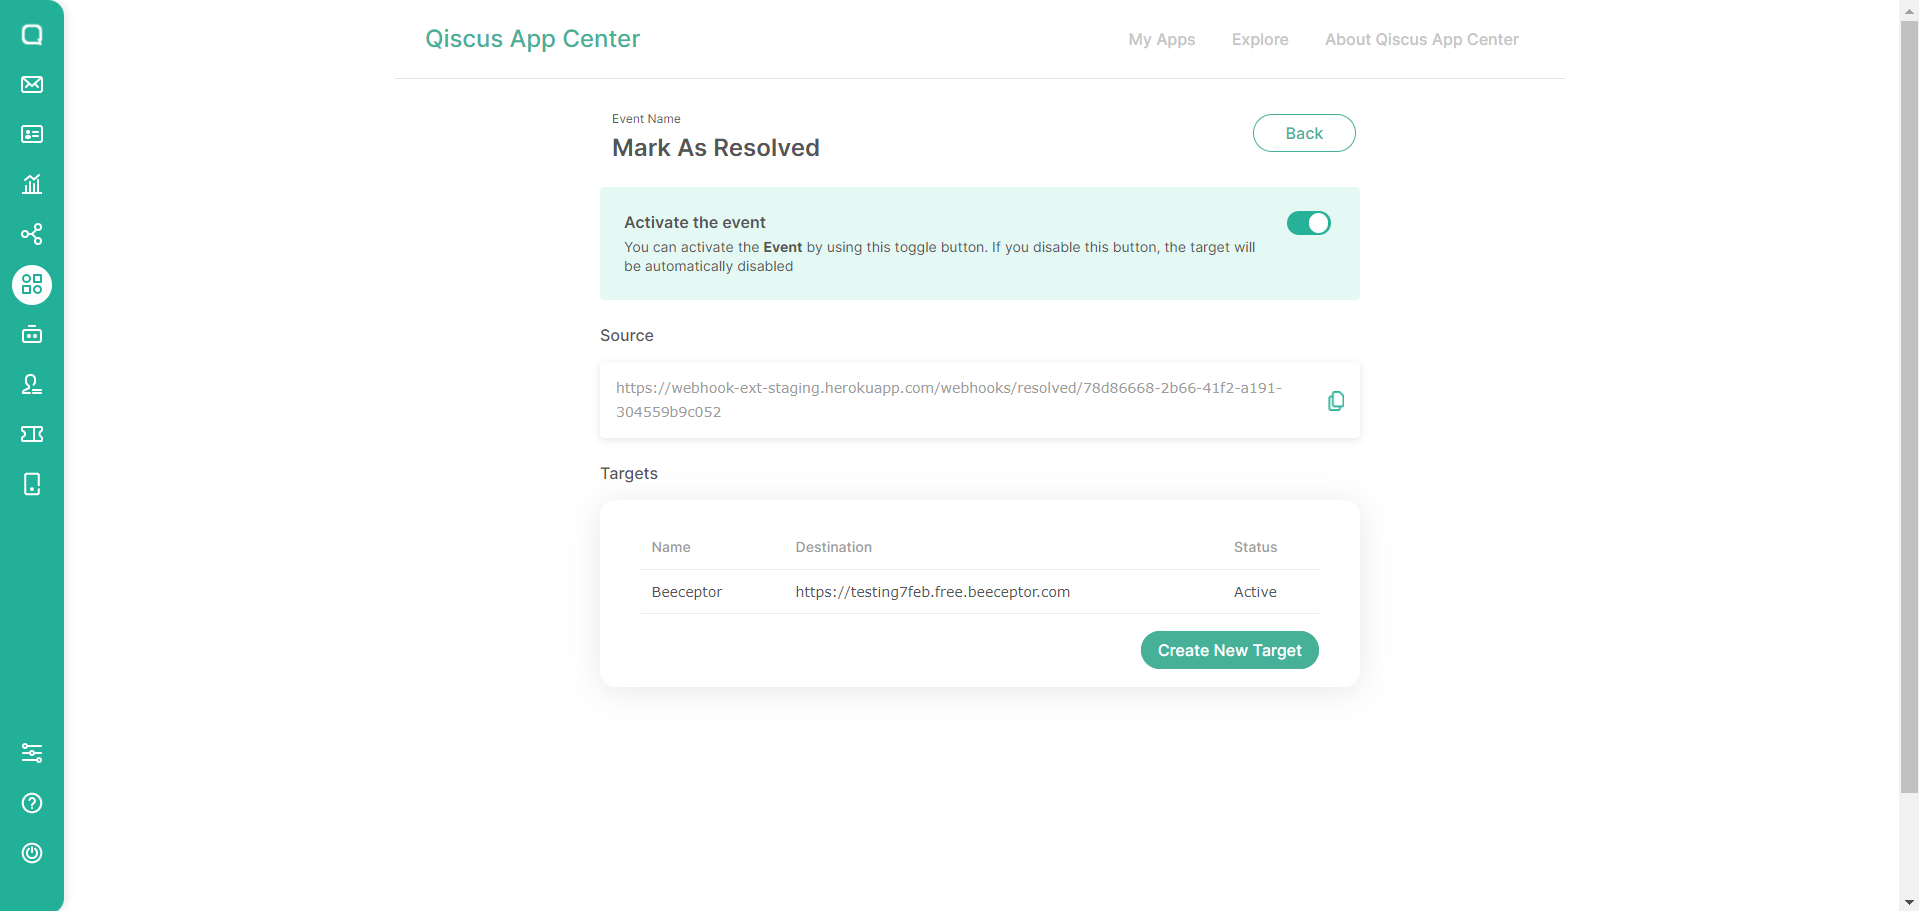
On the Edit event page there will be Activate the Event, Source, and Targets .
Activate the Event toggle is used to enable and disable the event. If it is active, then when there is a Resolved event from Qiscus Omnichannel Chat it will be forwarded to the Webhook Extender for further dissemination to the targets that have been added.
Source is used to inform the webhook link when we add an Event to the webhook extender. The webhook link will automatically created once we add the event, then this webhook link can be installed on Qiscus Omnichannel so that we can get the desired event.
Targets is webhook url that will get events from Qiscus Omnichannel. This section used to manage the event's target.
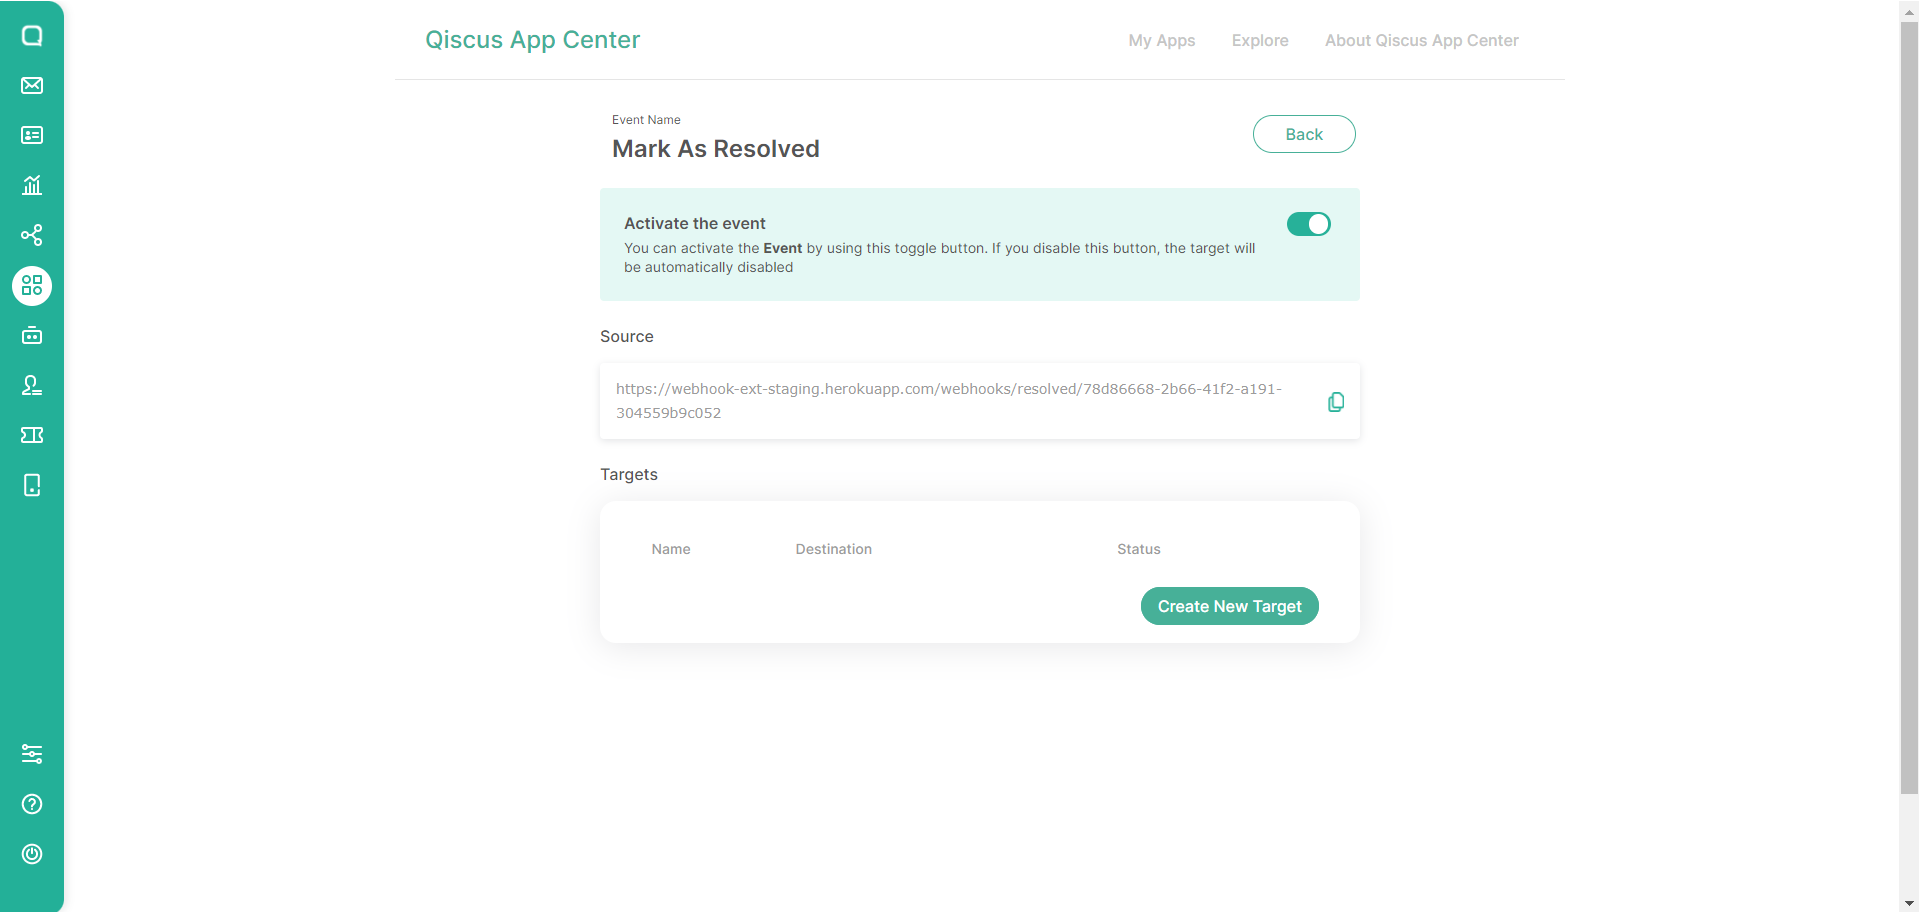
To add new target, click the Create New Target button.
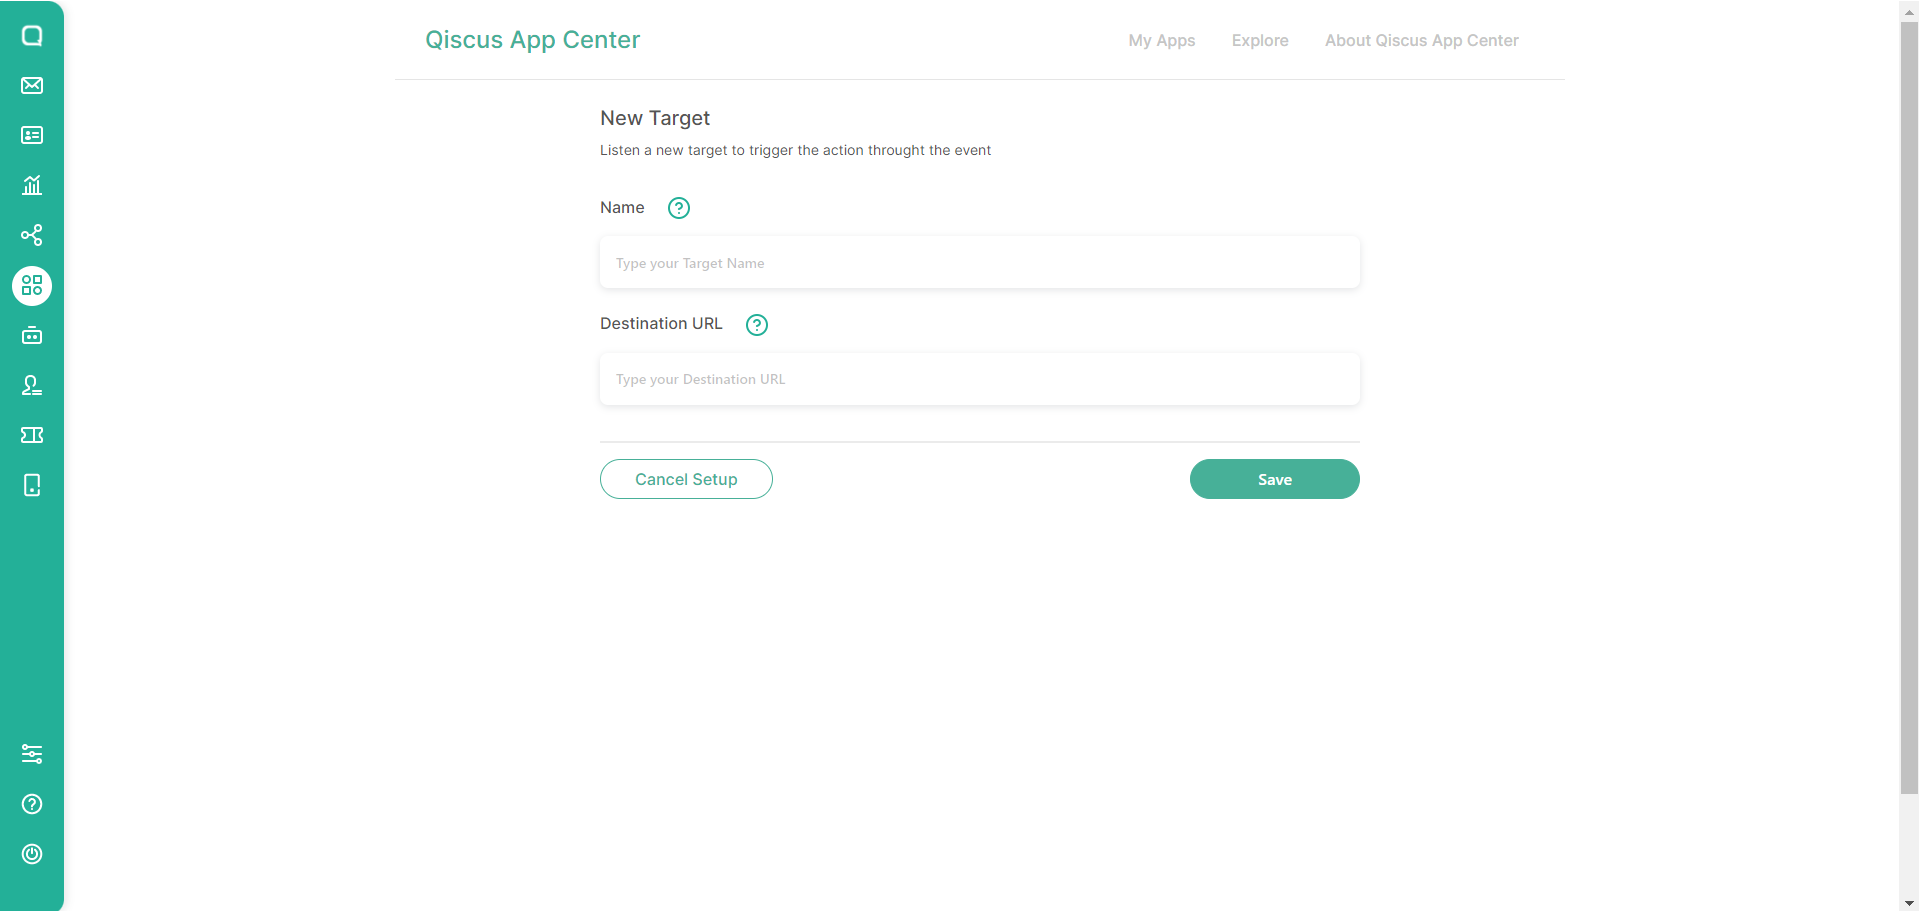
On this add target page there are Target Name and Destination URL fields. The Name Target is the name that will be used to name the target to be created. The Destination URL is the URL that will be used to forward events from Qiscus Omnichannel, the example used is Beeceptor.
Test The Configuration
To test this configuration, you need to copy the source, then apply it into Mark as Webhook in the Qiscus Omnichannel. You can refer to this documentation to see how to set the Qiscus' Omnichannel webhook.
Next we can try resolved a chat room in Omnichannel by clicking resolved button. Then we can check to the Beeceptor whether the request has been successfully entered into the Beeceptor.

Please contact our team via the following page if you have any problems or questions about the various stages listed above.