
Qiscus Chat SDK receives push notifications through the Qiscus Chat SDK protocol and Firebase Cloud Messaging (FCM). It depends on usage and other conditions. Default notification is sent by Qiscus Chat SDK protocol. To enable your application to receive FCM push notifications, some setups must be performed in both the Firebase Developer Console and the Qiscus Dashboard.
You can do the following steps to setup push notifications:
Setup Firebase to your Android app
Get FCM Secret Key in Firebase Console
Setup FCM Server key in the Qiscus Chat SDK Dashboard
Register your FCM token in the Qiscus Chat SDK
Handle incoming Message from Push Notification
Step 1: Setup Firebase to Your Android App
If you already have setup Firebase in your Android app, you can skip this step and go to next step which is Generate FCM Secret key. Otherwise, you can setup Firebase to your Android app by following these steps.
Step 2: Get FCM Secret Key in Firebase Console
You can get FCM Secret Key by following these steps:
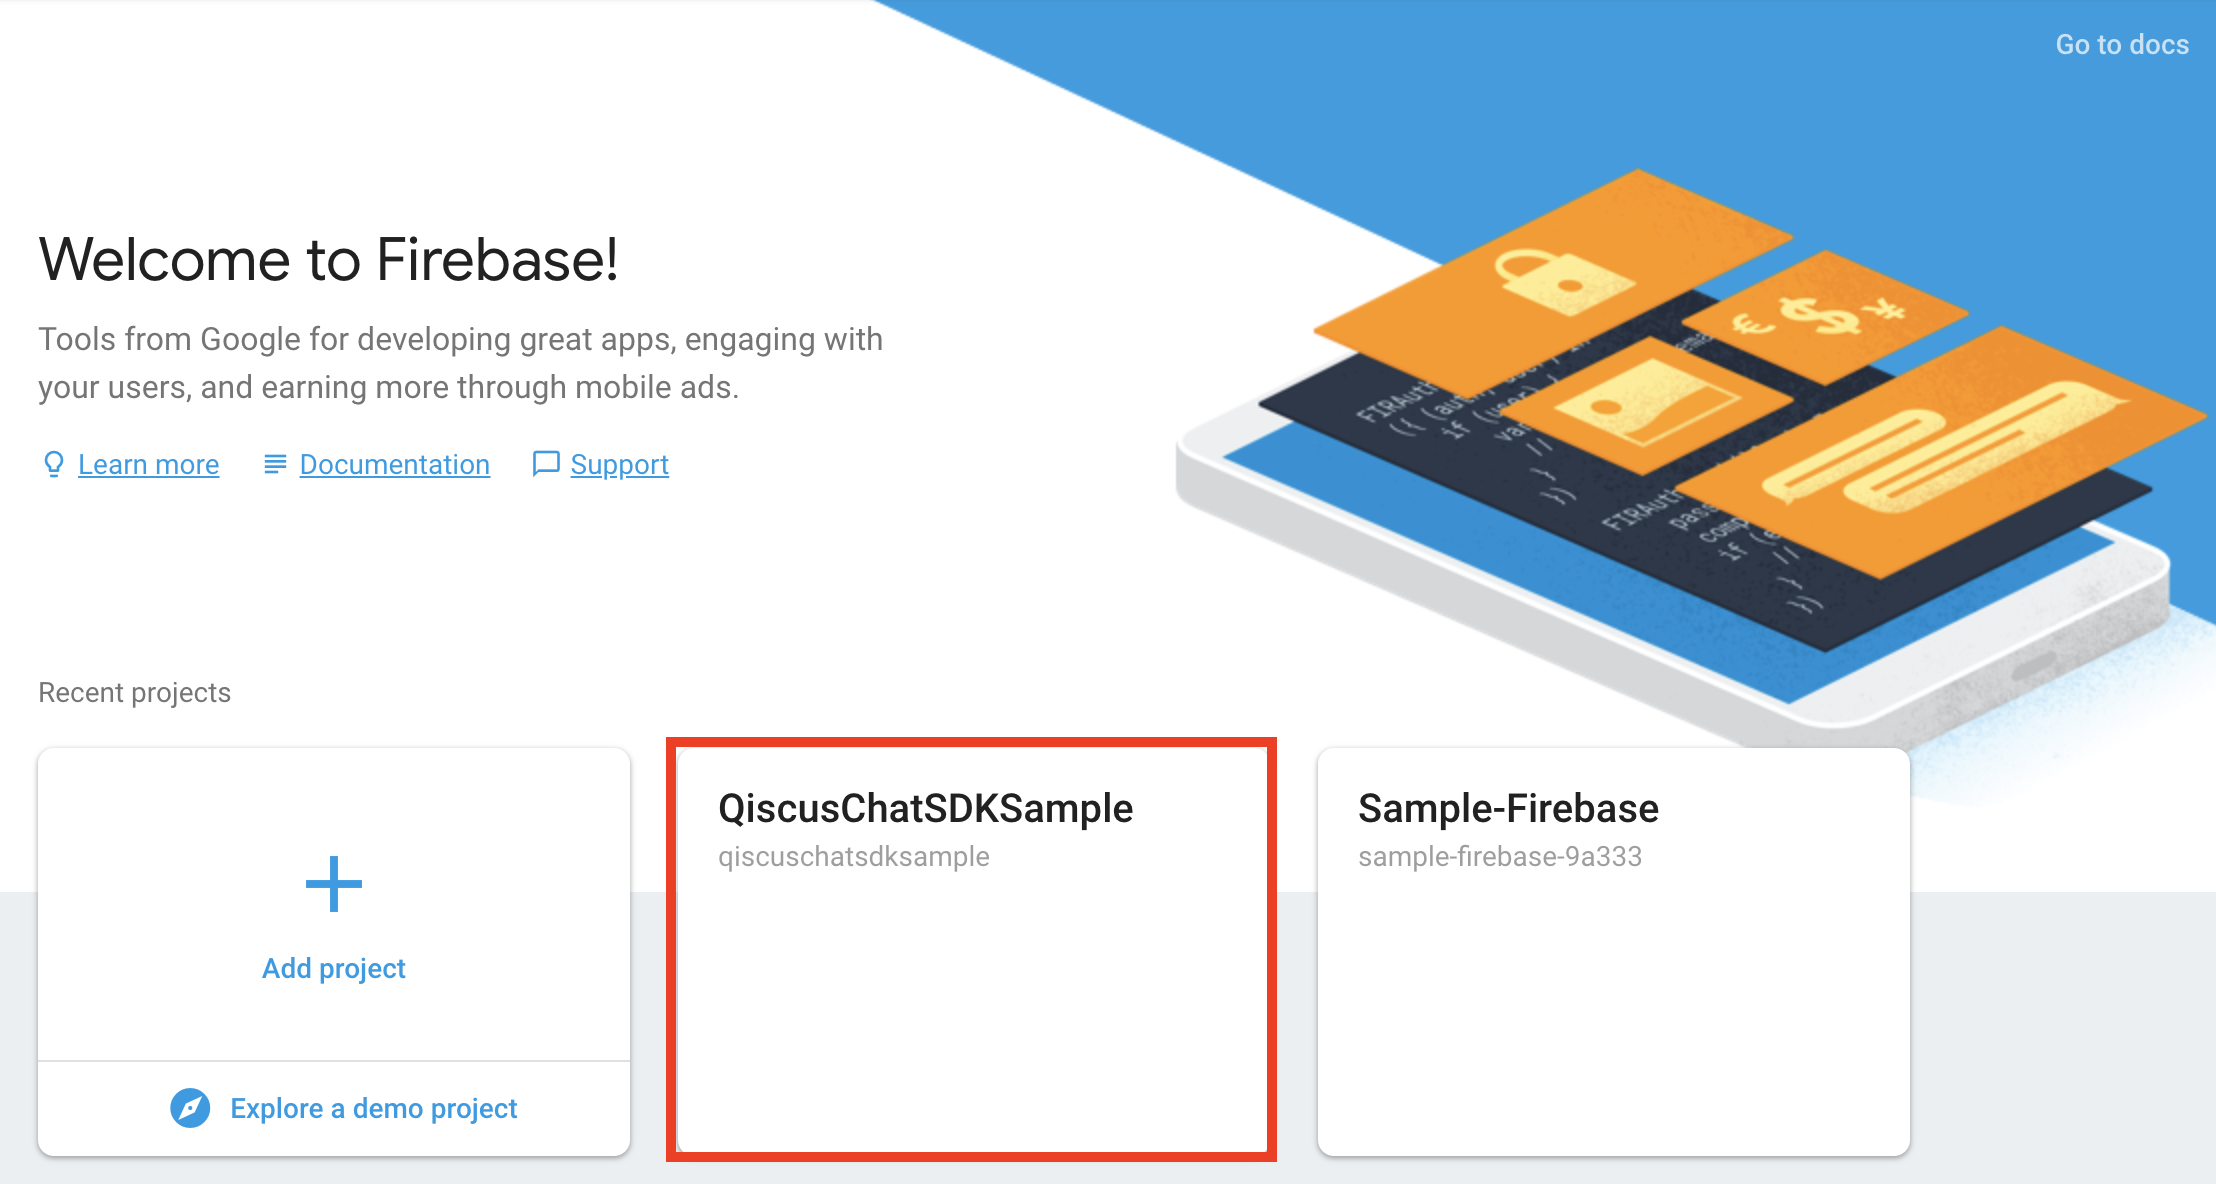
Go to Firebase Console
Click your projectsto see the overview your project
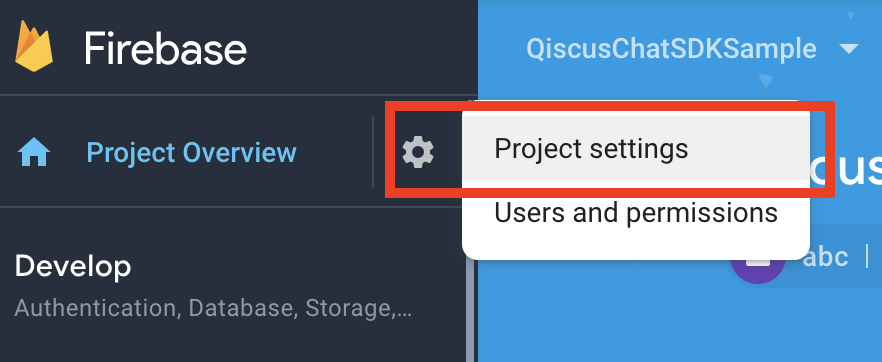
On the top of left panel, click the gear icon on Project Overview menu. From the drop-down menu, click Project Settings.
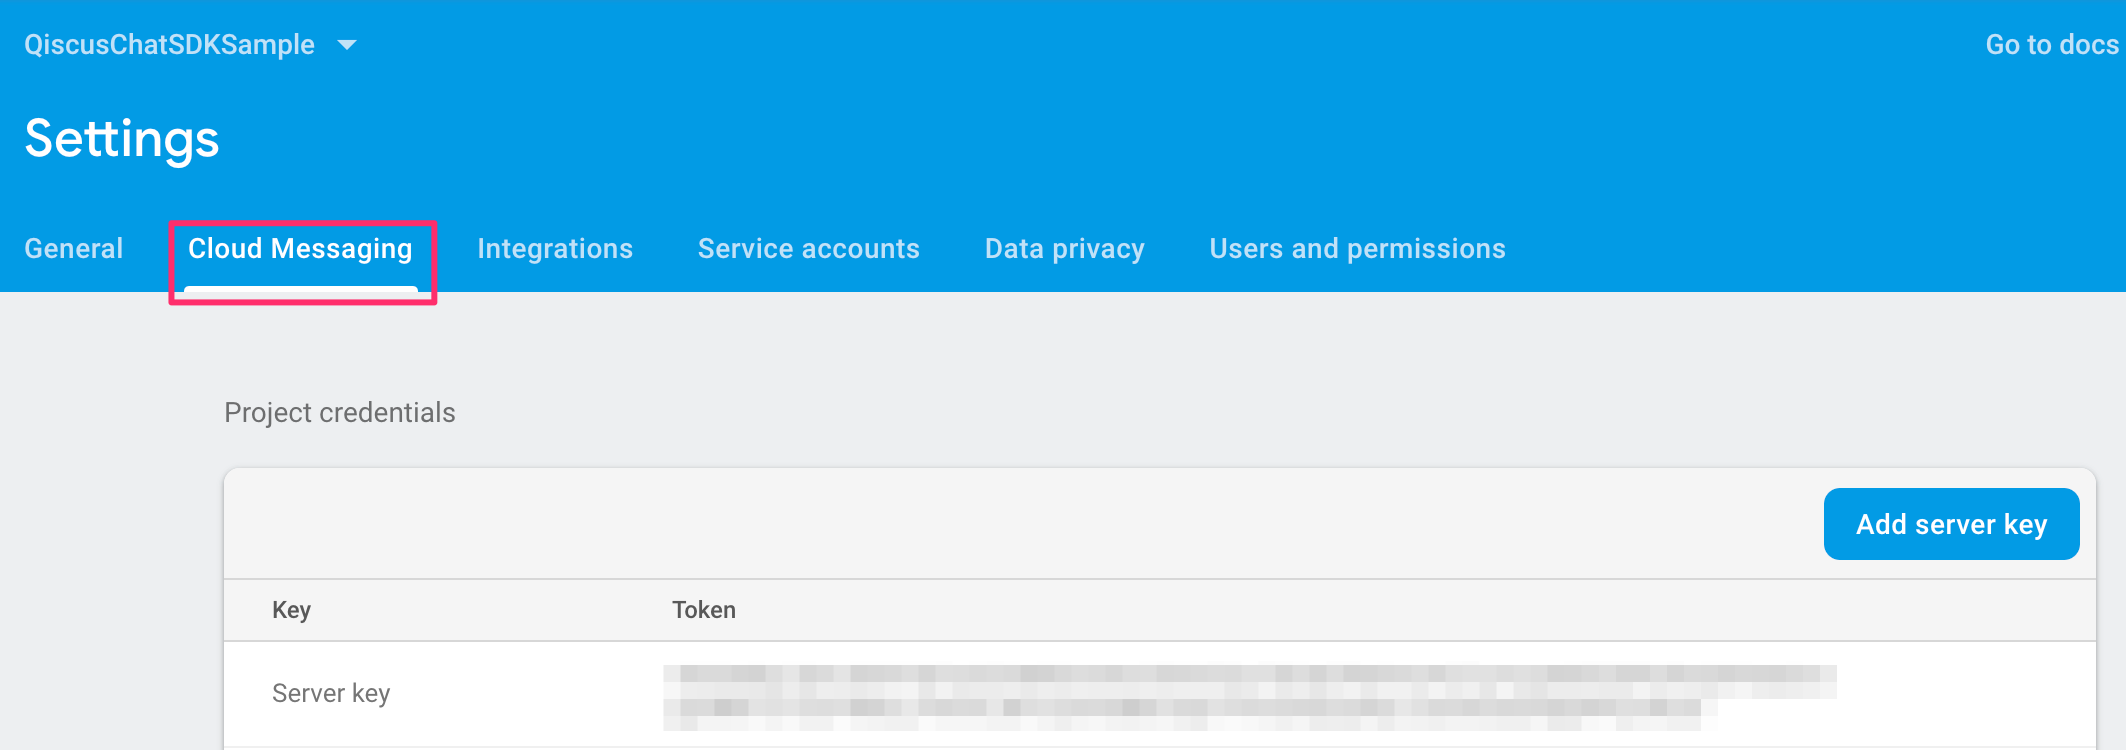
Click the Cloud Messaging tab under Settings. On the Project Credentials, find and copy your Server Key.
Step 3: Setup FCM Server Key in The Qiscus Dashboard
You can set FCM Secret Key by following these steps:
Go to your Qiscus Chat Dashboard,
Click Settings to add or delete FCM Secret Key,
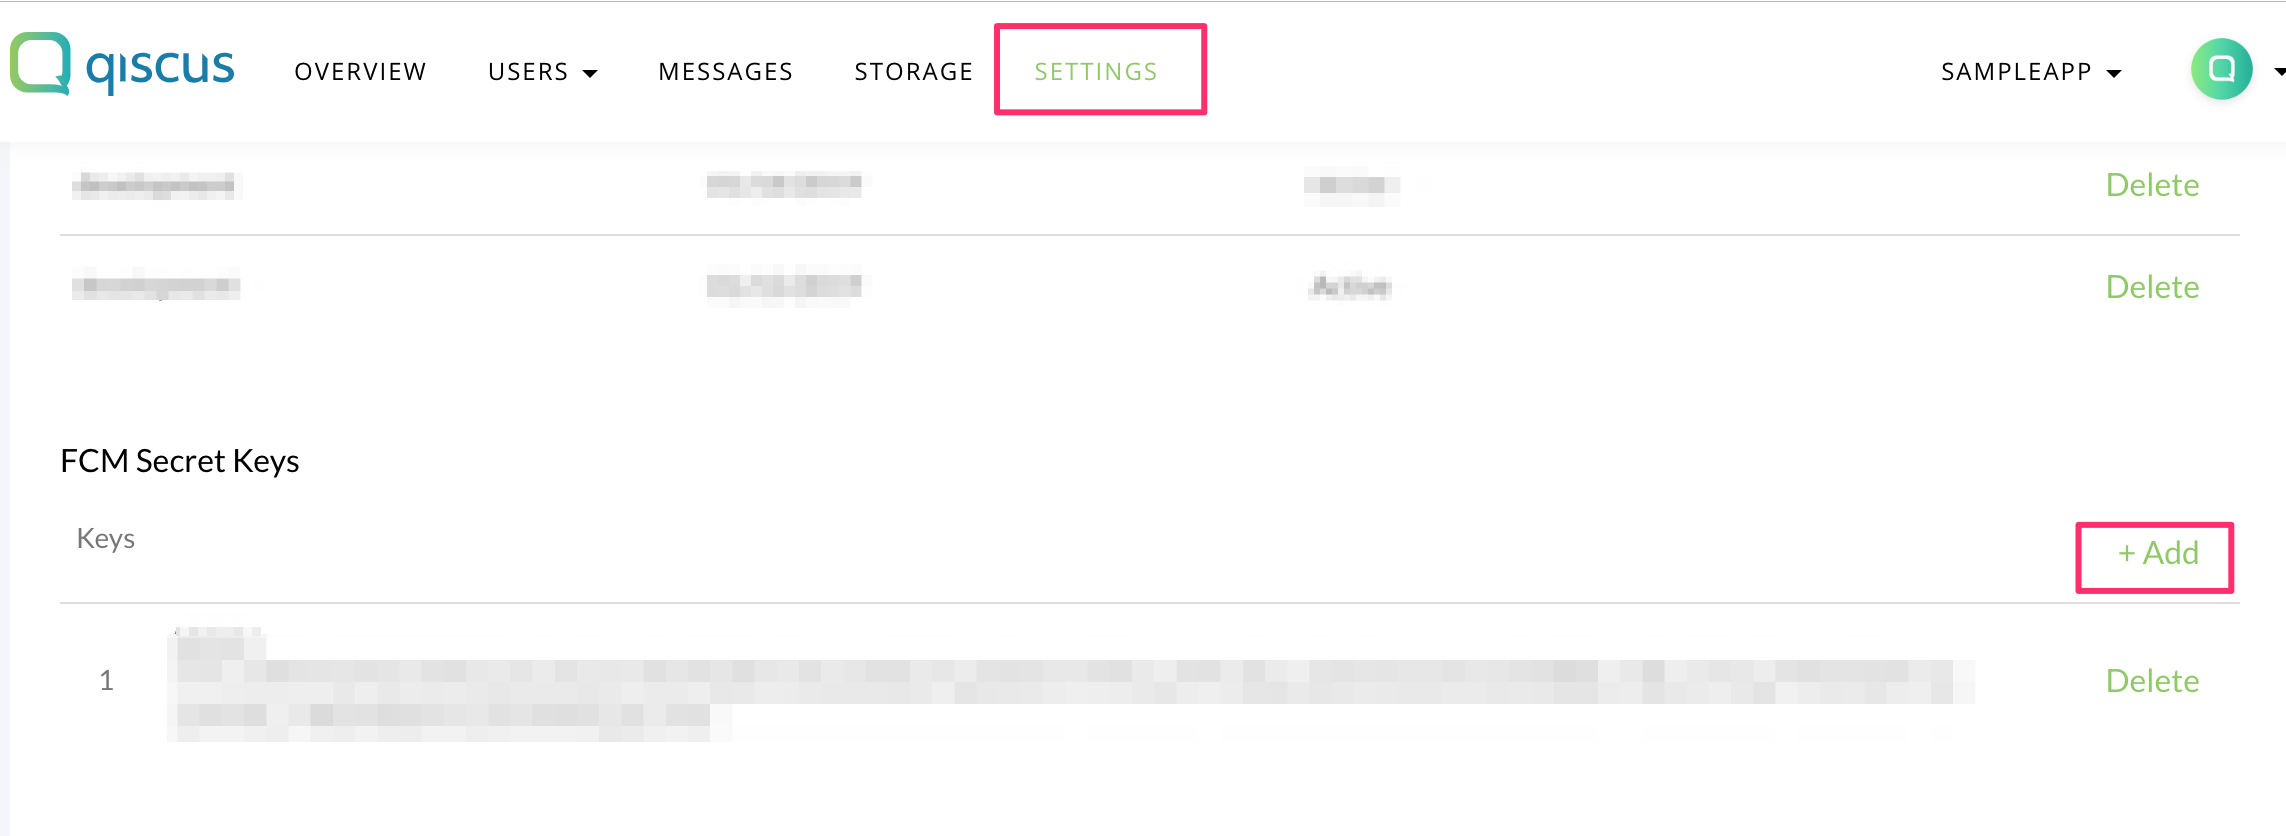
In the FCM Secret Keys section, click _+_Add to add your FCM Secret Key,
Paste FCM Secret Key value and click Save changes
Step 4: Register Your FCM Token to Qiscus Chat SDK
First, you need to enable FCM for your application, for example:
To enable FCM in ChatConfig, you need to register FCM token to notify Qiscus Chat SDK, for example:
Add the service to your Manifest, for example:
Add the service.AppFirebaseMessagingService in Manifest, for example:
Step 5: Handle Incoming Message From Push Notification
After registering your FCM token, you will get data from FCM Qiscus Chat SDK, you can handle by using handleMessageReceived method, for example:
Set the notification listener by calling setNotificationListener(), in order to show the notification, for example: