FCM Migration Guide
Starting June 20, 2024. Firebase will deprecate the FCM legacy API. To maintain uninterrupted push notification functionality, it is advised to migrate to the new API at your earliest convenience. If you have any questions or concerns, please reach out to us.
This migration guide will assist you in smoothly transitioning from the FCM legacy API to HTTP v1
Step 1: Generate a New Private Key on Firebase Console
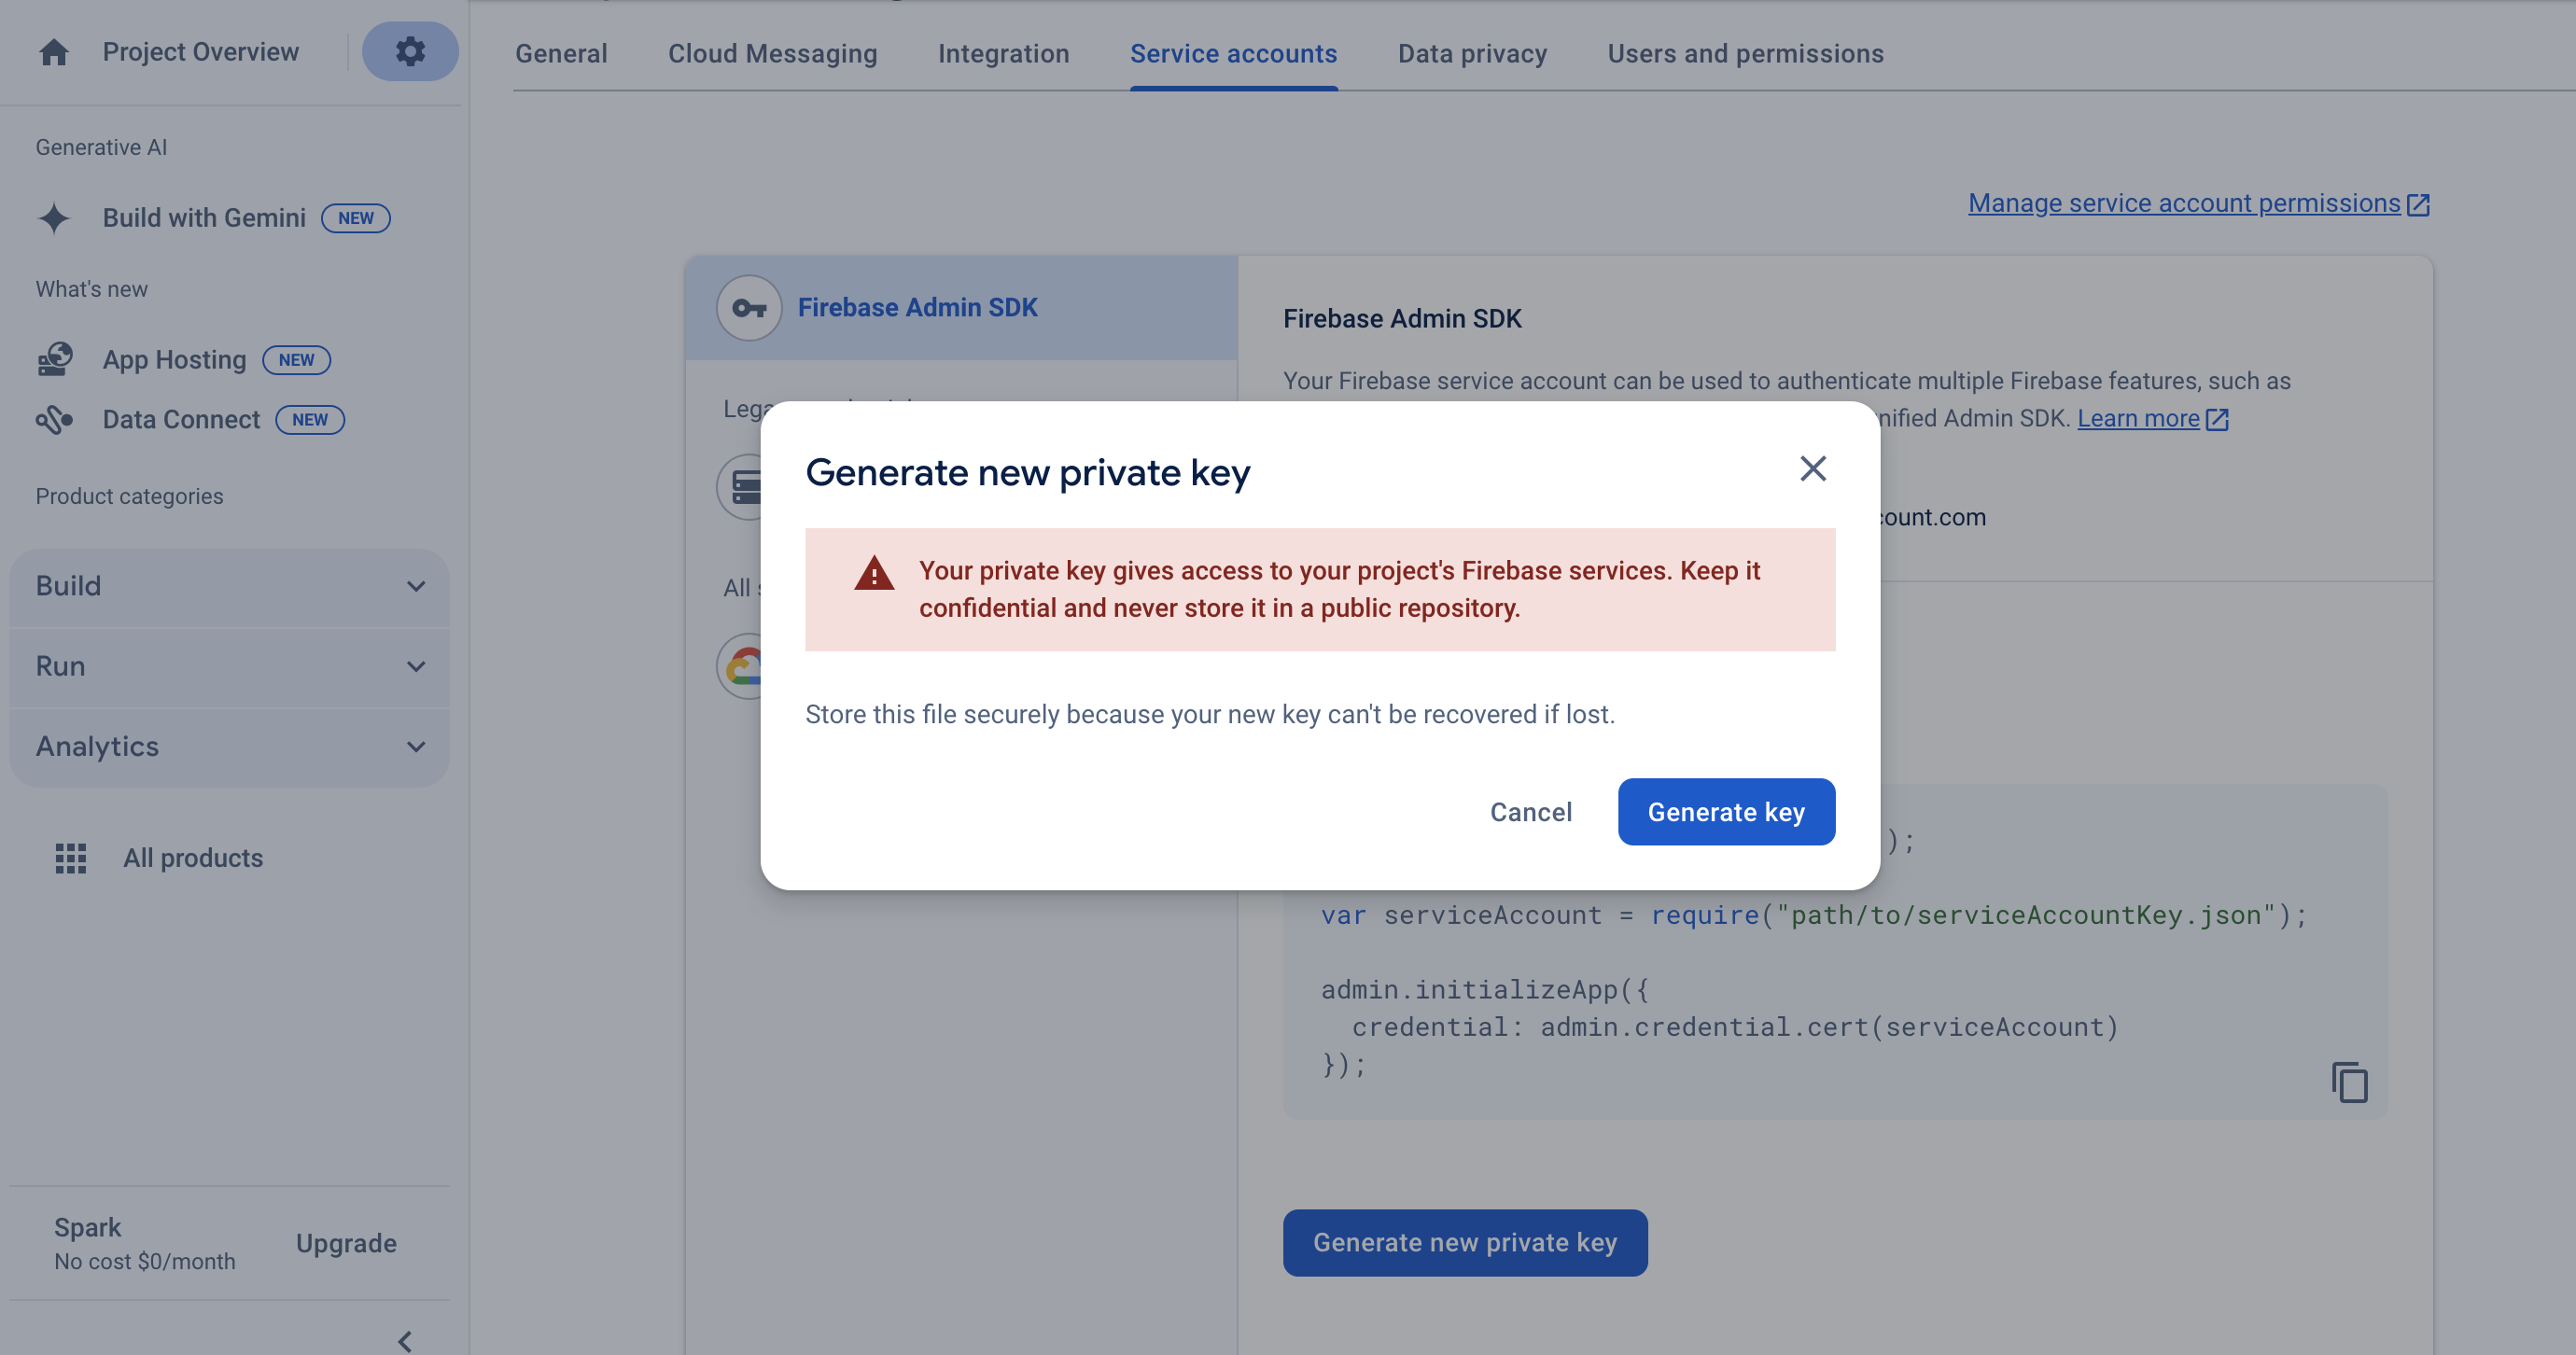
- Access the Firebase console and select your project.
- Navigate to Project settings > Service Accounts.
- Click on Generate new private key and confirm by selecting Generate key.
- Safely store the downloaded JSON file containing the private key.
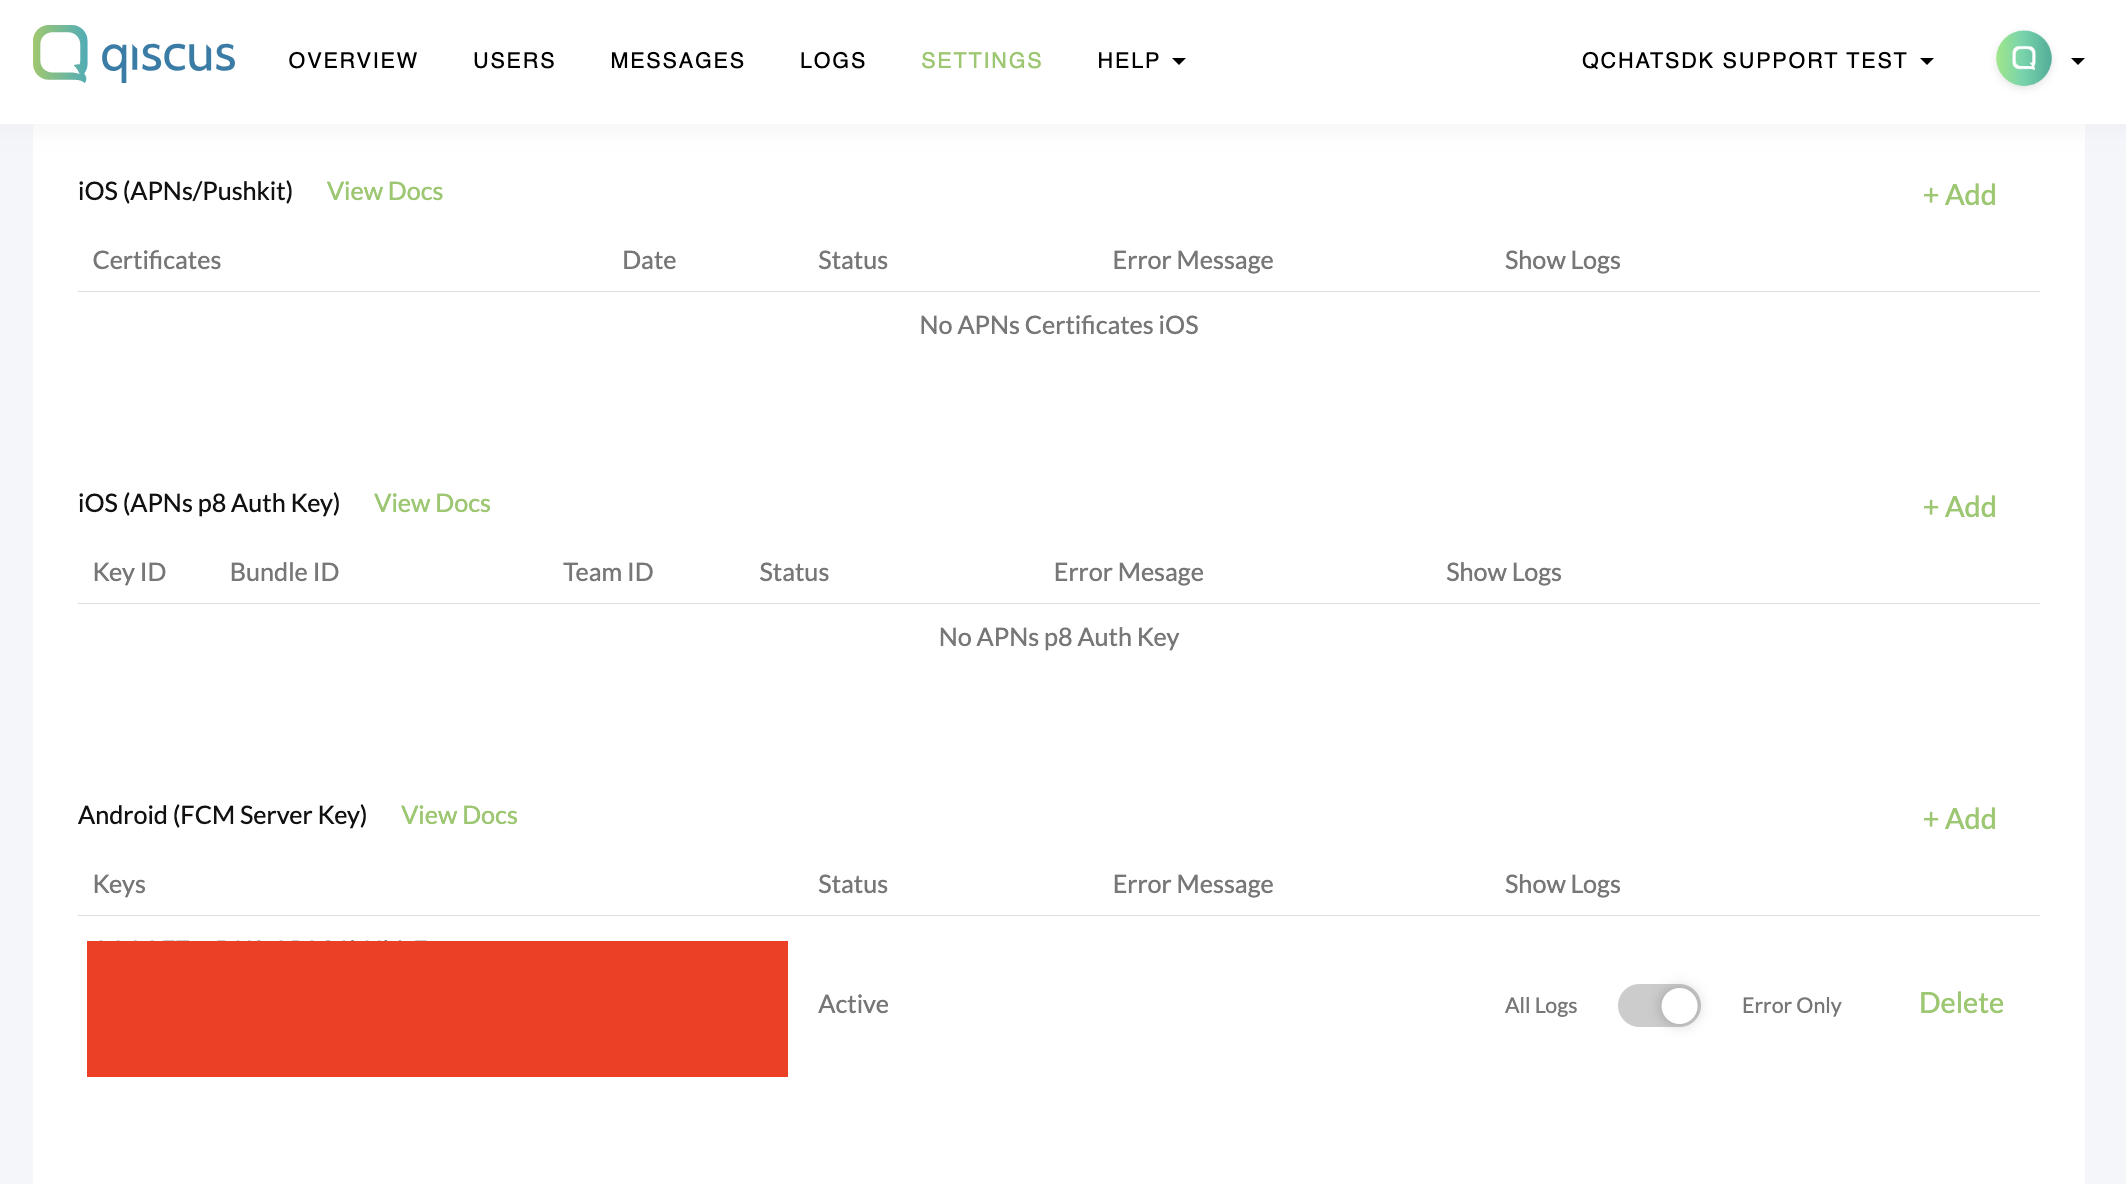
Step 2: Register the Service Account Key on the Dashboard
- Navigate to Settings and select the +Add button
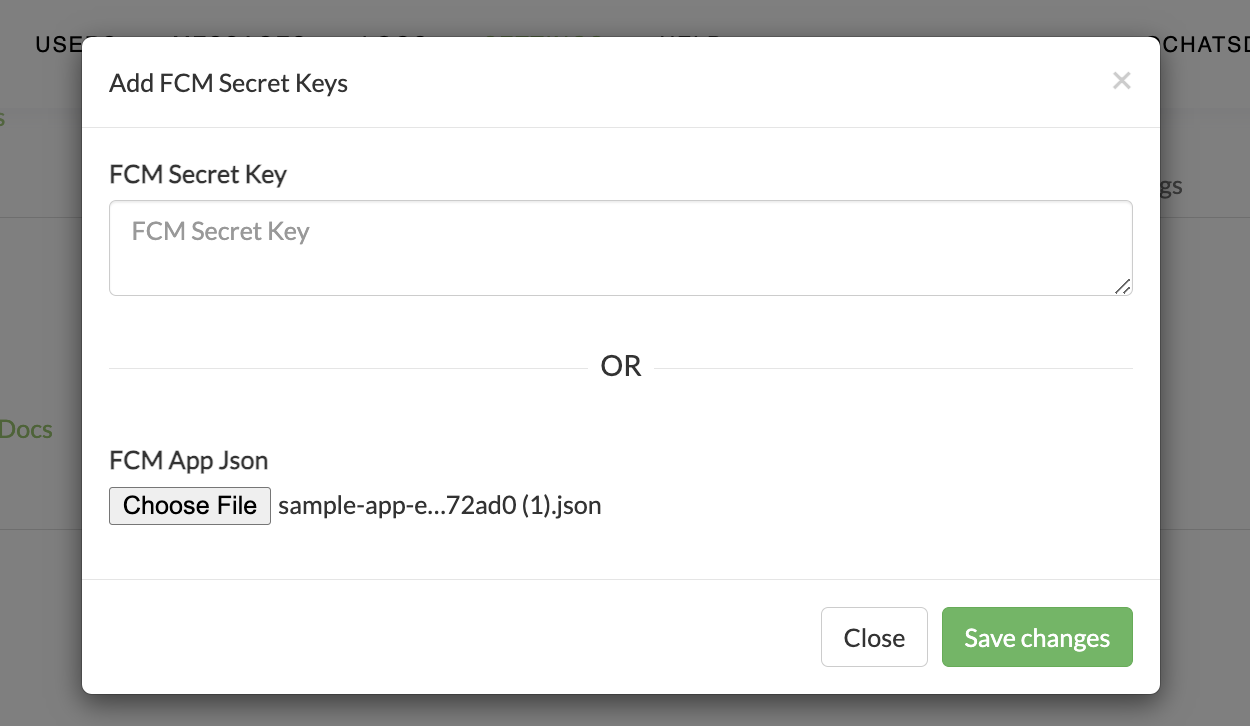
- Upload the service account file to the FCM App JSON section
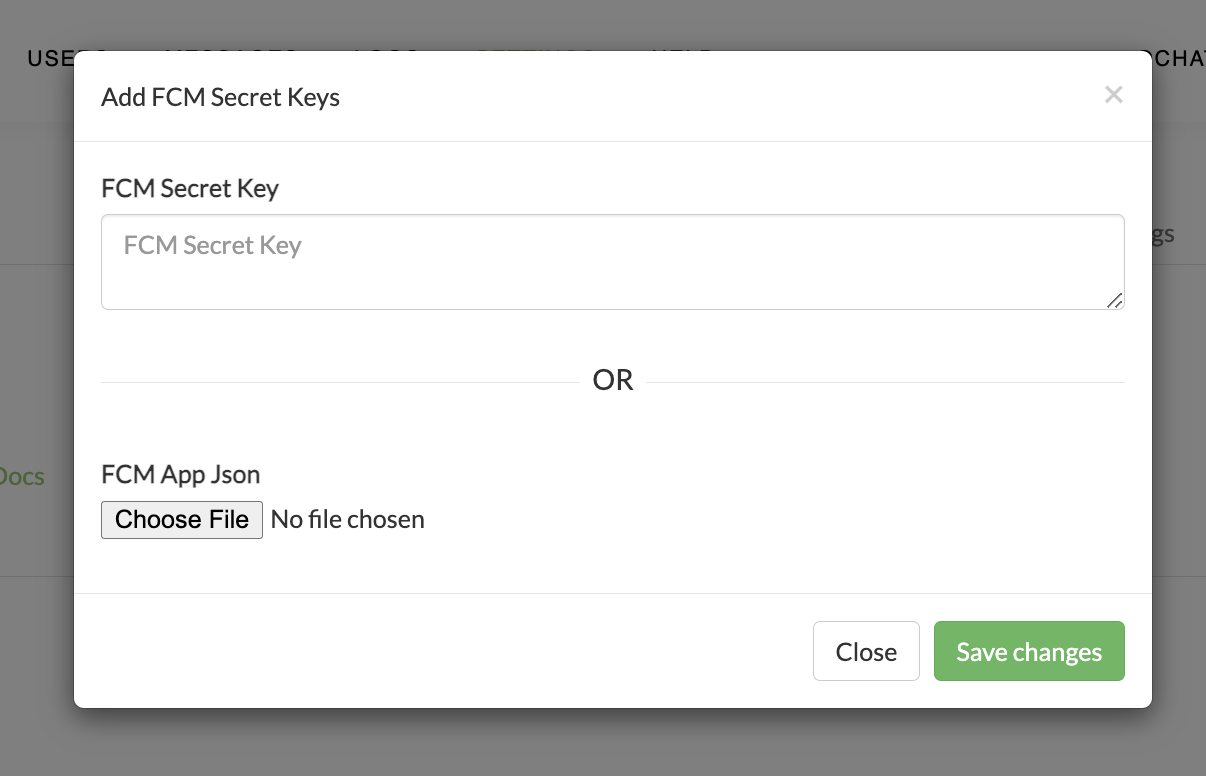
- Once the file is successfully uploaded, click Save changes to save the credential.
Step 3: Test the Push Notification
Once setup is complete, you can send push notifications to your mobile app.
If you have any questions or concerns, please reach out to us
Overview
Qiscus Chat SDK receives push notifications through the Qiscus Chat SDK protocol and Firebase Cloud Messaging (FCM). It depends on usage and other conditions. Default notification is sent by Qiscus Chat SDK protocol. To enable your application to receive FCM push notifications, some setups must be performed in both the Firebase Developer Console and the Qiscus Dashboard.
You can do the following steps to setup push notifications:
- Setup Firebase to your Android app
- Get FCM Secret Key in Firebase Console
- Setup FCM Server key in the Qiscus Chat SDK Dashboard
- Register your FCM token in the Qiscus Chat SDK
- Handle incoming Message from Push Notification
Starting June 20, 2024. Firebase will deprecate the FCM legacy API. To maintain uninterrupted push notification functionality, it is advised to migrate to the new by following FCM migration guide above. If you have any questions or concerns, please reach out to us
Step 1: Setup Firebase to Your Android App
If you already have setup Firebase in your Android app, you can skip this step and go to next step which is Generate FCM Secret key. Otherwise, you can setup Firebase to your Android app by following these steps.
Step 2: Get FCM Secret Key in Firebase Console
You can get FCM Secret Key by following these steps:
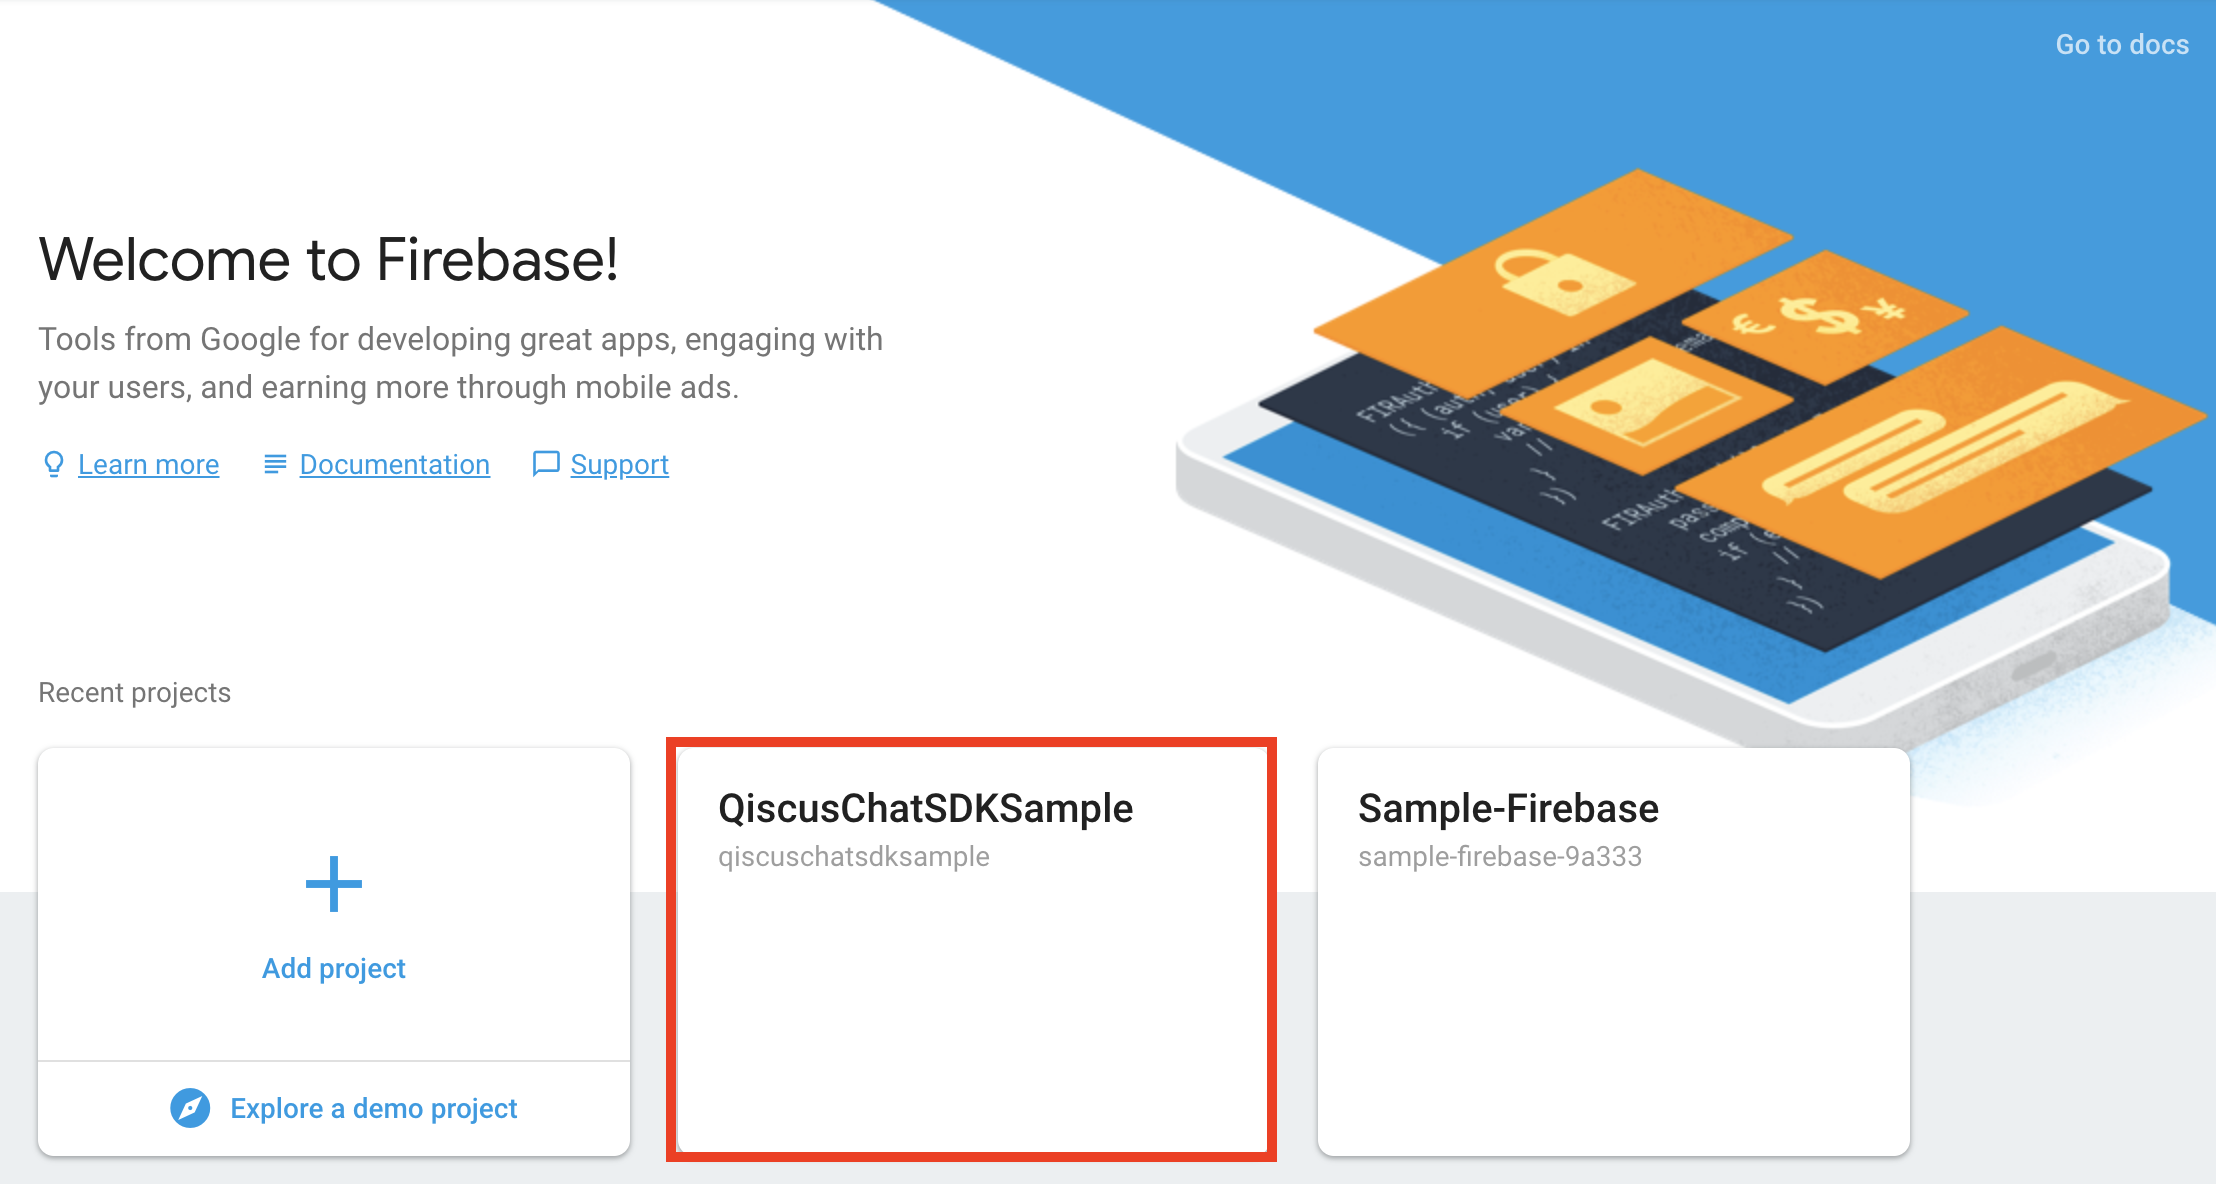
- Go to Firebase Console
- Click your projects to see the overview your project
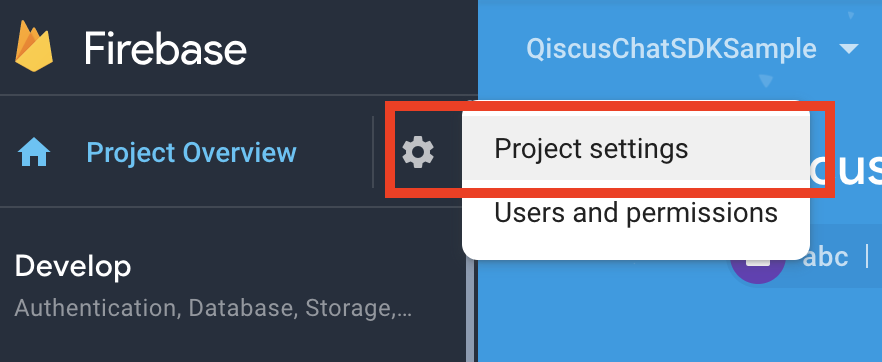
- On the top of left panel, click the gear icon on Project Overview menu. From the drop-down menu, click Project Settings.
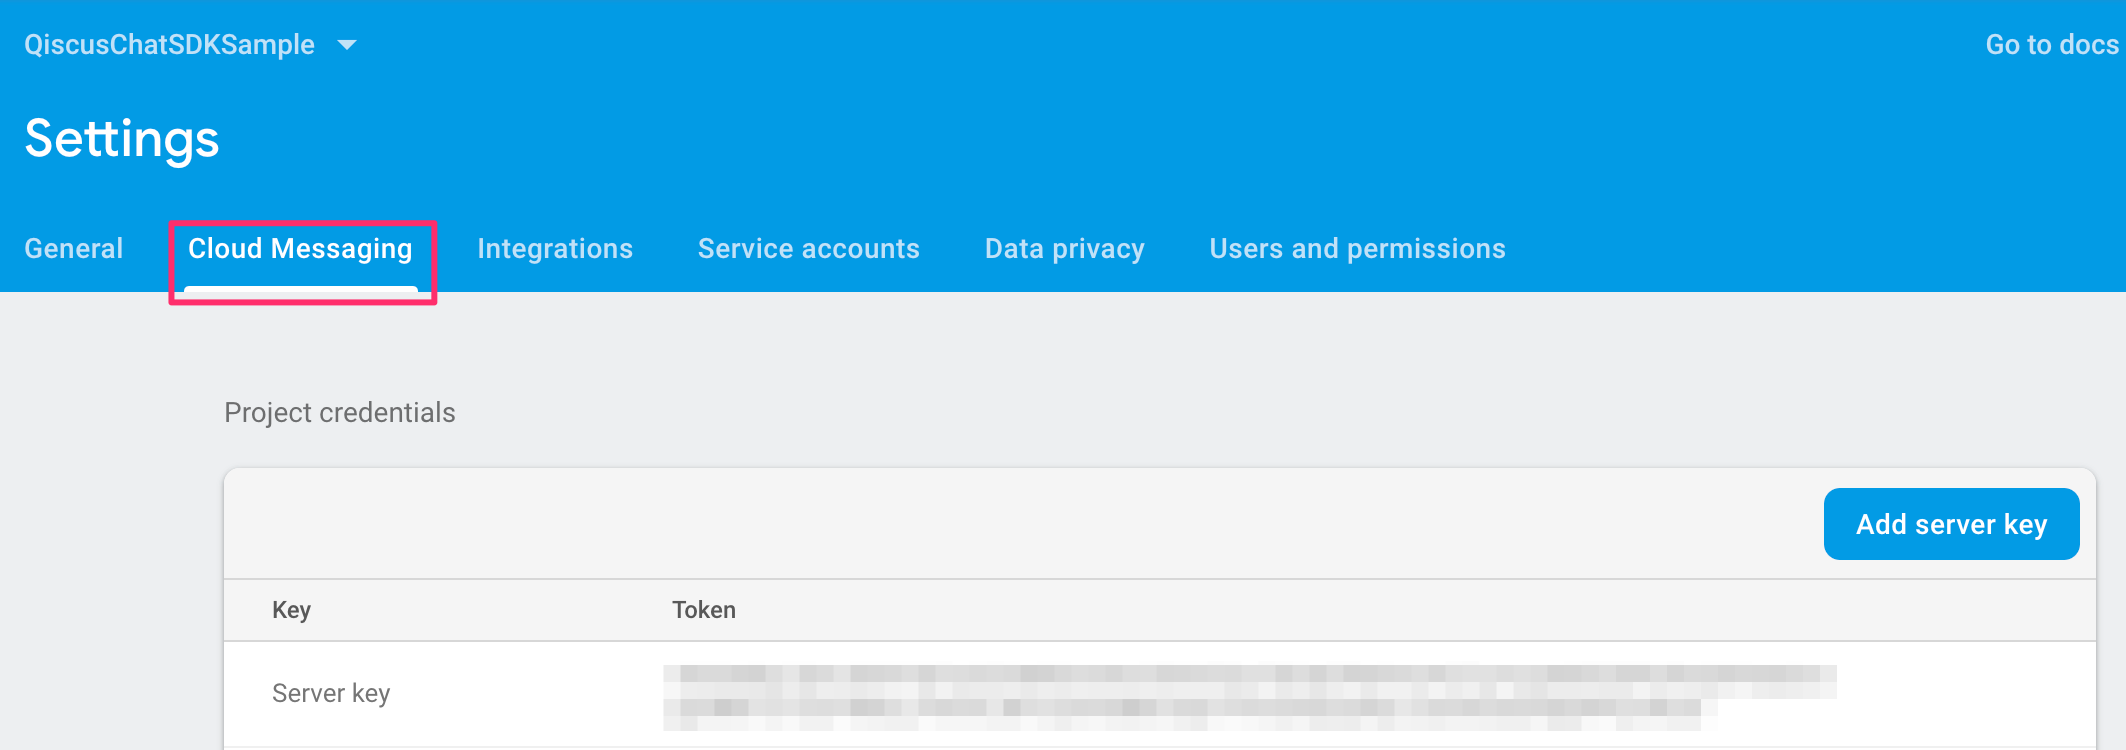
- Click the Cloud Messaging tab under Settings. On the Project Credentials, find and copy your Server Key.
Step 3: Setup FCM Server Key in The Qiscus Dashboard
You can set FCM Secret Key by following these steps:
- Go to your Qiscus Chat Dashboard,
- Select the App ID
- Click Settings to add or delete FCM Secret Key,
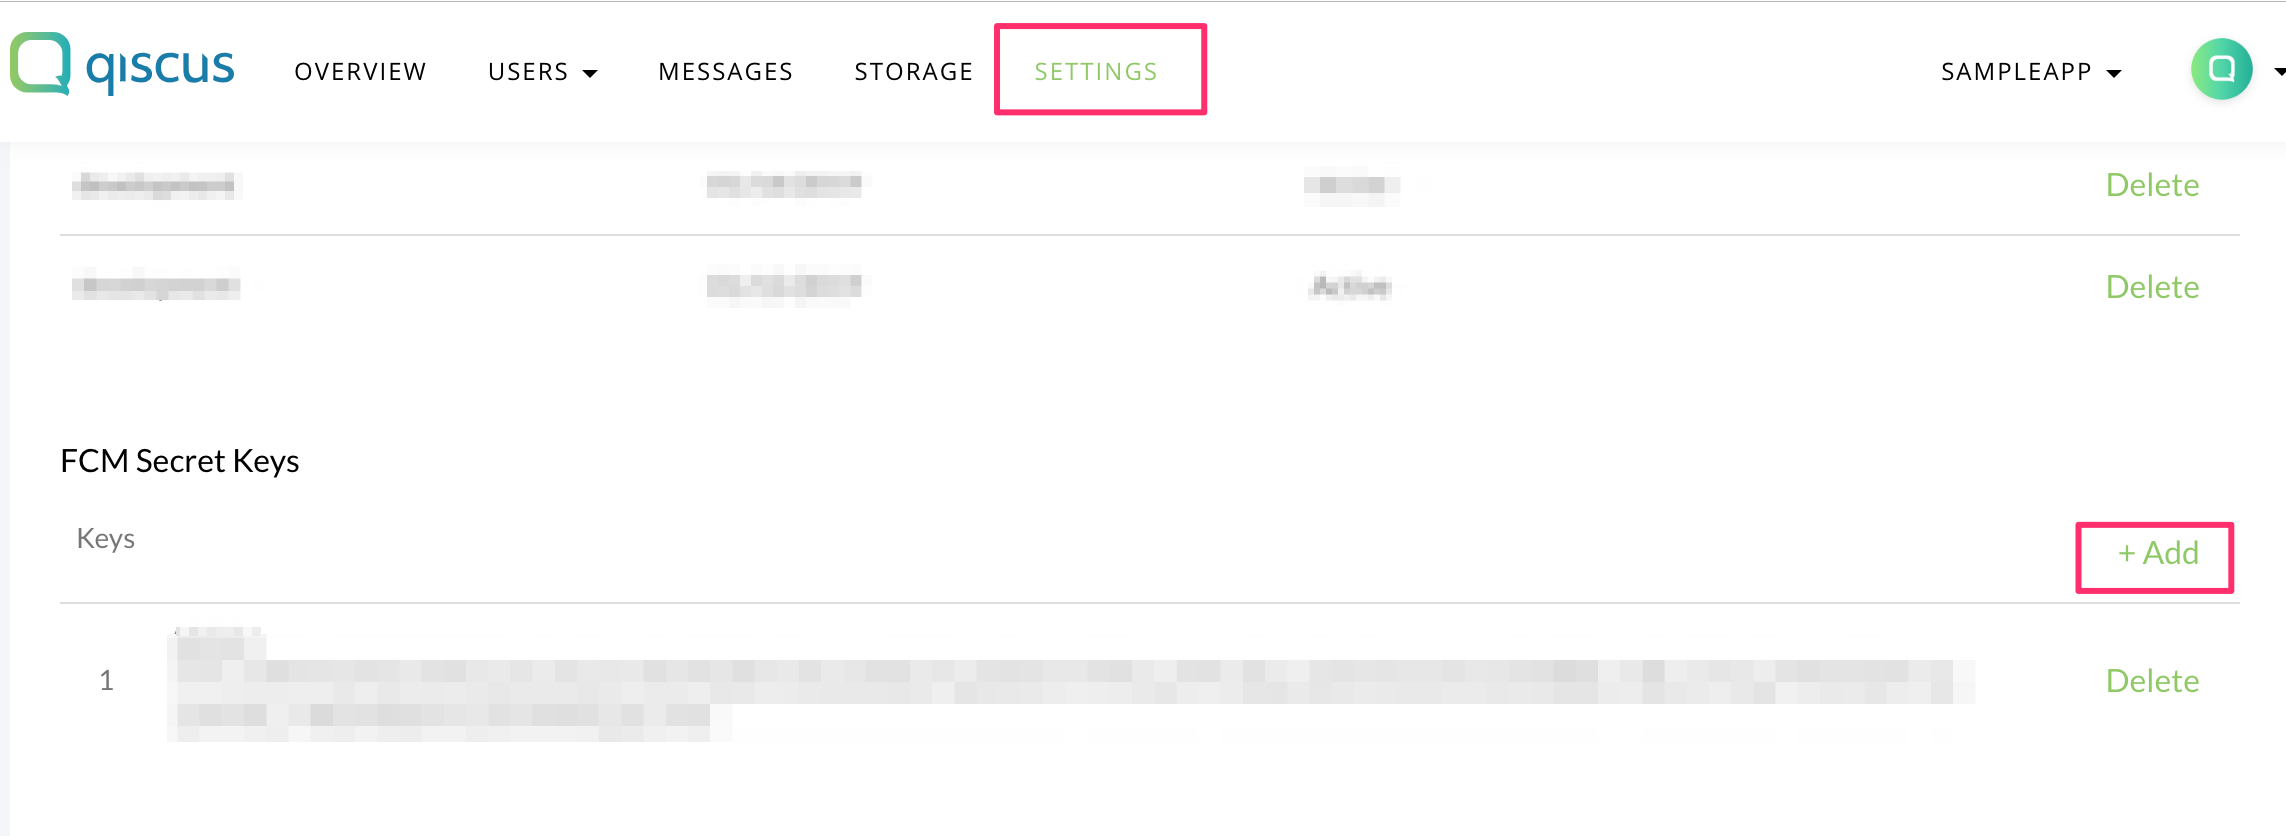
- In the FCM Secret Keys section, click +Add to add your FCM Secret Key,
- Paste FCM Secret Key value and click Save changes
One App Id can only be associated with one FCM Project, make sure the FCM secret keys are from the same FCM Project, If you already put multiple FCM server keys but they are different FCM project, then our system deletes the related device token and the effect you will not receive FCM notification.
Step 4: Register Your FCM Token to Qiscus Chat SDK
- First, you need to enable FCM for your application, for example:
QiscusCore.getChatConfig().setEnableFcmPushNotification(true); // default is false- To enable FCM in ChatConfig, you need to register FCM token to notify Qiscus Chat SDK, for example:
public class AppFirebaseMessagingService extends FirebaseMessagingService { public void onNewToken( String s) { super.onNewToken(s); Log.d("Qiscus", "onNewToken " + s); //Notify Qiscus Chat SDK about FCM token QiscusCore.registerDeviceToken(s); //TODO : Application part here, maybe you need to send FCM token to your Backend }}- You need to make sure every time open the app, the FCM token always needs to be registered in Qiscus Chat SDK. To retrieve the current FCM token, you can see below code:
FirebaseMessaging.getInstance().getToken() .addOnCompleteListener(new OnCompleteListener<String>() { public void onComplete( Task<String> task) { if (!task.isSuccessful()) { Log.e("Qiscus", "getCurrentDeviceToken Failed : " + task.getException()); return; } if (task.getResult() != null) { String currentToken = task.getResult(); MyApplication.getInstance().getComponent().getUserRepository(). setDeviceToken(currentToken); QiscusCore.registerDeviceToken(currentToken); } } });- Add the service.AppFirebaseMessagingService in Manifest, for example:
<service android:name=".service.AppFirebaseMessagingService"> <intent-filter> <action android:name="com.google.firebase.MESSAGING_EVENT" /> </intent-filter></service>Make sure always to register FCM token when open the app
Step 5: Handle Incoming Message From Push Notification
After registering your FCM token, you will get data from FCM Qiscus Chat SDK, you can handle by using handleMessageReceived() method, for example:
public class AppFirebaseMessagingService extends FirebaseMessagingService { public void onMessageReceived(RemoteMessage remoteMessage) { super.onMessageReceived(remoteMessage); // Qiscus will handle incoming message if (QiscusFirebaseMessagingUtil.handleMessageReceived(remoteMessage)) { return; } // TODO : here is handle for your notification }}- Set the notification listener by calling
setNotificationListener(), in order to show the notification, for example:
QiscusCore.getChatConfig() .setEnableFcmPushNotification(true) .setNotificationListener(new NotificationListener() { public void onHandlePushNotification(Context context, QiscusComment qiscusComment) { // show your notification here } });Step 6: Stop Receiving Push Notification
You need to stop receiving Push Notification (PN) when you don't need to receive Push Notification, for example when logout from Qiscus system. To stop receiving the PN , you can see below code:
QiscusCore.removeDeviceToken("your device token")Notification Payload
Here complete payload of Qiscus Push Notifications. You can define Push Notification from Qiscus Chat SDK which has qiscus_sdk key within Firebase Cloud Messaging response.
{ "payload": { "comment_before_id": 1234565, // message before id (long) "comment_before_id_str": "1234565", // message before id (string) "email": "[email protected]", // sender's user id (string) "extras": {}, // message extras (json) "id": 1234566, // message id (long) "id_str": "1234566", // message id (string) "is_public_channel": false, // whether is channel or not" "message": "Hi", // message (string) "payload": {}, // message payload (json) "room_avatar": "https://www.froala.com/assets/blog/pages/post41_2.png", // chat room avatar (string) "room_id": 12345, // chat room id (long) "room_id_str": "12345", // chat room id (string) "room_name": "[email protected]", // chat room name (string) "room_options": "{}", // chat room extras (json) "room_type": "single", // chat room type, e.g single (1-on-1), group, (string) "status": "sent", // message status (string) "timestamp": "2019-09-25T12:23:43Z", // message timestamp (string) "type": "text", // message type (text, file_attachment, custom) "unique_temp_id": "android_1569414179567g8j3kbe51fc5970fab0c30f7", // message unique id (string) "unix_nano_timestamp": 1569414223720735000, // message nano timestamp (string) "unix_timestamp": 1569414223, // message unix timestamp (string) "user_avatar": "https://www.froala.com/assets/blog/pages/post41_2.png", // sender's avatar (string) "username": "polo" // sender's username (string) }, "qiscus_room_id": 1235, // chat room id (long) "qiscus_sdk": "post_comment" // event notification e.g "post_comment", "delete_message", "clear_room"}